Samsung Galaxy S24 Ultra Back Cover Replacement Guide
Duration: 45 minutes
Steps: 15 Steps
It’s time to give your Samsung Galaxy S24 Ultra a makeover! Follow this fun and friendly guide to swap the back cover and make your device look shiny and new again. If you need help, you can always chedule a repair.
Step 1


Before you start, make sure your phone’s battery is below 25% charged. A fully charged lithium-ion battery can be a safety hazard, so it’s better to be safe than sorry. If your battery is swollen, take the necessary precautions to avoid any accidents. If you need help, you can always schedule a repair
– First things first, let’s unplug all those cables from your phone. Give it some breathing room!
– Now, press and hold the side key along with the volume down button. When you’re ready, tap ‘Power off’ to gracefully shut down your phone.
Step 2

Feel free to use a hair dryer, heat gun, or hot plate to warm things up a bit, but keep an eye on the heat! We wouldn’t want to toast your phone—both the display and internal battery are a bit sensitive to heat. Stay cool while you heat things up!
– Warm up an iOpener and place it on the right edge of the back cover for a cozy two minutes.
Tools Used


Step 3

If you’re having trouble creating a gap, don’t sweat it! Just apply some more heat to loosen up that glue. Remember to follow our iOpener instructions so you don’t accidentally cook your device. 😉
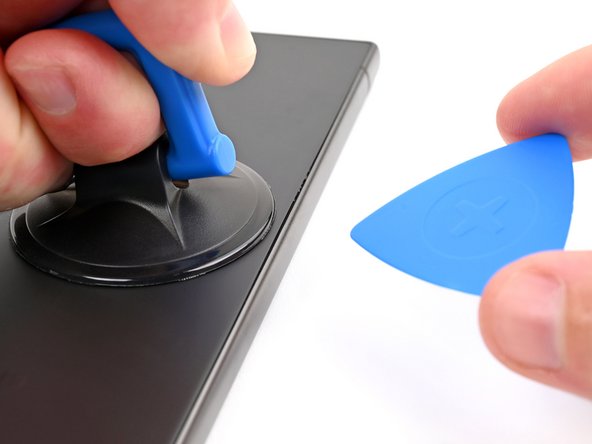
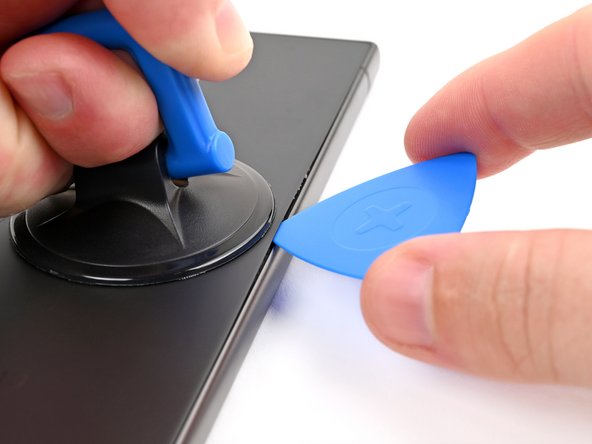
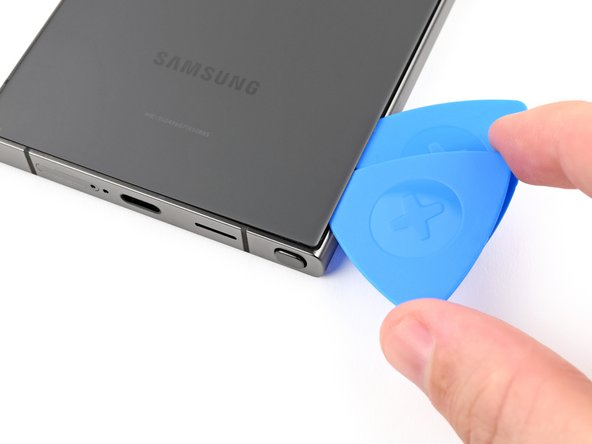
– Alright, let’s get this party started! Stick a suction handle to the back cover, aiming for the center of the right edge.
– Now, pull up on that handle with some serious gusto, creating a little space between the cover and the frame. You’ve got this!
– Time to slide an opening pick into that gap. It’s like a little dance, but with tools!
Tools Used

Step 4


– Gently wiggle the pick along the right edge to loosen the adhesive – you’re making great progress!
– Leave the pick in place near the bottom right corner to keep the adhesive from resealing, and get ready for the next step. If you need help, you can always schedule a repair
Step 5

– Time to get this repair started. Apply a heated iOpener to the bottom edge of the back cover for about two minutes. If you need help, you can always schedule a repair
Tools Used
Step 6

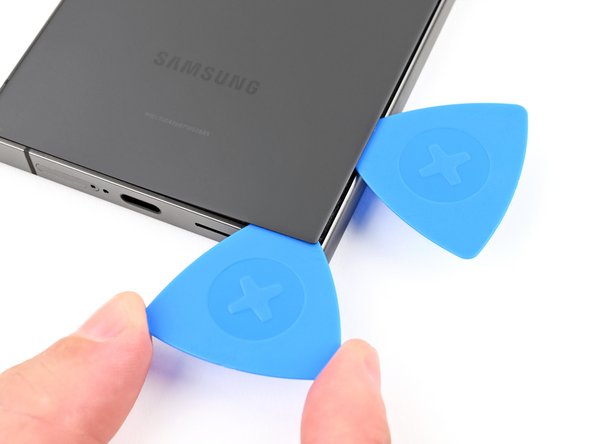
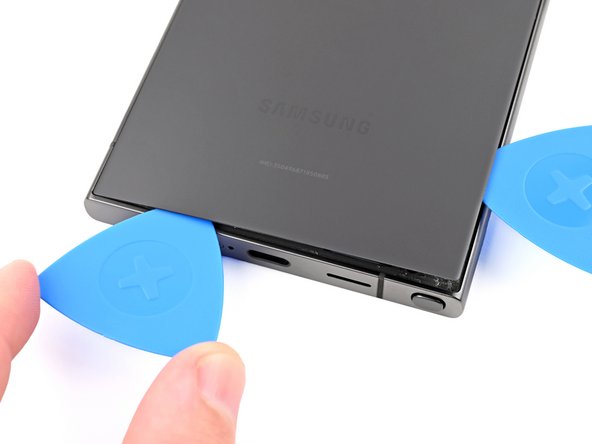
– Let’s wiggle this thing open! Insert a second opening pick next to the first one, near the bottom of the right edge.
– Now, give that pick a little twist! Rotate the opening pick around the bottom right corner to separate the adhesive.
Step 7

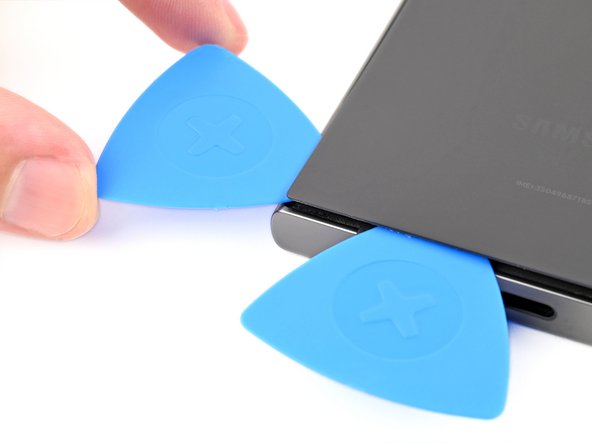
– Gently glide the opening pick along the bottom edge to break free the adhesive. You’re doing great!
– Keep that pick snugly in place near the bottom left corner to stop the adhesive from sticking back together. Nice work!
Step 8

– Time to warm things up! Apply a heated iOpener to the left edge of the back cover for about two minutes. This will help loosen the adhesive holding the cover in place, making it easier to remove. If you need help, you can always schedule a repair.
Tools Used
Step 9

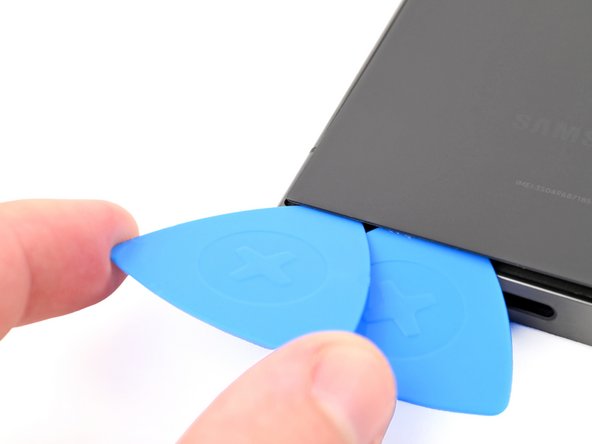
– Now it’s time to bring in some extra help – insert a third opening pick next to the second one, near the left side of the bottom edge. You’re getting close!
– Gently rotate the opening pick around the bottom left corner to loosen the adhesive. If you need help, you can always schedule a repair
Step 10

Be careful not to insert the pick more than 4 mm, or you might damage that antenna cable. If you’re not feeling confident, you can always schedule a repair
– Let’s get this party started! Slide your opening pick along the left edge to separate the adhesive. Don’t go too far though, stop right before the power button.
– Leave the pick in place near the power button to keep the adhesive from sticking back together. You’re doing great!
Step 11

– Heat things up a bit by applying a warm iOpener to the top edge of the back cover for a cozy two minutes. This will help loosen things up nicely!
Tools Used
Step 12
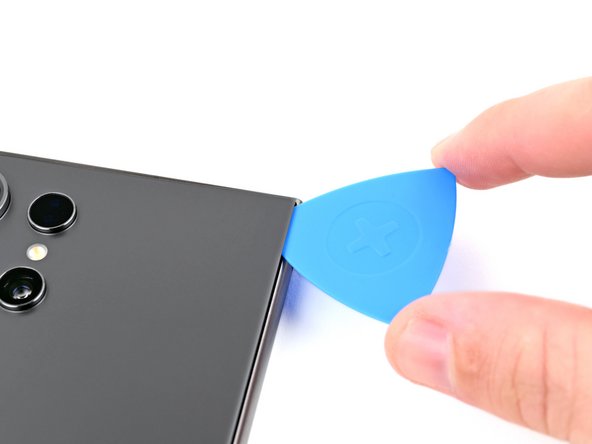


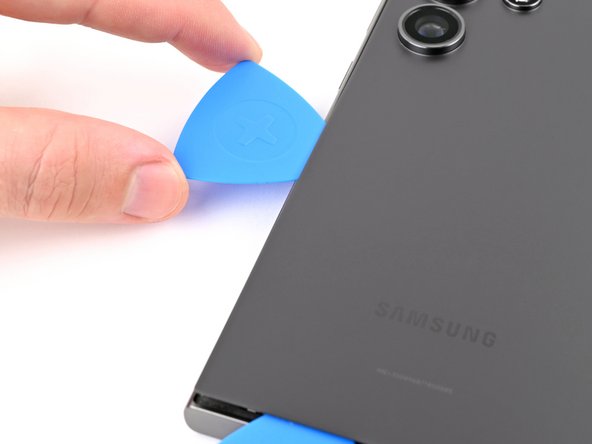
– Let’s start by sliding an opening pick into the gap at the top of the right edge. You got this!
– Now, gently rotate the opening pick around the top right corner to loosen the adhesive. Take your time and be careful.
Step 13
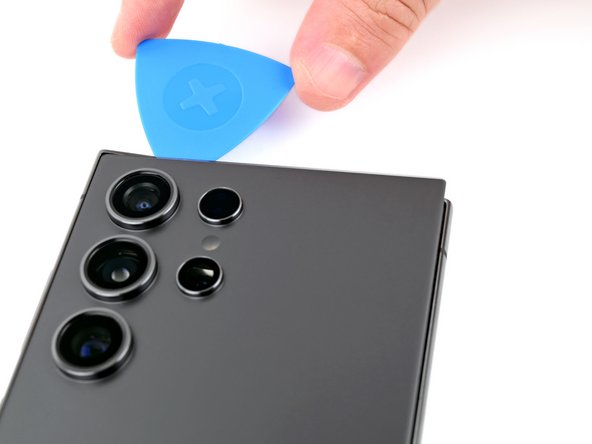

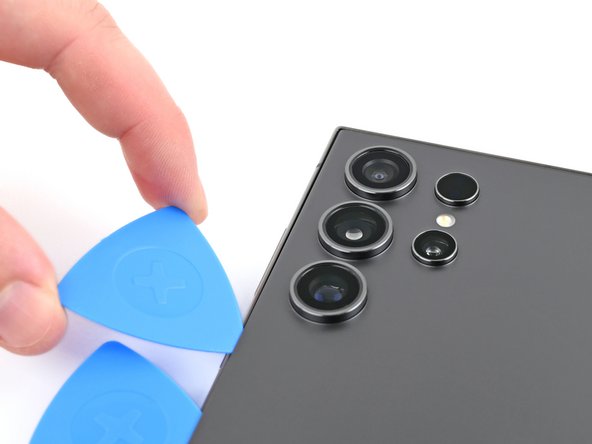
Hey there, champ! Just a quick tip: Don’t push that pick in too far, like more than 4mm, or you might accidentally bump into the sensor or camera near the top. We wouldn’t want that! If you need help, you can always schedule a repair
– Gently glide the pick along the top edge to break free the adhesive.
Step 14
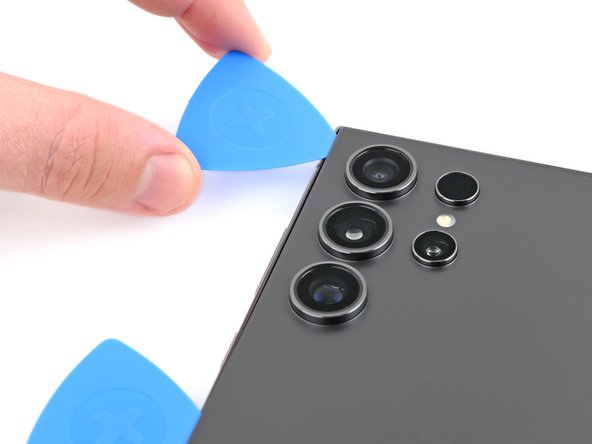

Remember, keep that pick no deeper than 4 mm to keep those cameras safe and sound!
– Now, gently slide the pick around the top left corner and work your way down the left edge. This will help loosen the remaining adhesive, making it easier to separate.
Step 15


Still stuck? No worries, just slide an opening pick around the edges to gently break any adhesive that might have reformed, making sure your cover and frame are separated and ready for the next step.
Now’s a great time to power on your phone and give everything a quick test to make sure all functions are working smoothly. Remember to power it back down before moving forward with the repair. If you need help, you can always schedule a repair
– Start by gently prying off the back cover. You’ve got this!
– When it’s time to put everything back together:
– Use tweezers or your fingers to pick off any stubborn adhesive bits. If it’s being tricky, a little heat can work wonders!
– For those using custom-cut adhesives, check out this guide.
– If double-sided tape is your go-to, make sure to follow this guide.
Tools Used