Install Windows 10 on the Pixel
Duration: 45 minutes
Steps: 8 Steps
This guide assumes you’re already a pro at installing Windows on devices. Not every feature may be flawless right away. You won’t need to flash the BIOS for the Windows installation itself, but if you want everything to run smoothly, a BIOS flash will be necessary. Quick heads-up: As of mid-2019, the Pixel’s trackpad doesn’t work in Windows 10—thanks to proprietary firmware that’s kept under wraps by the manufacturer. If you’re okay using a USB mouse or trying Bluetooth, go ahead and continue! But here’s the good news: as of mid-2023, there’s an I2C driver for the Pixel’s trackpad and touchscreen in the works, so it should be available soon. Stay tuned!
Step 1

– Save your files so nothing gets lost along the way.
– Grab an 8.1/10 Windows USB drive set up with MBR using Rufus or the Windows installation tool—trust me, you’ll want this handy.
– Keep an external USB keyboard and mouse close by.
Tools Used
Step 2


– Turn on developer mode and switch on legacy USB boot.
– Start up ChromeOS like you’re getting ready for adventure.
– When you hit the developer mode screen, press ‘ctrl’ + ‘L’ to jump into the legacy SeaBIOS.
Step 3


– Get your USB keyboard plugged in and ready to roll!
– Choose the flash drive that holds your Windows 10 installation like a champ!
– Time to boot up into Windows 10 and get the party started!
Tools Used
Step 4

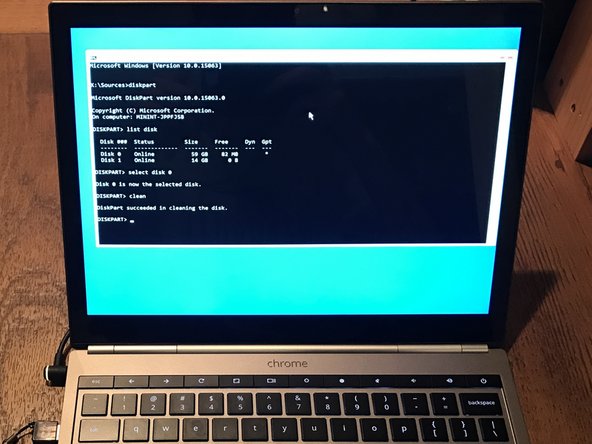
– Fire up those advanced tools and open up an elevated command prompt. Don’t worry, you got this!
– Next, type ‘diskpart’ and hit enter. Once it’s up and running, clean the storage on your SSD boot drive. It’s like hitting the refresh button for your system. Keep going, you’re almost there!
Step 5
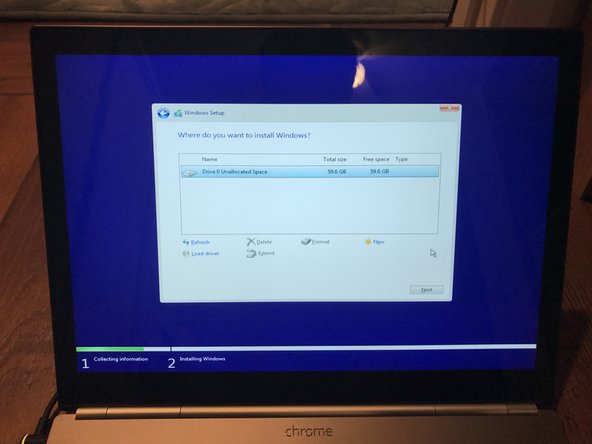


– Boot up your computer from the USB drive with the Windows installer on it.
– When you’re ready, hit ‘Install Now’ to get Windows 10 rolling on your machine.
– Choose your SSD as the destination for the installation, and let the magic happen!
Step 6

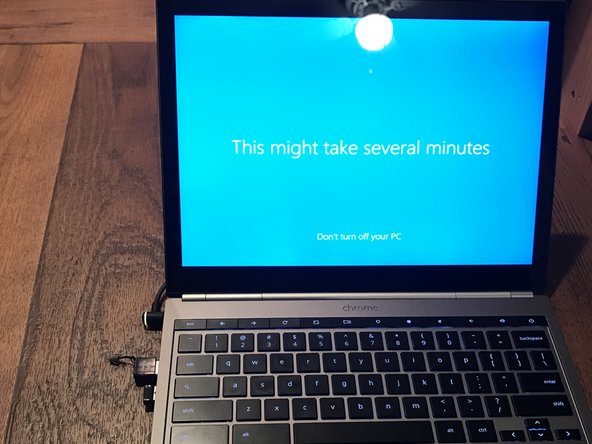
– Sit back and let Windows 10 work its magic during the installation.
– Every time your computer restarts, remember to hit ‘ctrl’ + ‘L’ to jump back into the BIOS!
Step 7
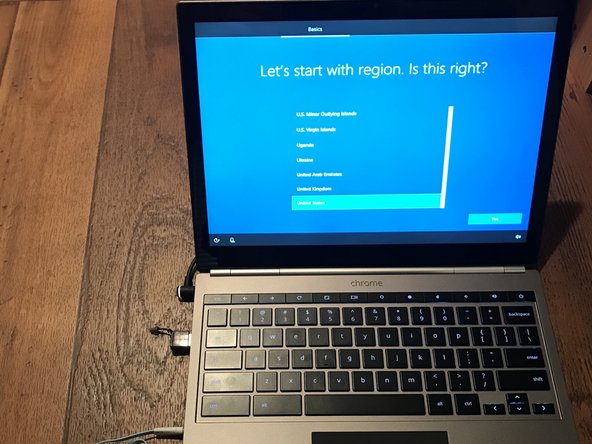

– Just follow along with the setup wizard on your screen to get Windows installed.
– Wi-Fi and audio should kick in by themselves, but keep your USB keyboard and mouse handy for the setup process.
– Heads up—Cortana might introduce herself at full blast.
– We’ll get your drivers sorted out in a minute.
– Plug in some headphones or hit the mute button (bottom right corner) if you want some peace and quiet.
Tools Used
Step 8

– Grab your Windows device drivers for the keyboard, trackpad, and touchscreen from Coolstar’s site.
– Heads up: these drivers might be a little unpredictable. If things go sideways, you may need to reinstall ChromeOS using the recovery tool to re-flash the BIOS.
– https://coolstar.org/chromebook/windows-…
– Flashing the BIOS isn’t for the faint-hearted—only try it if your drivers aren’t working right out of the gate and you feel comfortable troubleshooting.
Success!
