How to Replace the Adhesive for Your Samsung Galaxy S22
Duration: 45 minutes
Steps: 15 Steps
Hey there! Just a heads-up:
Get ready to give your Samsung Galaxy S22 or S22+ a little TLC by swapping out that back cover adhesive! This design features a nifty three-piece setup, with the adhesive snugly nestled between the camera bezel and metal cover. Just a heads-up: this guide is perfect for you if you’re planning to keep your original back cover. If you’re going for a whole new back cover, don’t worry—those come with fresh adhesive already applied. Now, let’s dive in and get this repair rolling! And remember, if you need help, you can always schedule a repair.
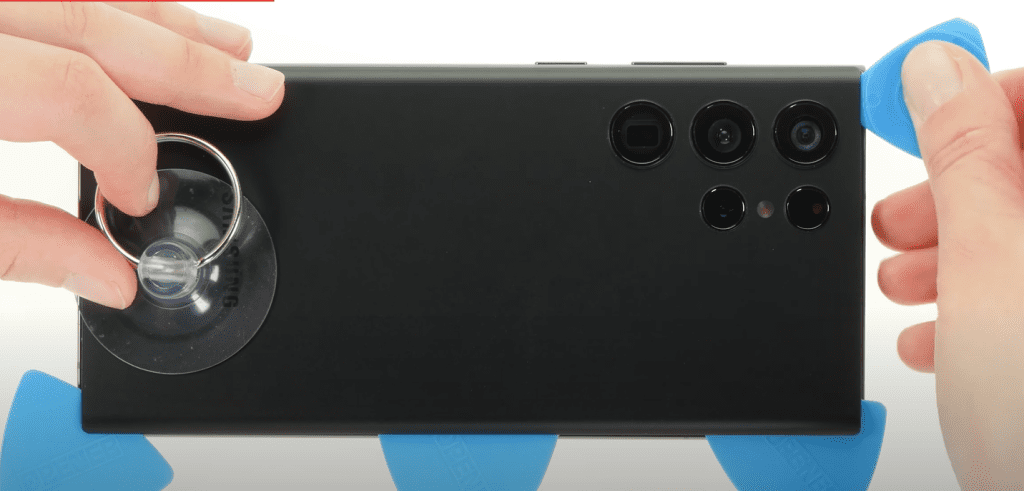
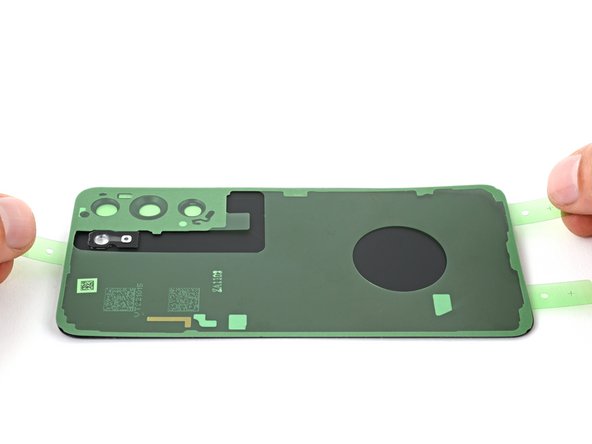
Step 1

You can also give the camera bezel a little love with a hairdryer or heat gun. Just make sure to keep it moving so you don’t burn anything. If you need help, you can always schedule a repair.
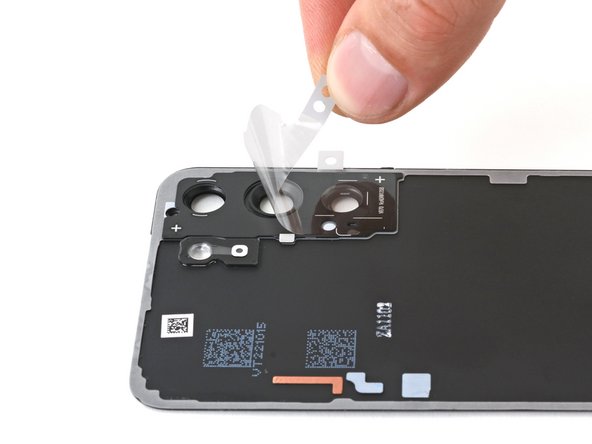
– Let’s warm up that camera bezel! Apply a heated iOpener to the back cover for two minutes. If you need help, you can always schedule a repair.
Tools Used

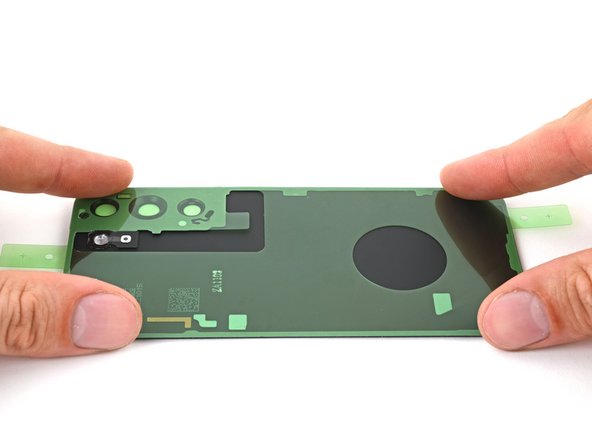
Step 2


This step needs a bit of muscle! Take it slow and steady, and be careful not to bend or crack that back cover. No worries if you need a helping hand – you can always schedule a repair.
If the bezel seems a bit stubborn, don’t sweat it! Just heat things up a little more and give it another go. You’re doing great!
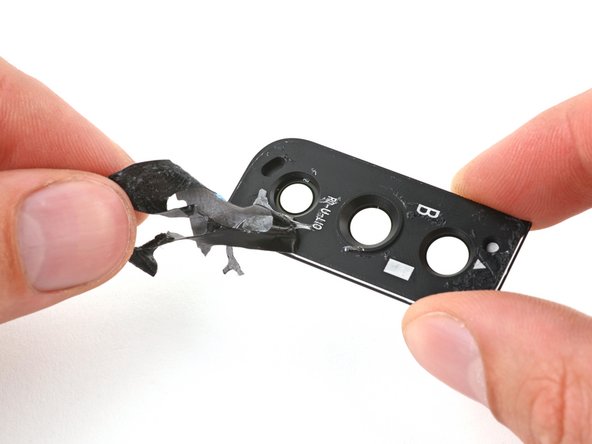
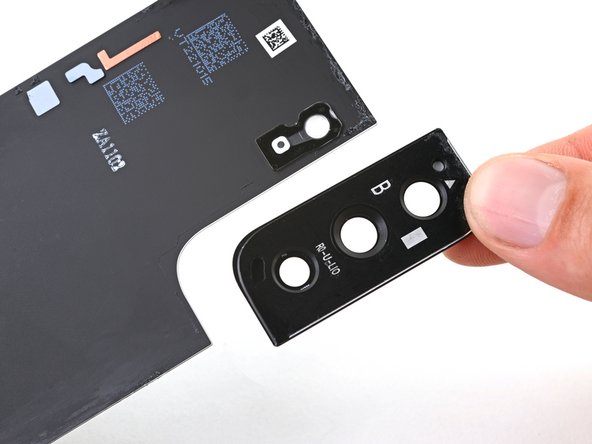
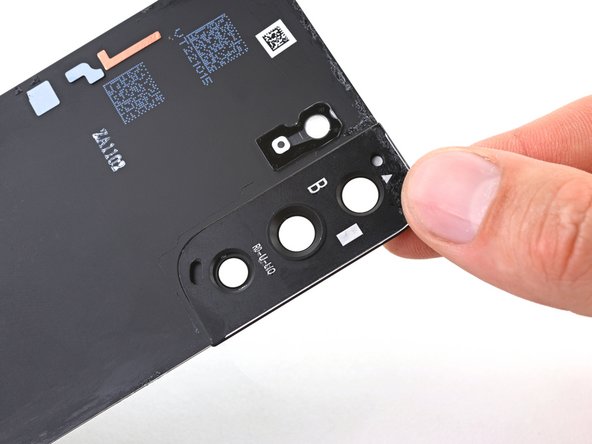
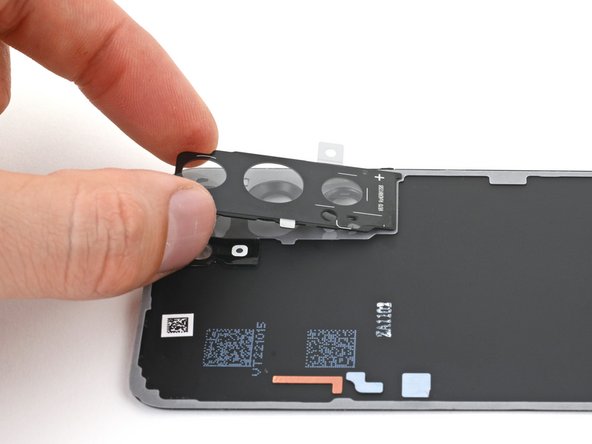
– Let’s give that camera bezel a little nudge and gently pull it away from the back cover. We’re separating those two parts, so don’t be shy! Just take it slow and steady. If you need a helping hand, you can always schedule a repair.
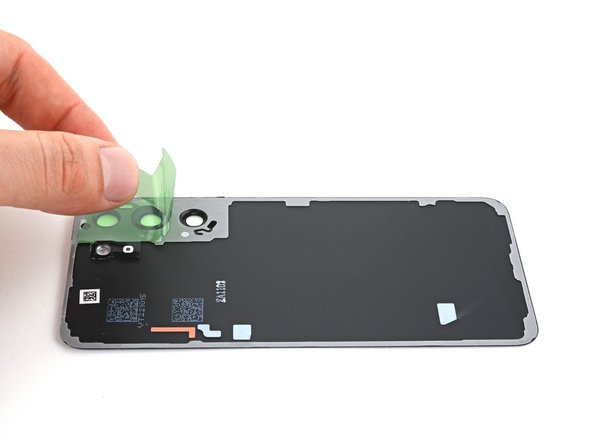
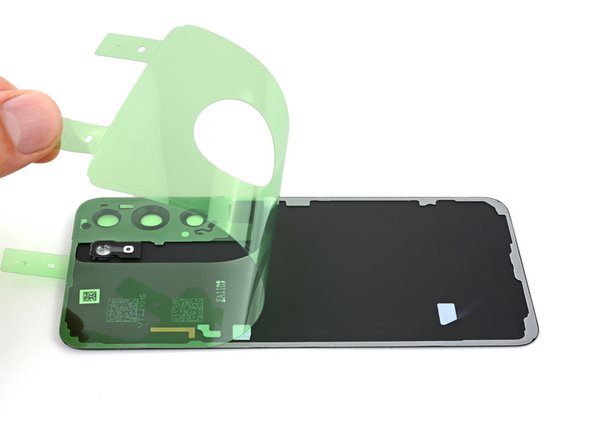
Step 3

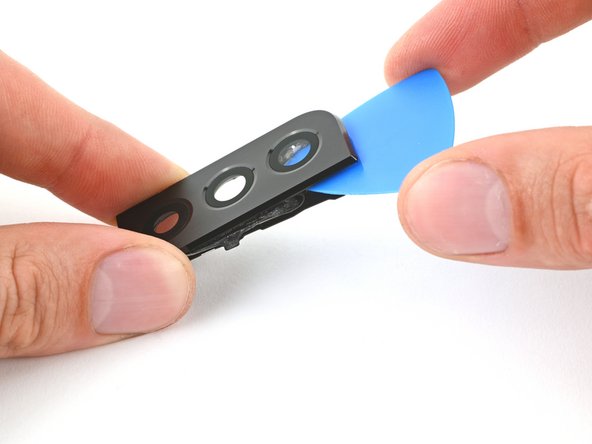
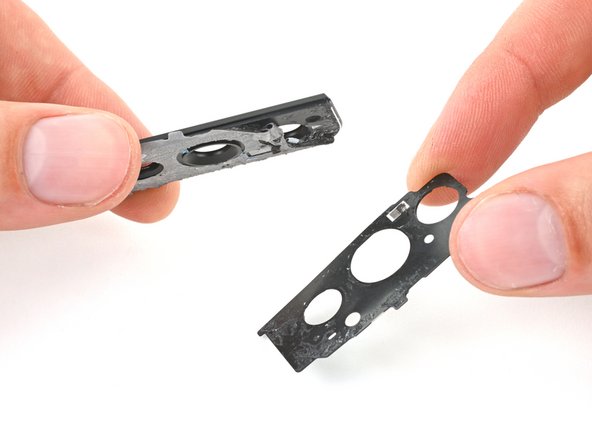
Give that old cover a rest! Using a bent or warped one won’t create a proper seal, and we want your device to be in top shape.
The metal cover can be a bit stubborn, but don’t worry – it’s not invincible. If your pick won’t budge, try applying some heat to loosen the adhesive and you’ll be back on track. If you need help, you can always schedule a repair
Step 5

– Get ready to rock and roll! Line up the camera bezel with the back cover, making sure the arrow is pointing toward the top of the cover.
– Now, let’s get these parts in sync! Lay the back cover and bezel together on a flat surface, with the inside of the cover facing upward. You’ve got this!
Step 6
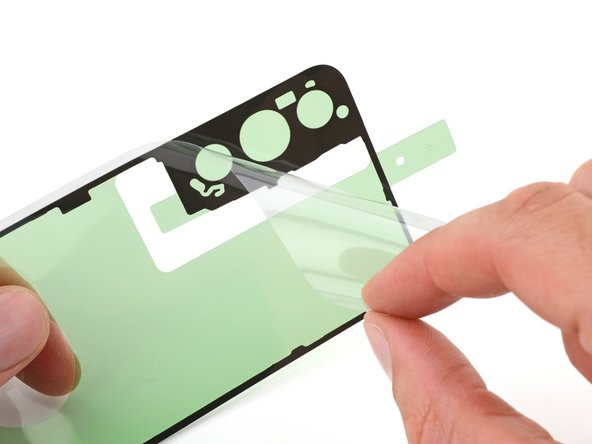
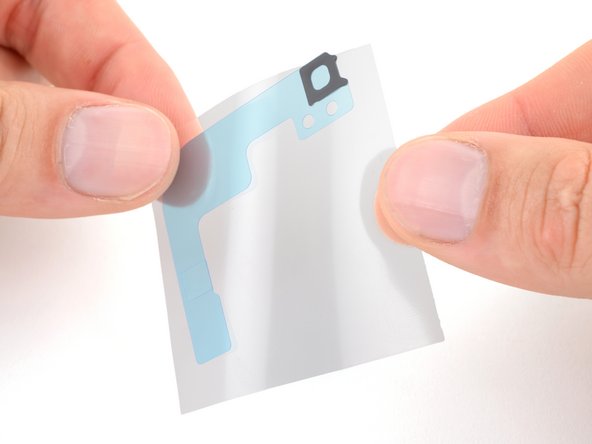
– Let’s get started by removing the clear liner from your new back cover adhesive. This is the first step in giving your device a brand new look.
Step 7

Hey, careful with this step! That back cover adhesive is super sticky, so once it touches, it’s stuck. If you’re not careful with the alignment, you might end up with a wonky seal. But hey, we believe in you! And if you need a hand, you can always schedule a repair.
Use the camera cutouts and perimeter notches to help you line up the adhesive. You’ve got this!
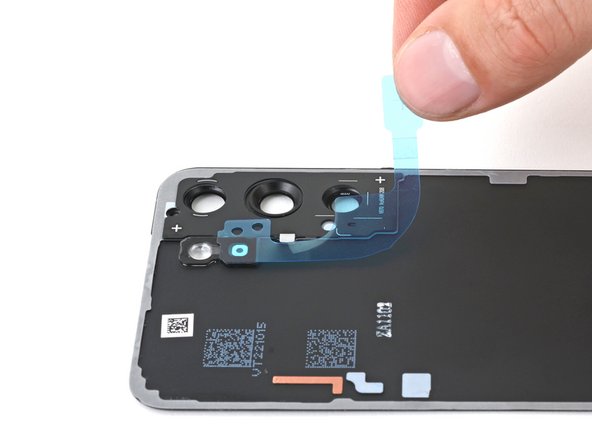
– Time to get sticky – grab your new adhesive by its pull tabs and line it up with the back cover and camera bezel. Make sure it’s centered and ready to go.
– Gently place the adhesive on the back cover, taking care not to touch the sticky side.
– Now, press down firmly along the edges of the adhesive to secure it in place. If you need help, you can always schedule a repair
Step 8
– Let’s get those liners peeled off! Grab the back cover, and use the pull tabs at the top and bottom to remove that main adhesive liner. Now, take a look at the camera bezel. See that pull tab on the bottom? Give it a gentle tug to remove the secondary liner. You’re doing great!
Step 9

– Grab those black pull tabs and give that main liner a gentle tug – it’s time to get it out of its metal cover!
Step 10

– Alright buddy, let’s get that metal cover in the right spot. Make sure the white text is on the bottom, and those little cross marks are in the corners – just like the picture in the instruction book.
– Now, gently place that cover onto the camera bezel and give it a little press to make sure it sticks, you got this!
– Last step, let’s peel off that secondary liner. If you need help, you can always schedule a repair. Easiest peasy!
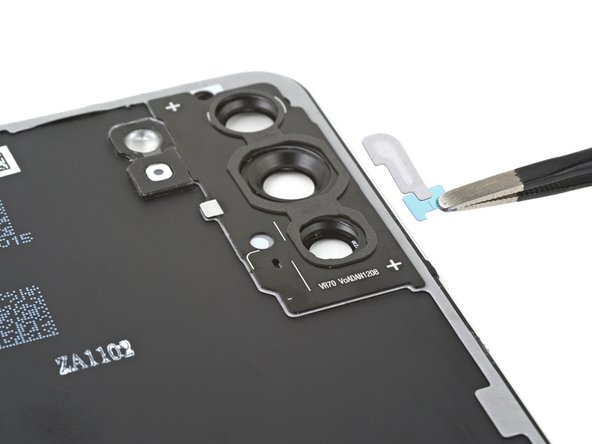
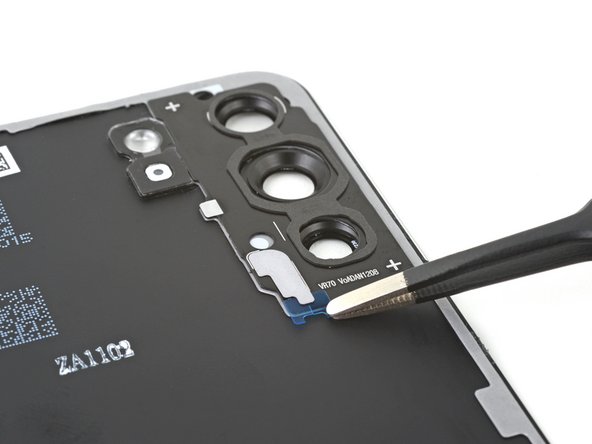
Step 11

– Let’s kick things off by carefully removing the old adhesive from the microphone hole tucked under the flash unit on the motherboard cover.
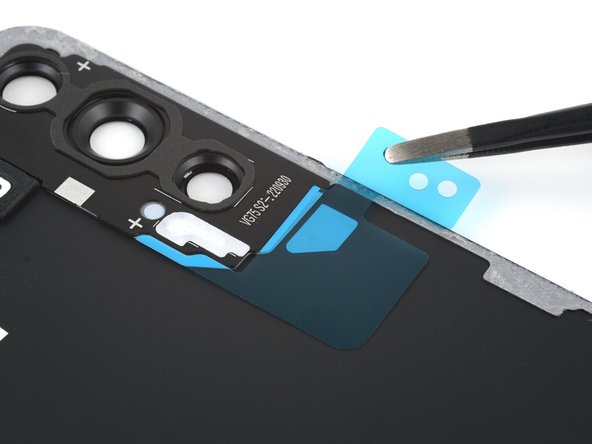
– Next up, peel off the clear liner from that big L-shaped adhesive piece—it’s going to be super helpful!
– Now, grab the square adhesive piece and pop it right over the back cover’s microphone cutout under the flash unit, making sure the blue liner tab is facing to the right like it’s ready to wave hello.
– Finally, let’s get rid of that blue liner—time to let our adhesive shine!
Step 12


– First things first, ditch that clear liner covering the camera foam adhesive. It’s time to get sticky!
– Now, get your adhesive lined up perfectly over the camera cutouts. Make sure that circular part is facing up – you’re looking for that top-notch alignment.
– Time to get your adhesive on that metal cover! Make sure those markings around the camera cutouts are your guide for a flawless fit.
– Alright, let’s get rid of that green liner. We’re almost there, buddy!
Step 13

– First, carefully remove the clear liner from the air vent adhesive – it’s time to get this repair started!
– Now, place the adhesive onto the metal cover, making sure the fuzzy side is facing up and the blue tab is at the bottom – easy does it!
– Next, gently remove the blue tab from under the adhesive, and you’re one step closer to fixing your device.
– Use the handy markings on the cover to align the adhesive, and you’ll be done in no time. If you need help, you can always schedule a repair
Step 14

Hey there! If you have a Galaxy S22+, you’ll find a little extra adhesive under that metal cover. No worries, it’s just a small detail to keep your phone looking great! If you need help, you can always schedule a repair.
– First, peel off the clear liner from the big, two-piece adhesive sheet. It’s like taking off a sticker, but a little bigger!
– Next, line up the adhesive with those little notches in the bottom left corner of the metal cover. You’re a pro at lining things up, so this will be a breeze!
– Now, carefully place the adhesive over the notches and press it down firmly. You’re getting this! Almost done.
– Alright, now peel off the blue liner. You’re going to love how clean this looks! If you need help, you can always schedule a repair
Step 15

Alright, champ, time to put that back cover back where it belongs! You’ve got this!
– Now that you’ve completed this step, head back to your phone’s guide and finish putting everything back together. If you need help, you can always schedule a repair