Dell Chromebook 3100 Teardown
Duration: 45 minutes
Steps: 11 Steps
Step 1

– Grab your Phillips screwdriver and unscrew all nine screws. Once that’s done, gently pry open the back cover of the Chromebook using a spudger. Take your time—you’re doing great! If you need help along the way, you can always schedule a repair.
Tools Used

Step 2


– Start by unscrewing the 3 screws that are keeping the battery snugly in place. Once you’ve done that, gently lift the battery off the motherboard. Watch out for the sticker—it likes to stick around, so be careful as you remove the battery.
Step 3


There are six screws keeping the motherboard snug in its spot. Once you’ve loosened all of them, disconnect the speaker wires, the display cable, and the ribbon cable for the mouse to free up the motherboard. Need a hand? You can always schedule a repair if things get tricky.
– First, unscrew these screws, then find and remove the extra screw holding the black and white connector to the WiFi card. If you need help, you can always schedule a repair.
Step 4

– You’ll find 3 screws on each hinge keeping the top screen and the bottom of your Chromebook together. Take these out, and the two halves will part ways.
Step 5

Heads up: the wires are held down with tape, so don’t tug too hard when moving them around.
– Speakers are a breeze to take out! Just grab them and give a gentle wiggle—they should pop right out with no fuss.
Step 6


Heads up: these screws aren’t the big flat-head kind—brace them carefully!
After you’ve tackled those pesky screws, it’s time to say goodbye to that ribbon cable! Just lift the black tab gently and give the cable a little tug to disconnect it. Easy peasy!
– There are 2 different types of screws holding the mouse pad in place. The first set of 3 screws, with their large flat heads, keep the mouse pad secured.
– The remaining 3 screws also help secure the mouse pad in place, making sure it stays nice and snug.
Step 7
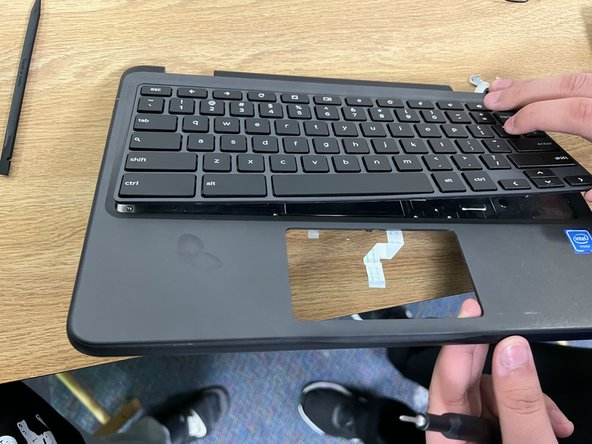

– To pop out the keyboard, slide a screwdriver through the two holes and give it a gentle push. Easy does it!
Step 8


The display cover is stuck on pretty tightly!
– Alright, first things first—peel off that sticker covering the screw! It’s hiding your way to the next step.
– Once the screws are out, it’s time to peel off the display cover. It’s glued on, so give it a gentle pull and it should come off smoothly.
– After the screws are out, go ahead and carefully peel off the display cover. It’s stuck on with glue, but with a little finesse, it’ll release just fine.
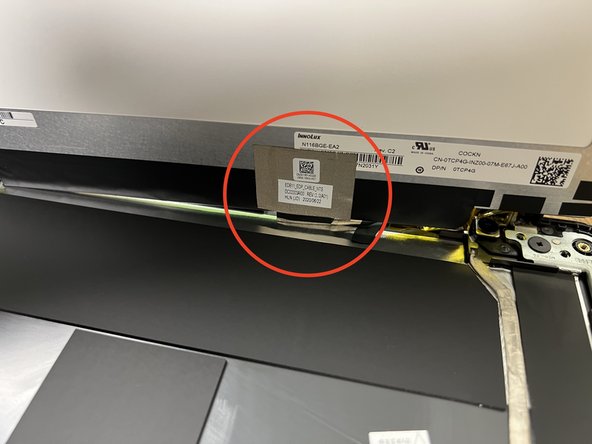
Step 9


– To get the display out of the way, first remove those 4 screws and then gently peel the screen away. Easy does it!
Step 10

– To detach the hinges, simply unscrew the four screws—two on each side—and then remove the hinges. Keep it straightforward and steady, and if you hit a snag, you can always schedule a repair for extra help.
Step 11


As you lift the screen, don’t forget to unplug the cable that’s still connected to it!
The screen isn’t held down by screws, making it super easy to lift. Just gently peel it off and you’re good to go!