Samsung Galaxy J7 Front Facing Camera Replacement Guide
Duration: 45 minutes
Steps: 7 Steps
Step 1


If the cover is feeling a bit stubborn, don’t go all Hulk on it! Grab a plastic opening tool to gently coax it open and keep that case looking sharp.
– Let’s Get Started: Find that sneaky tab at the top left corner of the back cover – it’s highlighted by a red square for your convenience
– Time to Get Handy: Use a fingernail or a trusty plastic opening tool to gently lift the tab, and you’re on your way
– The Final Push: Carefully work your way around the edges to completely remove the back cover – you’re doing great, almost there! If you need help, you can always schedule a repair
Step 2

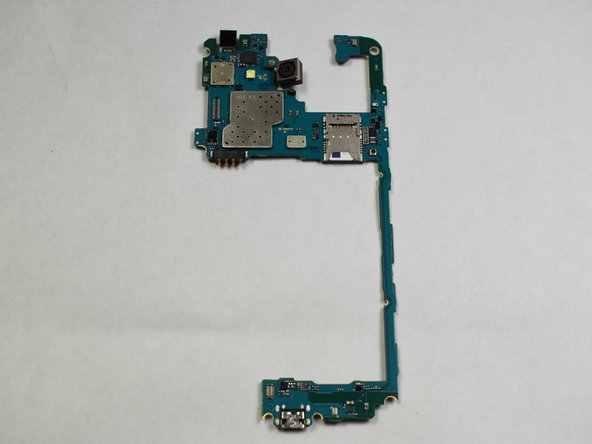
– Let’s get started by removing the ten 4.2 mm screws around the edge of the midframe using a Phillips #000 screwdriver. Take your time and make sure to keep track of those tiny screws. If you need help, you can always schedule a repair
Step 3


If the back panel is being stubborn, don’t worry – a little heat can go a long way. Try gently warming the edges with a hair dryer or heat gun to loosen the adhesive. If you need help, you can always schedule a repair
– Gently lift the back of your device using the iFixit opening tool and disconnect it from the front. You’re doing great!
Step 4

– Let’s get started by removing the single screw from the back of your device. This one screw is all you need to take out to remove this piece, so take a deep breath and let’s get it done. If you need help, you can always schedule a repair
Step 5

– Alright, now make sure to pull up those parts. You’ve got this! It’s like a puzzle, and we’re about to take it apart, piece by piece. You’ll see how easy it is once we get going!
Step 6

– Gently pull the blue or green piece away from the black piece – it should come off easily without needing any force. We’ll be using the green or blue piece from the second picture in the next step, so set it aside for now. If you need help, you can always schedule a repair
Step 7


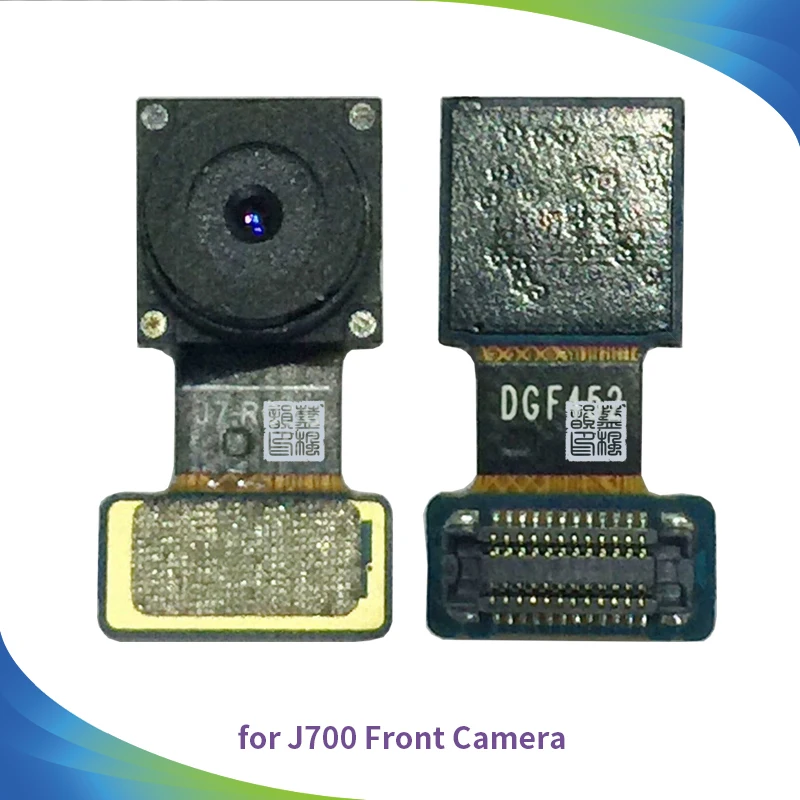
– Give that piece a little flip (180 degrees) and gently take out the boxed section. Voilà! You’ve just revealed the front-facing camera.