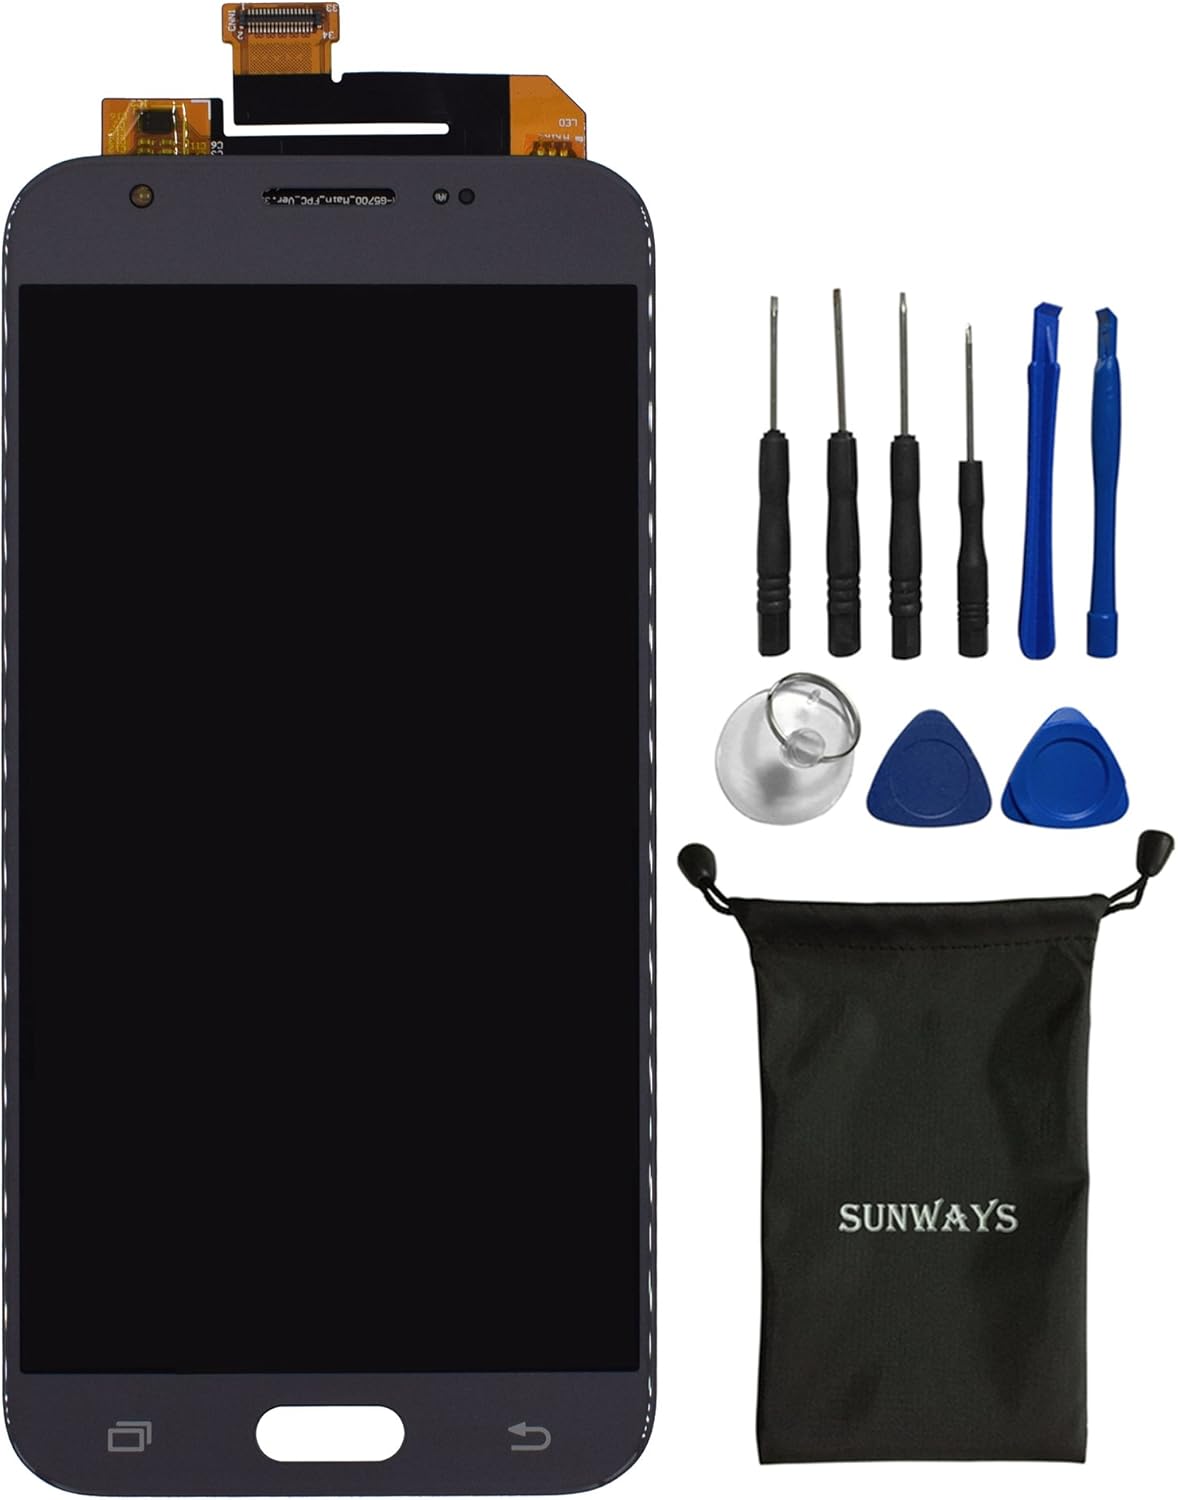
Samsung Galaxy Eclipse Audio Jack Replacement Guide
Duration: 45 minutes
Steps: 11 Steps
Step 2


– Gently lift the little notch on the right edge and pop off the back cover of your phone. It’s easier than it sounds!
Step 3


– Once you’ve graciously unveiled the back of your device, take a peek at the slot nestled just below the bottom right corner of the battery. Gently nudge it out using the tip of your finger—it’s just a little tug, and you’re on your way!
Step 4

Keep it cool! Don’t blast any one edge of your phone with heat for too long—just a few seconds will do. Instead, give it a gentle, continuous hug around the edges.
– Alright, let’s get this party started! Give those front edges of your phone a little love with a heat gun or hairdryer. Just warm ’em up for about two minutes. Hold it about six inches away from the screen, you don’t want to get too cozy with the heat and cause any trouble. If you need help, you can always schedule a repair
Tools Used

Step 5


When you’re using that pry tool, remember to keep it gentle—too much force and you might accidentally give the phone’s insides a little too much excitement!
And hey, when you’re working on the top edge of the phone, keep your tool to a maximum of 1cm in. We want to keep those delicate cables safe and sound!
Step 6


Just a friendly heads-up: don’t go for the full display removal just yet! Take your time to gently loosen all the edges instead.
– Now, grab the lower edge of your device and give it a little lift. You’ll want to gently loosen all the edges to hinge the screen upwards, starting from the bottom.
Step 7


– Alright, time to give that white cable guard a little nudge! Use your prying tool to gently lift up on the bottom right corner of the guard. You’ll see a thin ribbon cable connector pop out – that’s what we’re looking for! If you need help, you can always schedule a repair.
Step 8


– Gently lift the ribbon cable connector hiding beneath the cable guard and set the display free from the device.
– Before putting your phone back together with the fresh new screen, make sure to wipe away any residue from the edges.
Step 9

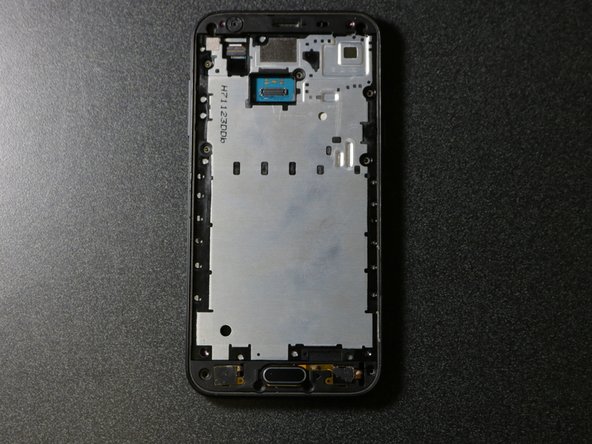
– First, let’s get started by locating all eleven screws that hold the metal plate in place. Use a PH00 screwdriver bit to remove them – it’s an easy process, just take your time.
– Now, make sure to keep those eleven screws safe, you’ll need them later to close up your phone. If you need help, you can always schedule a repair
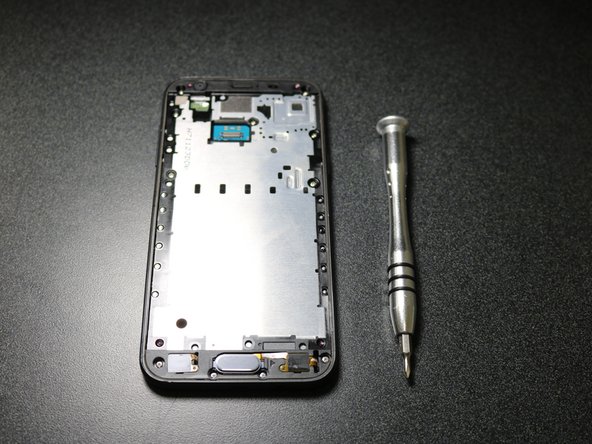
Step 10

– Grab your phone and give it a little flip to show us its backside. Now, put your thumbs right on the metal area where the battery used to be. With a little push, the back frame should pop right off. Easy peasy! If you need help, you can always schedule a repair
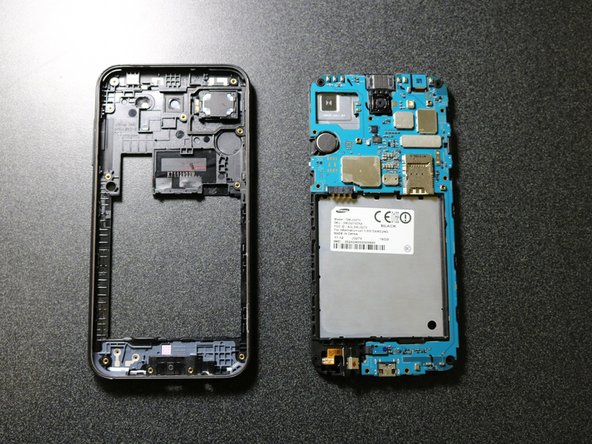
Step 11


– First, track down the blue ribbon cable that’s hanging out just below the battery slot – it’s the key to your audio jack connection. Give it a warm welcome!
– Now, grab your trusty pry tool and gently coax the cable loose from the motherboard. You got this! If you need help, you can always schedule a repair