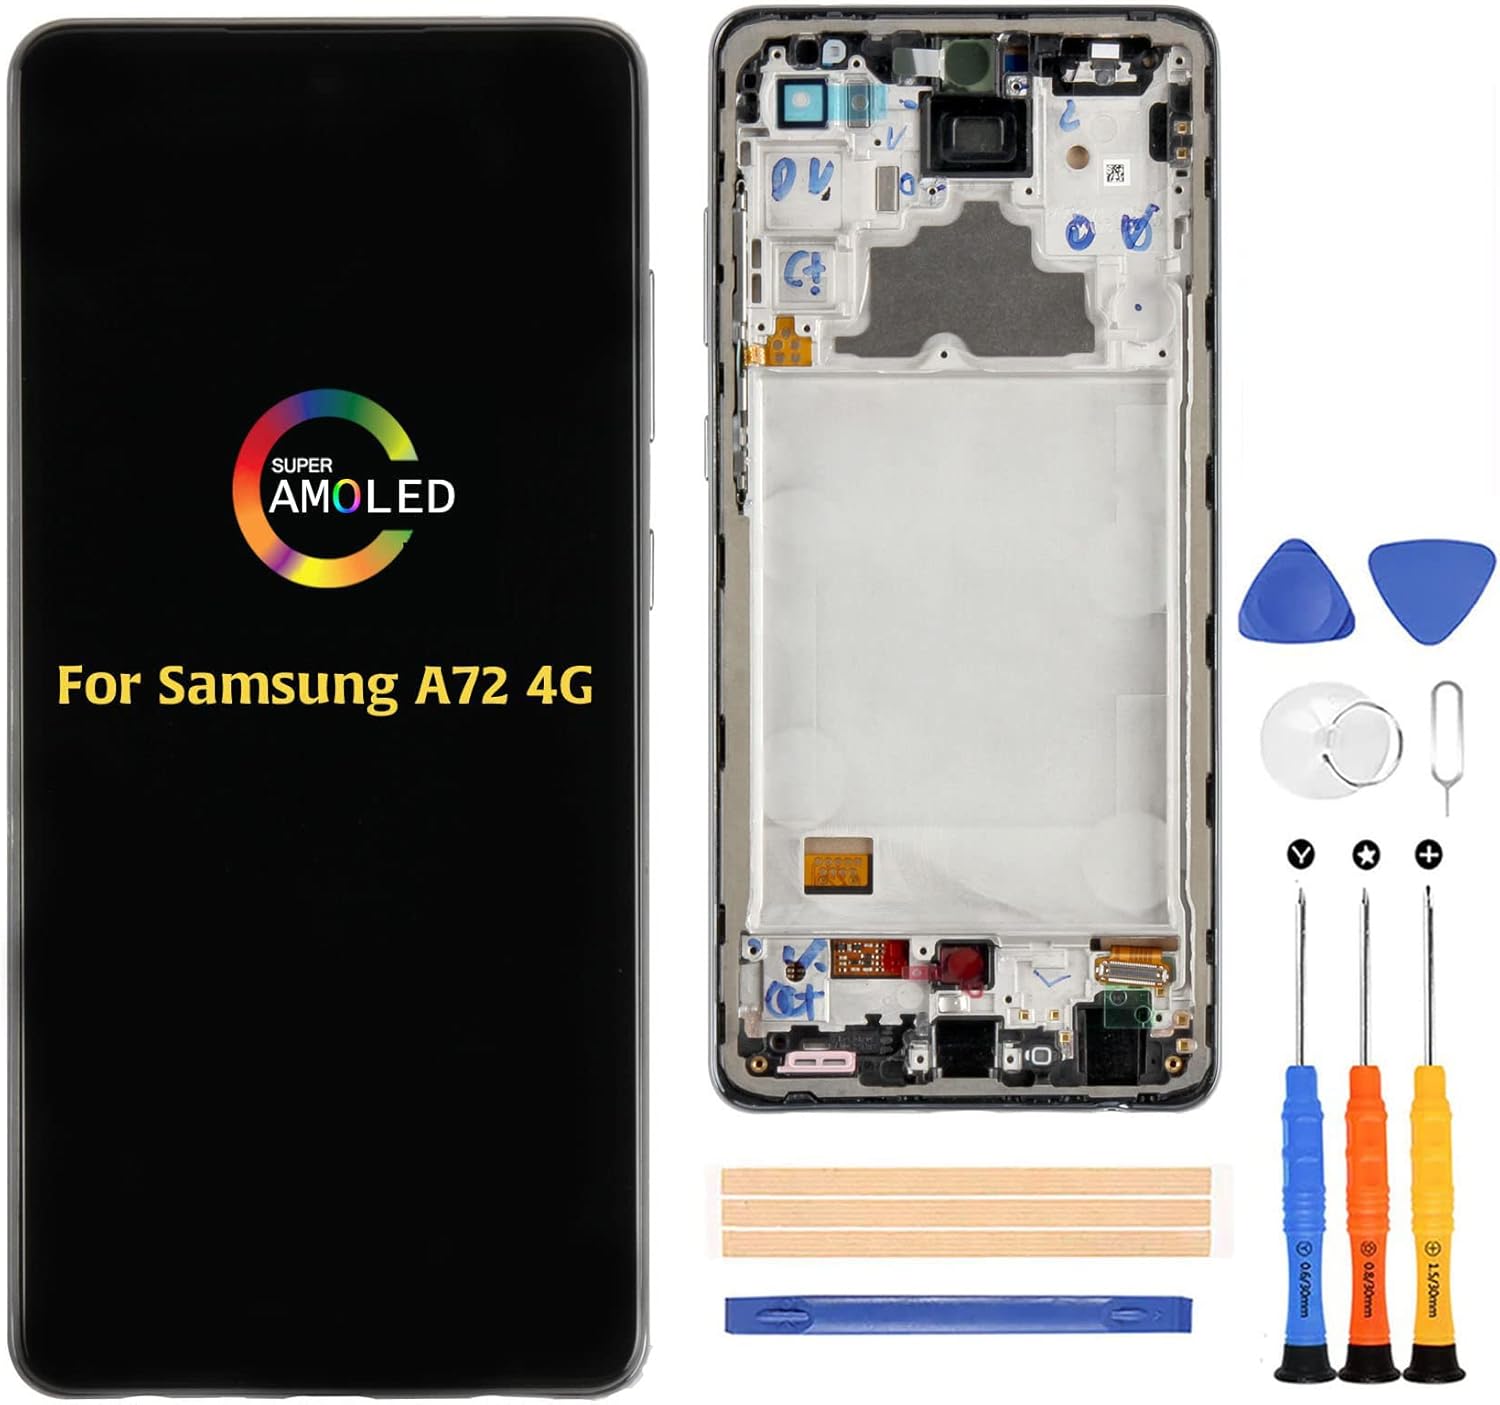
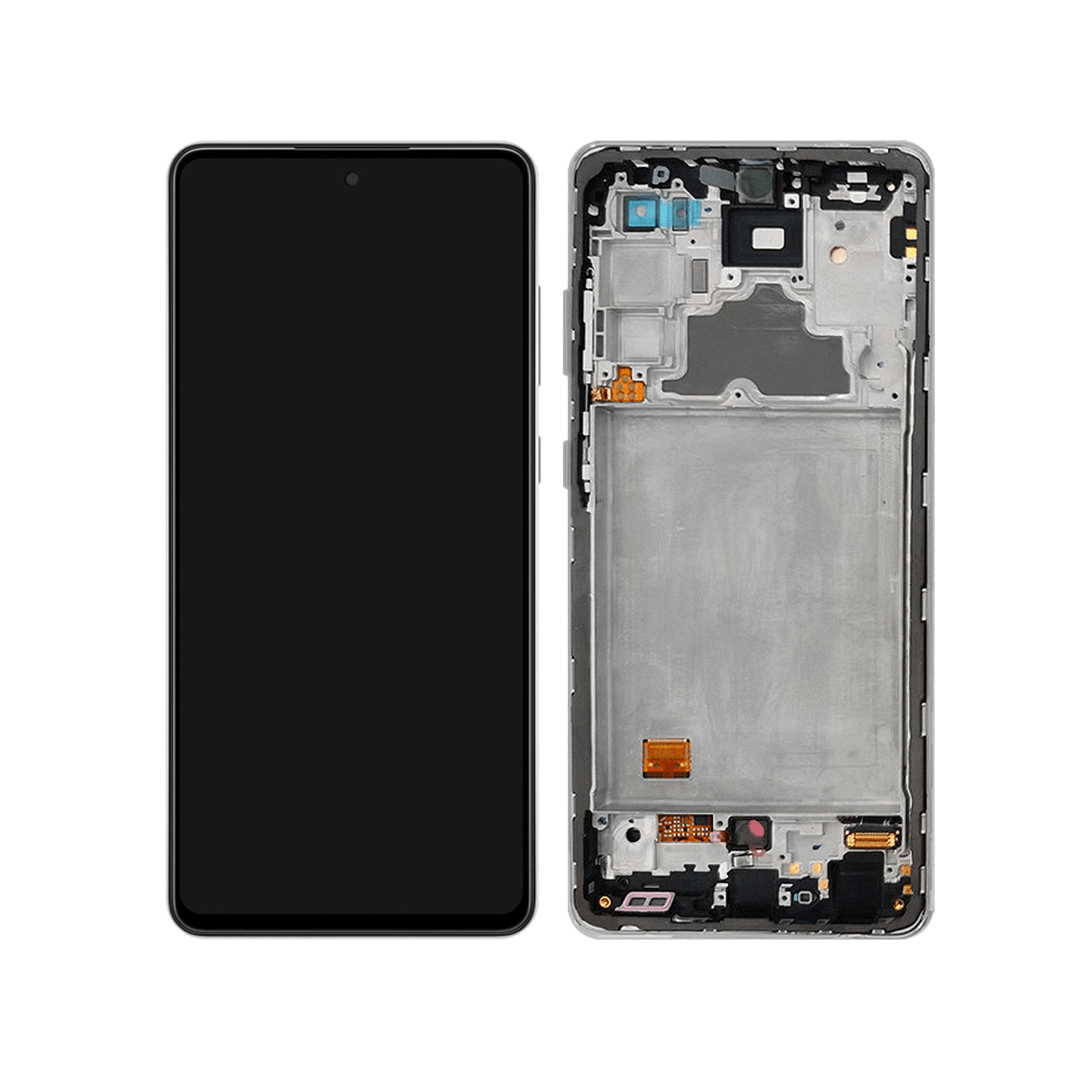
Samsung Galaxy A72 Screen and Frame Replacement Guide
Duration: 45 minutes
Steps: 6 Steps
Step 1


– Let’s get this party started! First, give your device a little warm-up to loosen up that sticky adhesive.
– Now, it’s time to gently separate the back cover. Use some handy plastic tools, a suction cup, and a little ethanol alcohol to help you out. You got this!
Step 2


– First up, let’s pop out that SIM Tray, shall we? It’s like giving your device a little breather!
– Next, grab your trusty Phillips screwdriver and tackle those shiny silver screws. Once they’re out, gently lift off the motherboard plastic cover to reveal the magic inside!
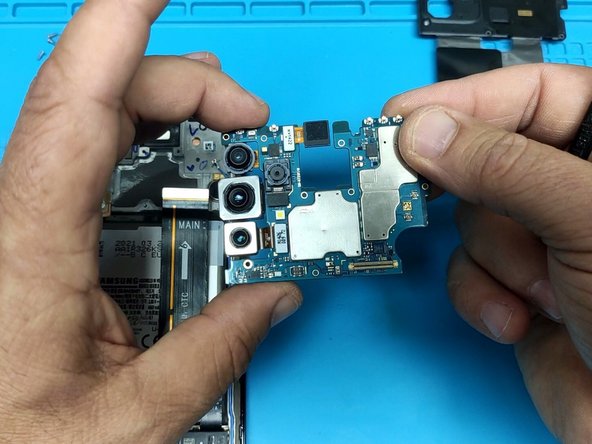
Step 3

Hey there, remember this screw is a bit unique compared to the others!
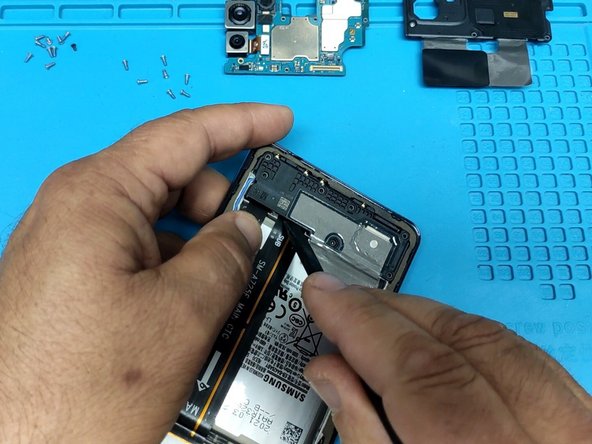
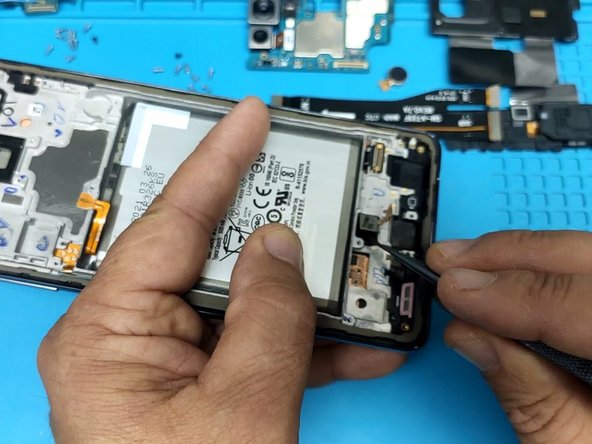
– First up, gently disconnect the battery. Safety first, right?
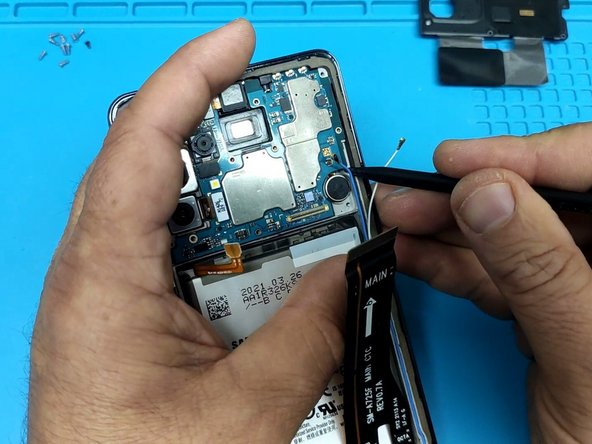
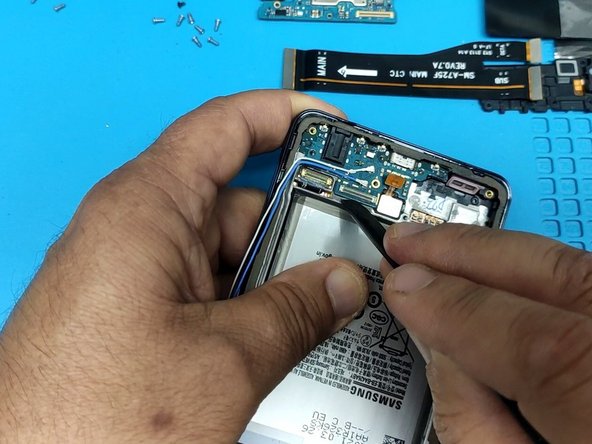
– Next, it’s time to uncouple the main flex cable. Just a little wiggle and you’re good to go.
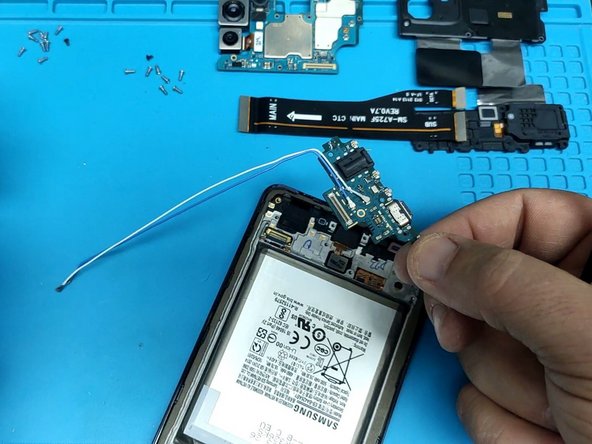
– Now, let’s disconnect those Coaxial antenna cables. They’re ready for a break!
– Don’t forget to remove the black Philips screw that’s holding the motherboard to the display frame. It’s just one little screw, but it’s a mighty important one.
– Finally, grab a plastic tool and carefully pop out the motherboard. You’ve got this!
Step 4


– Unscrew those shiny silver Phillips screws, and using a trusty plastic tool, gently pop off that plastic cover. You’ve got this!
Step 5

Heads up! This screw is a bit different from the rest. No worries, you got this!
Watch out for that Fingerprint sensor flex cable. Treat it like a friend, ok?
– First things first, let’s disconnect that fingerprint sensor, shall we?
– Next up, gently unplug the Main flex cable like a pro.
– Now, grab your screwdriver and remove that pesky black screw holding the Charging board in place.
– Finally, take a trusty plastic tool and carefully lift up the Daughter board. You’ve got this!
Step 6

Take your time and be careful, it’s all about smooth moves!
– Let’s kick things off by gently removing the Motor Vibrator. It’s just a little component, so be careful!
– Next up, say goodbye to the Fingerprint sensor. It’s time for a little upgrade!
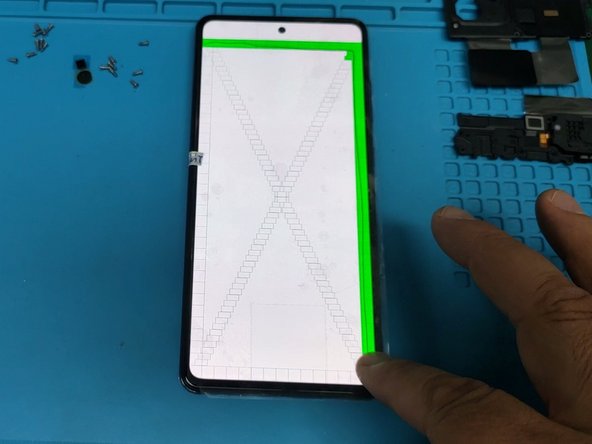
– Before you put everything back together, give the new display a quick test using this nifty code: *#0*#