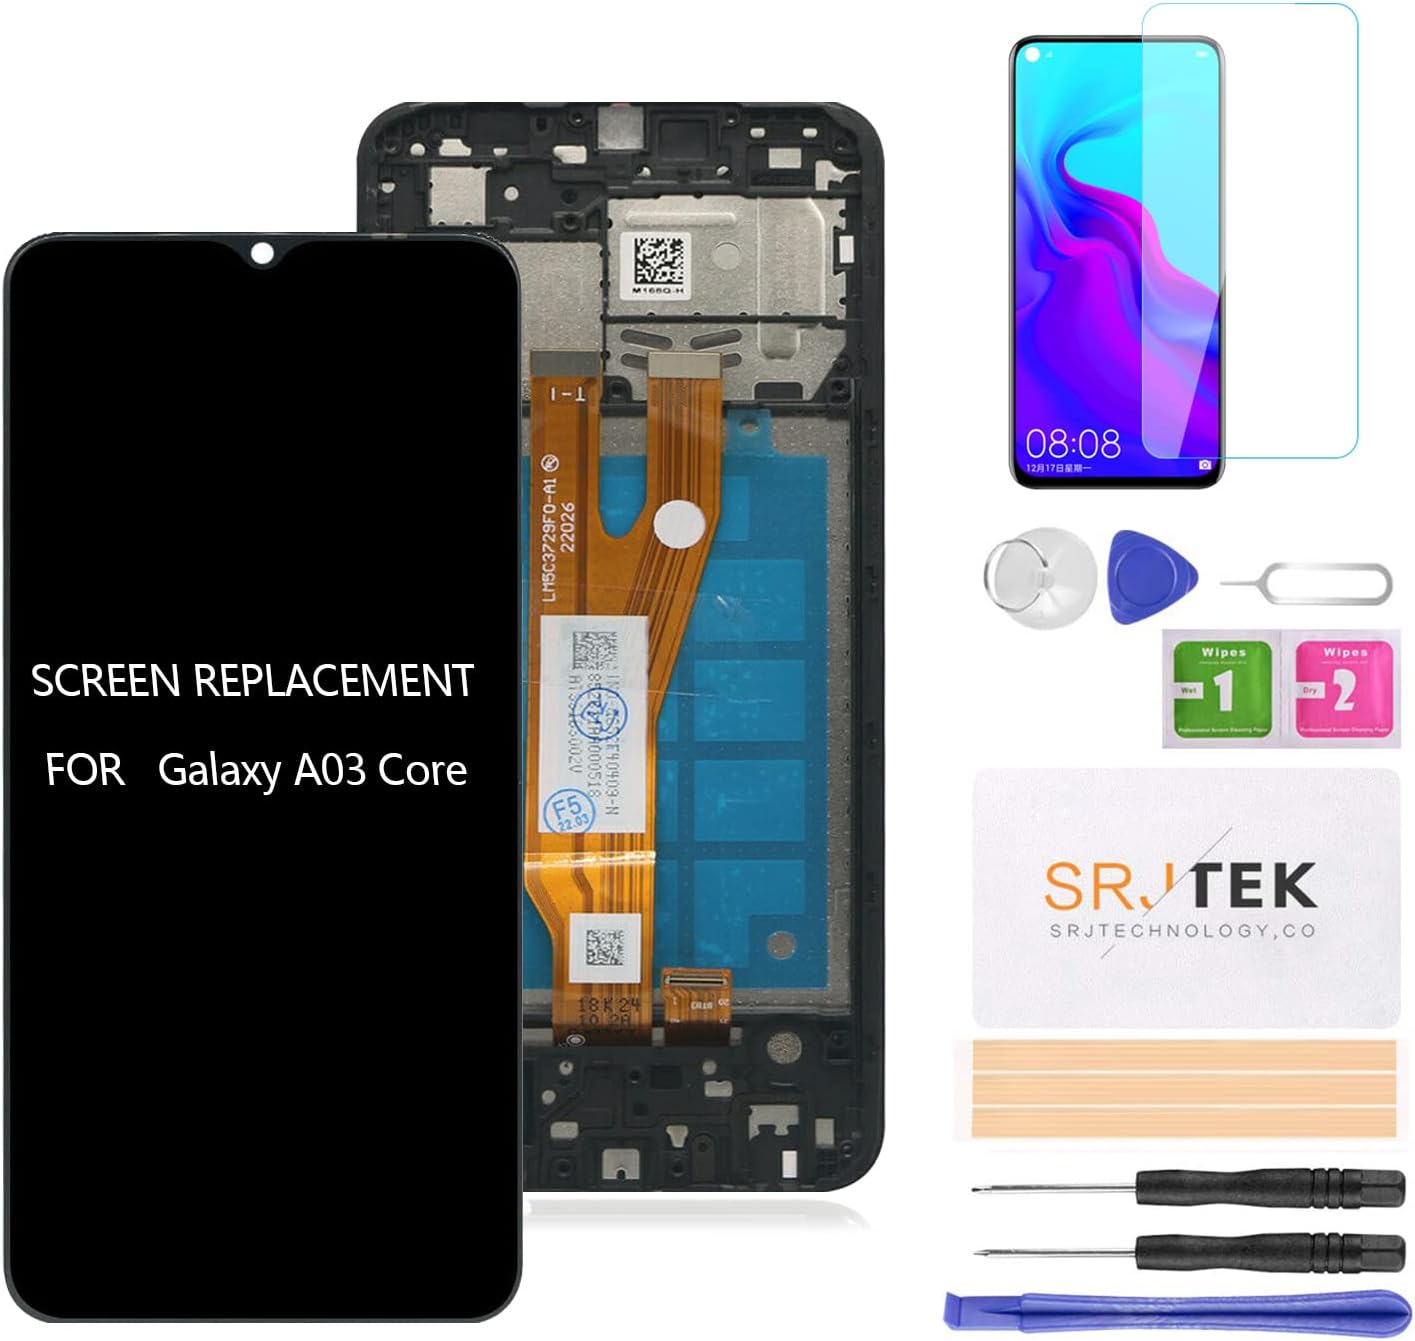
Samsung Galaxy Core Screen Replacement Guide – DIY Tutorial
Duration: 45 minutes
Steps: 11 Steps
Step 1
– Alright, let’s get this party started! Flip the phone over and use your fingernail or an opening tool to carefully pop off the back cover. Don’t worry, it’s easier than it looks. Just remember to be gentle. If you need help, you can always schedule a repair.
Step 2
First things first, if your phone’s got a SIM card or MicroSD card hanging out, go ahead and take those out!
– Pop that battery out!
Step 3
– Alright, let’s get those screws out! Remove the 9 Phillips #00 screws holding the mid-frame together. Take your time and don’t overtighten. If you need help, you can always schedule a repair.
Step 4
– Time to get this repair started! Use an opening pick to carefully pry off the mid frame. If you’re not feeling confident, don’t worry – you can always schedule a repair and let the pros handle it.
Step 5
– Alright, let’s disconnect a few ribbon cables from the motherboard. It’s like saying ‘goodbye’ to some old friends!
– First up, say farewell to the digitizer and LCD assembly ribbon cable.
– Next, give a wave to the headphone jack and earpiece cable.
– Now, gently disconnect the daughter board flex cable.
– And finally, give the antenna connector a little pat on the back as you disconnect it.
– If you need help, you can always schedule a repair.
Step 7
The flex cable is stuck down pretty well, so be super careful! Too much force could lead to a cable catastrophe.
– Unscrew the lone Phillips screw that holds the daughterboard in place. It’s just a little twist away from freedom!
– Gently lift out the daughterboard and set it aside. You’ve got this!
Step 10
– Give that earpiece mesh a little nudge outwards, and it’ll pop right out. Easy peasy!
Step 11
– Let’s warm up that digitizer! Use a heat gun or an iOpener to get the glue nice and toasty.
– Now for the fun part – gently pry that digitizer loose using an opening pick. Work your way around the edges, breaking up the glue.
– Need a little more heat? No problem, go ahead and give it another blast.
– Time to free that digitizer! Carefully remove it, along with any broken glass. If you’re feeling a bit stuck, you can always schedule a repair.


