Samsung Galaxy Core Repair: How to Replace Display – Step-by-Step Guide
Duration: 45 minutes
Steps: 8 Steps
Step 1


– Power down your phone to get started
– Take off the back cover to access the inside
– Gently pull out the battery to begin the repair process. If you need help, you can always schedule a repair
Step 2

– Take out those 9 screws with confidence!
Step 3

– Let’s get this party started by popping off the central frame to get to the motherboard. A thin tool will be your best friend here.
– Now, give that little black screw securing the lower motherboard a friendly twist goodbye. You got this!
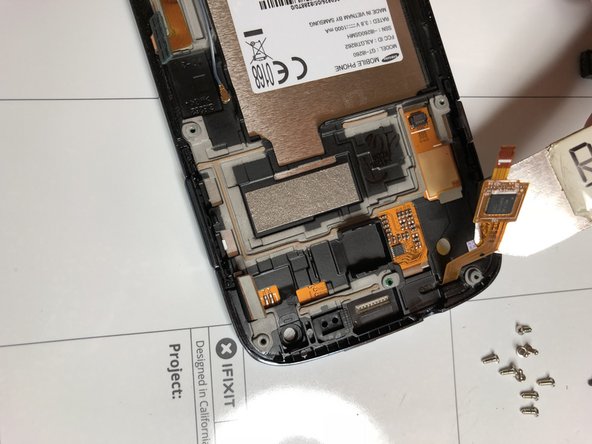
Step 4
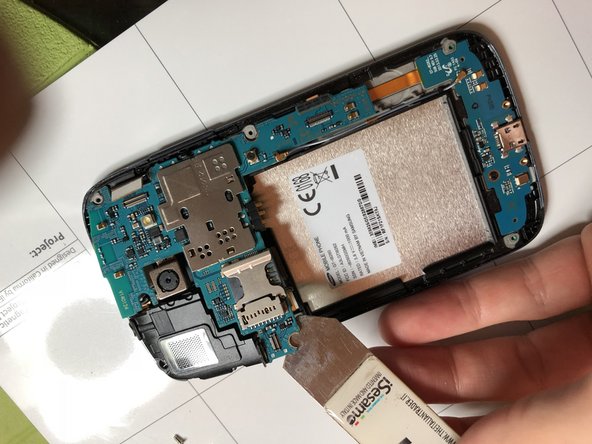


– Let’s get those connectors unclipped! Three down, lots more to go!
– Time to disconnect those motherboard cables. We’re making progress!
– Grab a flat tool, and let’s get that motherboard unhooked. We’re almost there!
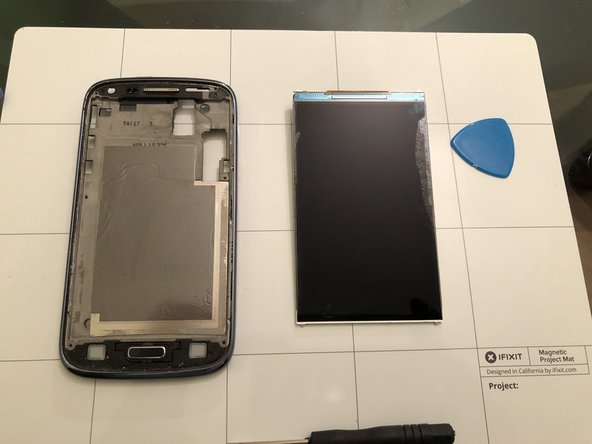
Step 5

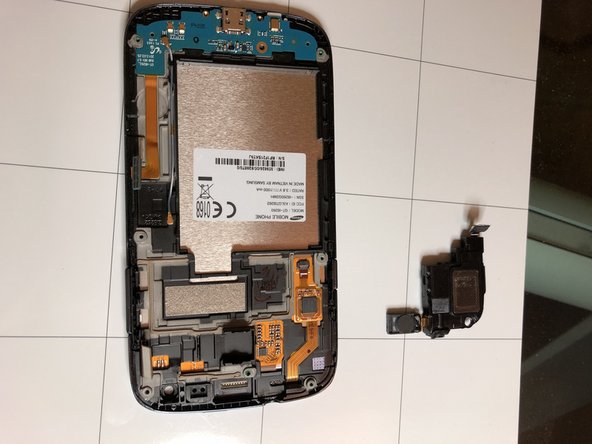
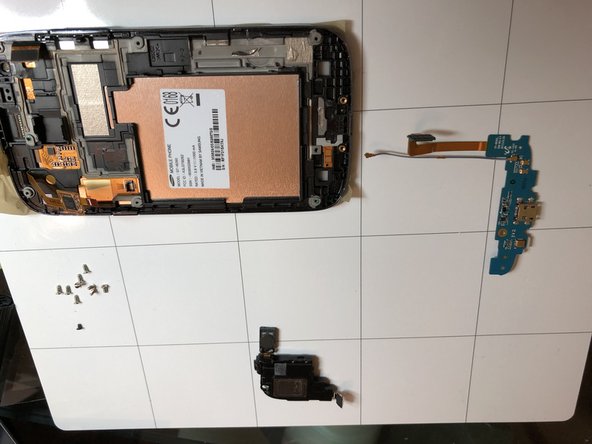
– First, let’s pop off that top motherboard – easy peasy!
– Next, give that speaker a little farewell wave and remove it.
– Now, for the lower motherboard, we’re gonna need a little heat from a hot air hairdryer to loosen that adhesive. Just like a warm hug for your device! Once it’s loose, gently lift it off.
Step 6

– If the touch screen glass is cracked, be careful! Use tape to protect yourself from any sharp edges.
– Time to disconnect that TouchScreen connector!
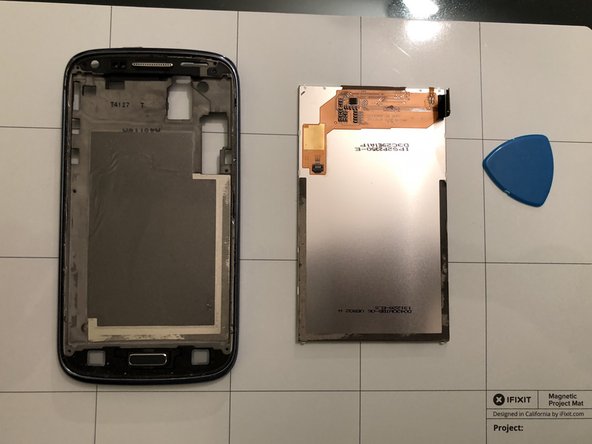
Step 7

– Use a hair dryer or heat to loosen the adhesive, then carefully slide thin tools between the glass and central cover to remove the touchscreen – it’s like a little wiggle dance to set it free!
– Be gentle around the buttons and flat cable if you’re planning to reuse the touchscreen, and remember, if you need help, you can always schedule a repair