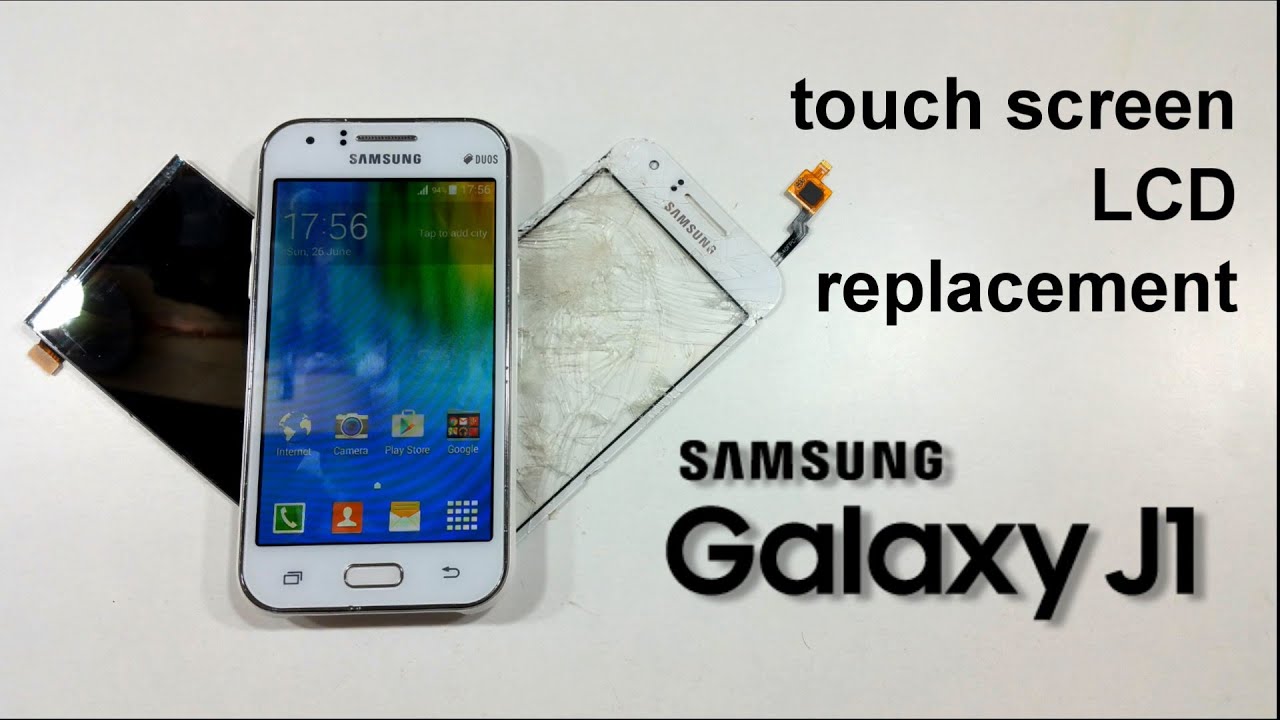
Samsung Galaxy Ace Replace Guide: Step-by-Step Tutorial
Duration: 45 minutes
Steps: 13 Steps
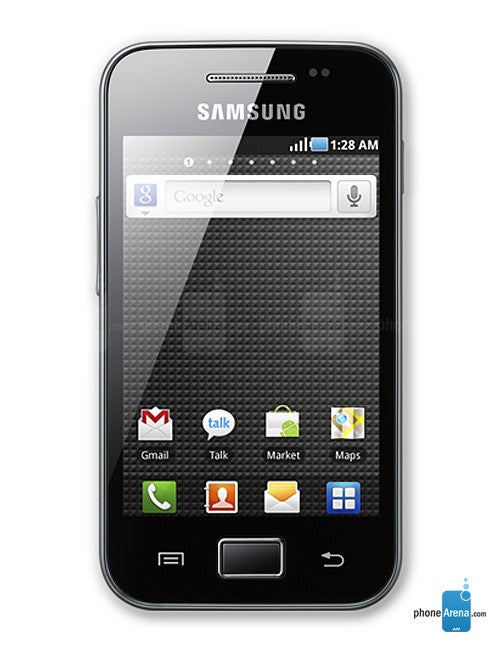
Ready to rock and roll with your Samsung Galaxy Ace S5830 or S5830i? Let’s get those components singing again! This step-by-step guide will walk you through swapping out the loudspeaker, earpiece, main camera, LCD Display, and Touch screen Digitizer Glass like a pro. Feeling a little lost? Don’t worry! If you need help, you can always schedule a repair.
Step 1
– First things first, power down your phone. Just give it a quick tap on the power button and watch it go to sleep. Then, let’s pop out the battery, SIM card, and any memory card you might have in there. Easy peasy, right?
Step 2
– First things first, let’s tackle those 7 Phillips screws! Get your screwdriver and start unscrewing.
– Next up, grab a plastic tool and gently pry off that back cover. It’s time to see what’s inside!
– And there you have it, the vibrating motor is ready for inspection!
Step 3
Careful now! Don’t go snapping those flex cables. We want everything to stay smooth sailing.
– Let’s unplug those flex cables! First, disconnect the earpiece and light sensor flex cable. It’s a breeze.
– Next, give those Volume Up/Down buttons a little break and take off their flex cable.
– And last but not least, do the same with the Power button flex cable. You got this!
Step 4
– Gently lift the microphone out of your way.
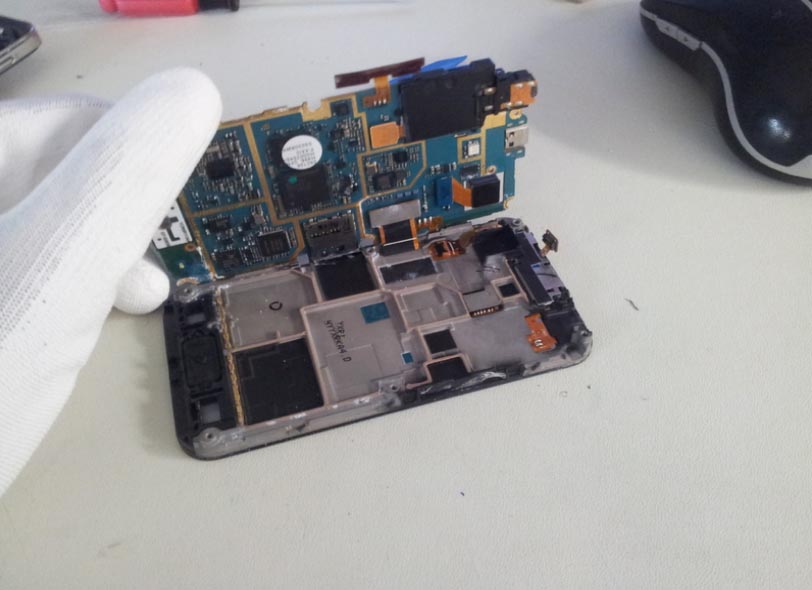
– Carefully raise the board from the right side and disconnect that sneaky LCD display flex cable.
– Now, with a little finesse, remove the board from the middle frame.
Step 5
– Say hello to the main camera!
Step 6
– Here’s the deal: this little gem is the loudspeaker & audio jack connector module. Let’s get to know it better!
Step 7
– Let’s get started with the loudspeaker and light sensor module,
Step 8
– Let’s get started by disconnecting the touch screen flex cable. This is a crucial step, so take your time and make sure it’s done correctly. If you need help, you can always schedule a repair
Step 9
– Grab a hair dryer and gently warm up that touch screen glass to help the adhesive take a little break.
– Use a plastic tool to carefully pry the glass away from the middle frame. Take your time and be gentle!
Step 10
– Alright, let’s get this LCD display party started! Using your trusty plastic tool, gently pry apart the LCD display from the middle frame. Remember, it’s all about being careful and making sure everything stays in tip-top shape. If you need help, you can always schedule a repair.
Step 11
Step 12
– Pop in that touch screen and let’s get the reassembly party started!
Step 13
– And that’s a wrap!
– Did everything go smoothly?
– If you need a hand, don’t hesitate to reach out and schedule a repair.