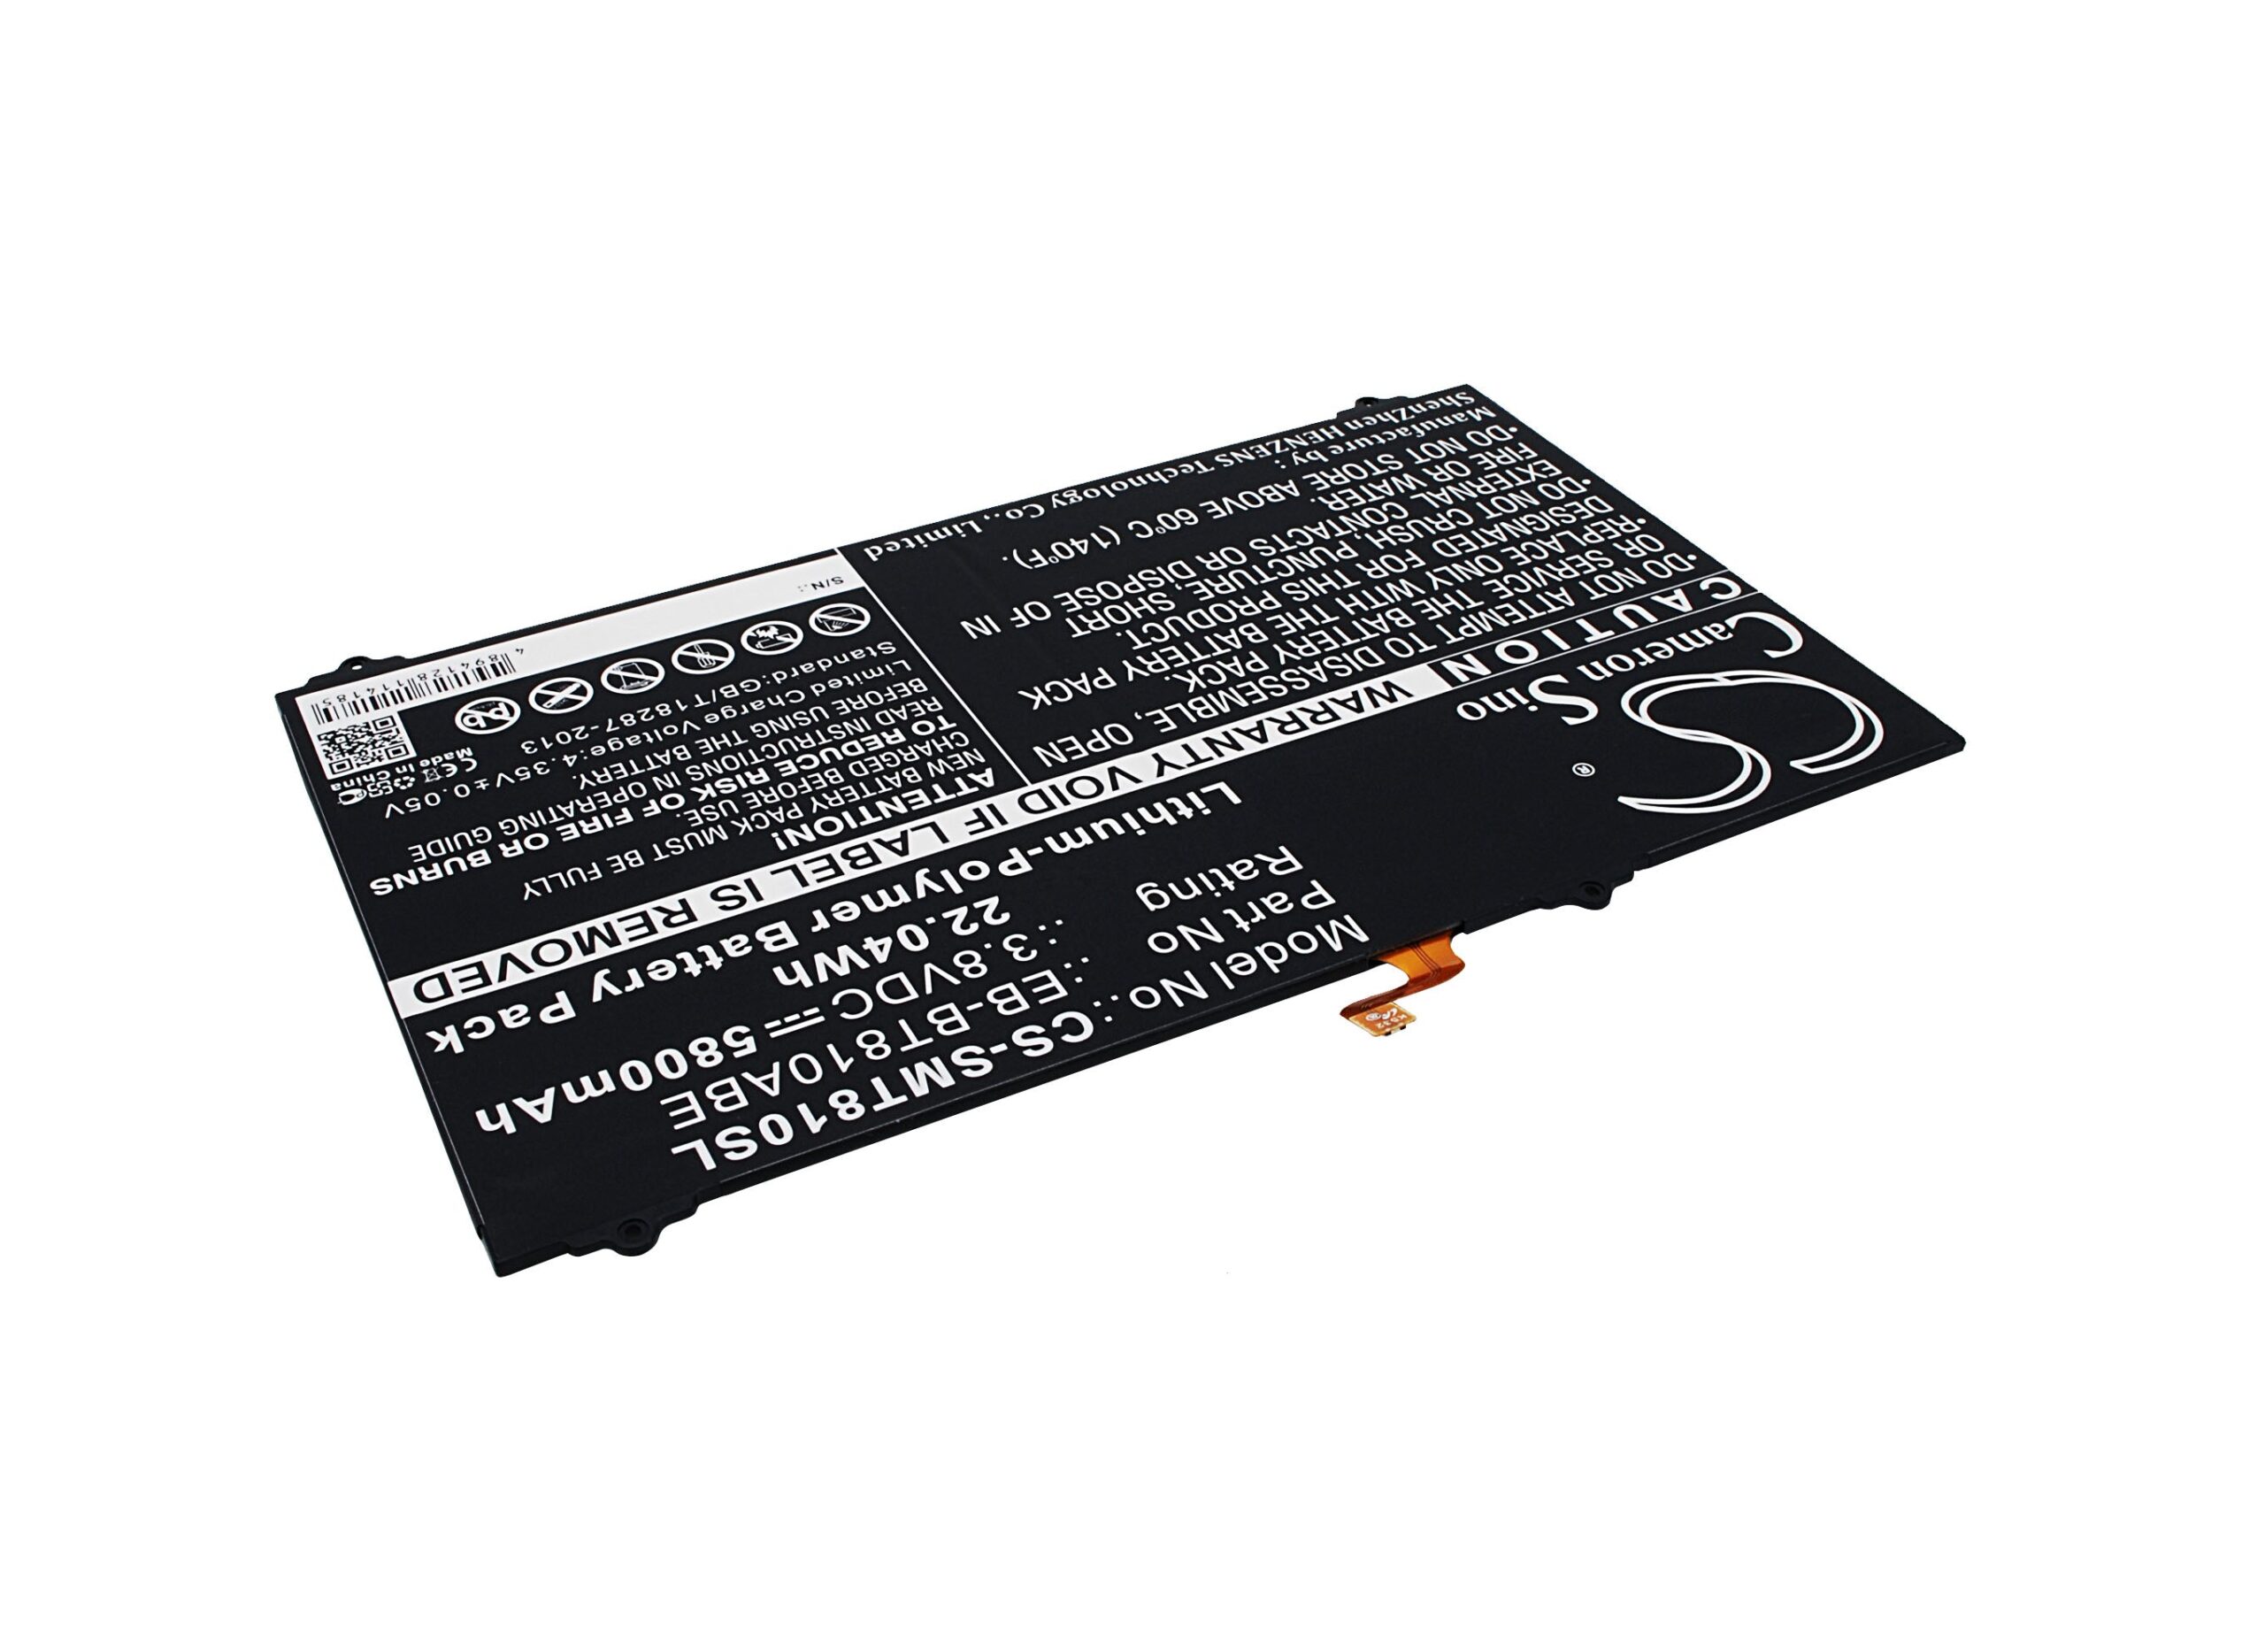
Samsung Galaxy Tab S2 9.7 SM-T813 Battery Replacement
Duration: 45 minutes
Steps: 15 Steps
Your battery keeps your device running—think of it as the heartbeat! Give your device a new lease on life by following these straightforward steps.
Step 1
– Pop the iOpeners in the microwave for about 1-2 minutes to get them nice and warm.
– Then, slap those heated iOpeners onto the screen edges to loosen up the adhesive. If you need help, you can always schedule a repair.
The iOpeners might be a little toasty. Handle with care and grab those tabs on the ends to avoid any oops moments!
Looking for more tips on how to work with the iOpeners? Check out the detailed iOpener Instructions to get the hang of it. If you hit a snag or need a hand, remember you can always schedule a repair with Salvation Repair for expert assistance.
Tools Used
Step 2
– Gently wedge the picks between the screen assembly and the back to start separating them. Then, slide the picks along the edge, keeping them in place to hold the device open all around. If you need help, you can always schedule a repair.
Step 3
– Pick a corner of the screen and gently lift with your suctioning tool to create a little space between the front and back panels.
– Once there’s a gap, slide in the picks to keep the two parts apart and make your next move easier.
Step 4
Watch out for those pesky shards! Broken glass from the screen can be sharp—handle with care and avoid any cuts.
– Once all the edges are free, gently lift the screen by prying up one side. Take your time—patience is key to a smooth lift. If you need a hand along the way, you can always schedule a repair for expert assistance.
Step 5
– With a steady hand, grab those tweezers and gently lift the shiny silver tape that’s snugly covering the connector. You’ve got this!
Tools Used
Step 6
– Grab your plastic opening tool and gently slide it under the connector piece. This will help you lift the front panel assembly away from the rest of the device. If you need help, you can always schedule a repair.
Step 7
– Carefully disconnect the connector from the interior of the device, making sure not to pull too hard.
– Gently lift the screen to separate the front panel assembly from the rest of the device, taking your time to avoid any damage.
Step 8
Need a little guidance on how to tackle those pesky screws? Check out our Screwdriver Best Practices for some handy tips. Remember, if things get tricky, we’re here for you! Just schedule a repair and we’ll take care of it.
– Use your screwdriver to remove the 17 silver 3.0 mm Phillips head screws around the edge of the device. If you need help, you can always schedule a repair.
Step 9
– Grab your trusty screwdriver and take out those two black 3.0 mm Phillips head screws right in the center. You’ve got this!
Step 10
Those popping or cracking sounds? Totally normal! They’re just the sound of the panel loosening up from the rest of your device. Nothing to worry about, it’s all part of the process!
– Grab your plastic opening tool and slide it between the middle panel and the rest of your device—nice and easy.
– Work your way around the edges, gently wiggling as you go, until the panel is loose enough to lift off with your hands.
Step 11
– Gently lift the central panel from one corner to start loosening it from the device. Then, pull upward towards the top of the device as you lift it out, making sure not to damage the charging port connection. If you need help, you can always schedule a repair.
Step 12
– Flip the central panel over so that the battery logo is facing upwards. Let’s get it in the right position!
– Carefully slide the larger plastic opening tool under the ZIF connector located at the bottom left of the device.
– Gently lift to detach the connector from the panel. You’ve got this!
Step 13
– Use your screwdriver to remove the four black 3.0 mm Phillips head screws from the corners of the battery housing. If you need help, you can always schedule a repair.
Step 14
– Gently slide the larger plastic opening tool underneath the cable connector and lift it up to disconnect the cable from the panel. If you need help, you can always schedule a repair.
Step 15
– Carefully wiggle the battery up from one corner with your hands and lift it out of the central panel. Easy does it—no need to rush!
Success!


