Replace Samsung Galaxy Note10+ 5G Vibration Motor: DIY Guide
Duration: 45 minutes
Steps: 20 Steps
Get ready to tackle the task of removing or replacing the vibration motor on your Samsung Galaxy Note10+ 5G! This guide is based on steps crafted for the non-5G Note10+, so keep that in mind. Some images might show slight differences, but don’t worry—they won’t throw you off your game. If you need help, you can always schedule a repair.
Step 1

Alright, champ! Before we get started, let’s make sure your phone is completely powered off. We don’t want any surprises, right?
You can use a hair dryer, heat gun, or hot plate for this job, but keep an eye on the temperature! We want to avoid turning your phone into a crispy critter—both the display and battery are not fans of excessive heat. Stay cool, and if you need help, you can always schedule a repair.
– Grab your trusty iOpener and give it a warm hug against the left edge of the rear cover for about a minute.
Tools Used

Step 2


If your rear cover is looking a bit worse for wear with some serious cracks, a simple trick is to slap on a layer of clear packing tape. This might just give your suction cup the grip it needs! If you’re feeling extra adventurous, you can also use some heavy-duty tape instead of the suction cup. And if all else fails, a little superglue can do wonders to keep that suction cup stuck to the broken cover.
Now, depending on how long you’ve had your phone, this step might be a bit tricky. If you’re running into some trouble, don’t sweat it! Just add a bit more heat around the edge and give it another go.
– Get ready to rock this repair! Apply a suction cup to the heated edge of the rear cover, as close to the edge as possible.
– Now, give that suction cup a good tug! Pull up with strong, steady force to create a gap between the rear cover and the frame.
– Time to sneak in! Insert the point of an opening pick into the gap. If you need help, you can always schedule a repair
Step 3


Keep that opening pick under control—don’t shove it in more than halfway or you might accidentally poke something you shouldn’t!
– Now it’s time to get that pick sliding – gently work it along the left edge towards the bottom left corner to break through the adhesive. You’re making great progress!
– Leave that pick right where it is, stuck in the bottom left corner, to keep the adhesive from re-sealing and making your job harder. If you need help, you can always schedule a repair
Step 4


As you wrap up working on all the edges of your phone, the rear cover will start to pop off like it’s saying, ‘Hey, let’s get this fixed!’
– Now it’s time to repeat the heating and cutting process for the remaining three sides of your phone – just like you did before, but on the other sides. Keep it up, you’re doing great!
– As you move on to the next side, make sure to leave an opening pick in place to prevent the adhesive from sneaking back in. You’re making progress, and that’s something to be proud of! If you need help, you can always schedule a repair
Step 5


Make sure your device is powered on and give your repair a quick test run before you go all in with the adhesive and seal that baby up!
– Gently lift the rear cover straight up to pop it off like a champ!
– Check out this guide to put the rear cover back on and swap out that adhesive like a pro.
– If you’re going for Tesa tape to reattach those components, just follow this guide.
Step 6

– Let’s get started by removing the five 4mm screws that hold the wireless charging coil in place – just grab your trusty Phillips screwdriver and you’re all set. If you need help, you can always schedule a repair


Step 8


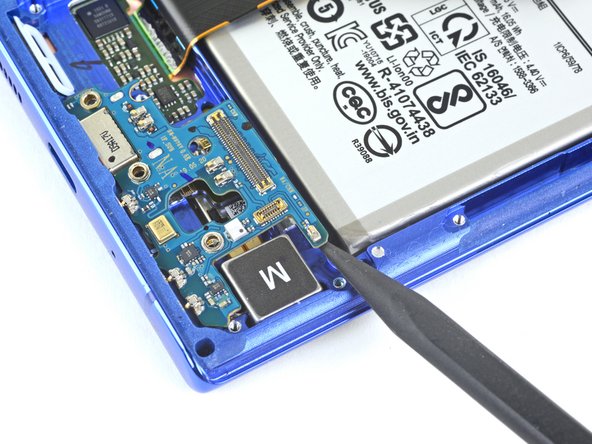
– While you’ve got the metal shield out of the way, use the pointed end of a spudger to carefully pry up the battery connector and disconnect it. If you need help, you can always schedule a repair
Tools Used

Step 9


– Grab your trusty spudger and gently use the pointed end to disconnect the wireless charging coil connector from the motherboard. It’s like giving the connector a little nudge to say ‘see ya later!’. If you’re feeling a little unsure about this step, you can always schedule a repair with our expert tech team.
Tools Used
Step 10


Don’t worry, that wireless charging coil is just chillin’ there with some light adhesive holding it down. It’s not gonna be a huge fight to get it off. If you need help, you can always schedule a repair
– Tilt the metal shielding up like a superhero lifting a car, so you can give it a firm grip with your fingers.
– Peel the wireless charging coil up and away from the device, like peeling a banana or sticker from an album!
– Remove the wireless charging coil – and let’s cheer as it finally breaks free!
Step 11

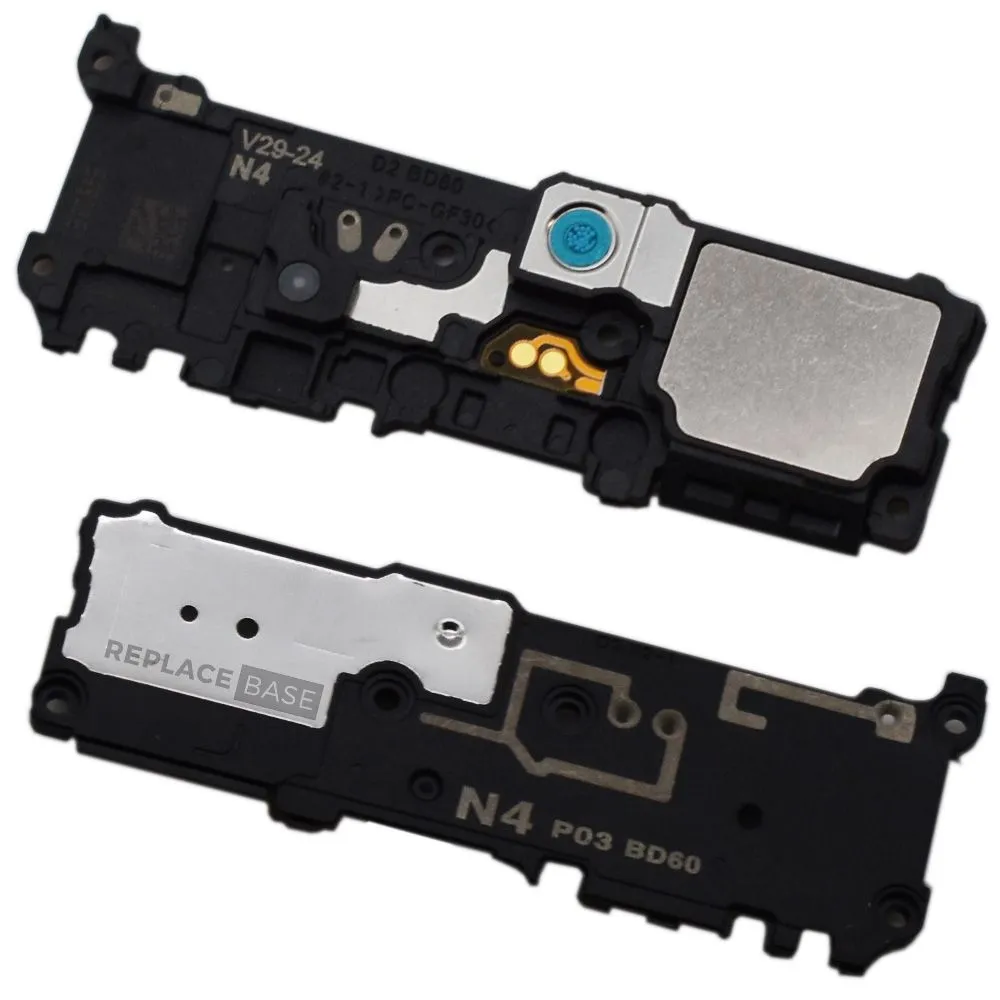
– Let’s get started by removing the five 4mm screws that hold the loudspeaker in place – just grab your trusty Phillips screwdriver and you’re all set. If you need help, you can always schedule a repair
Step 12


– Time to get up close and personal with those tiny components – use a trusty pair of tweezers to carefully remove the loudspeaker. If you need help, you can always schedule a repair
Tools Used
Step 13


– Grab that trusty spudger and use its pointed end to gently pry the main interconnect cable away from the motherboard. You’ve got this!
– Next up, let’s disconnect the secondary interconnect cable from the motherboard. Easy peasy!
Tools Used


Step 15

– Time to give that main interconnect cable the boot! Carefully detach it and set it aside.
Step 16


Be careful not to touch the secondary interconnect cable – it’s connected to the side 5G mmWave antenna, so let’s leave it right where it is. If you need help, you can always schedule a repair
– Gently use a spudger or your fingers to carefully tuck the secondary interconnect cable away from the battery. You’ve got this!
Tools Used
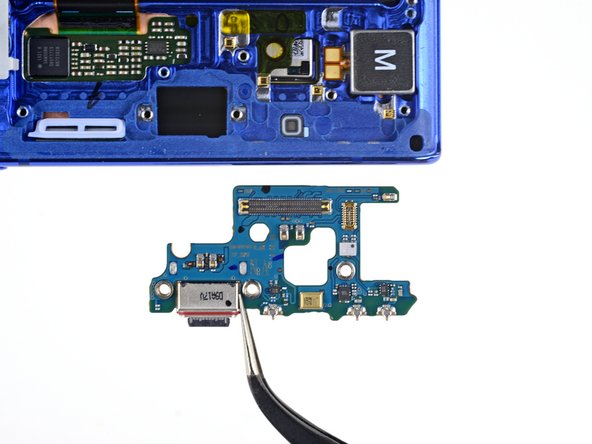
Step 17

– Grab your trusty Phillips screwdriver and unscrew the three 4 mm screws that are holding the charging assembly daughterboard in place. You’ve got this!


Step 20

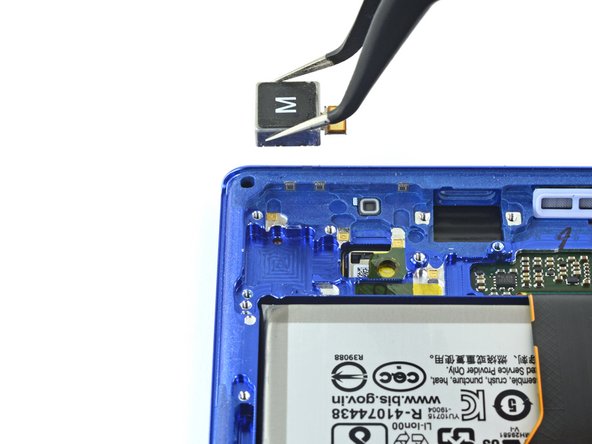

When you’re using tweezers around the battery, just take a moment to tread lightly and avoid giving that battery a little poke. Safety first, my friend!
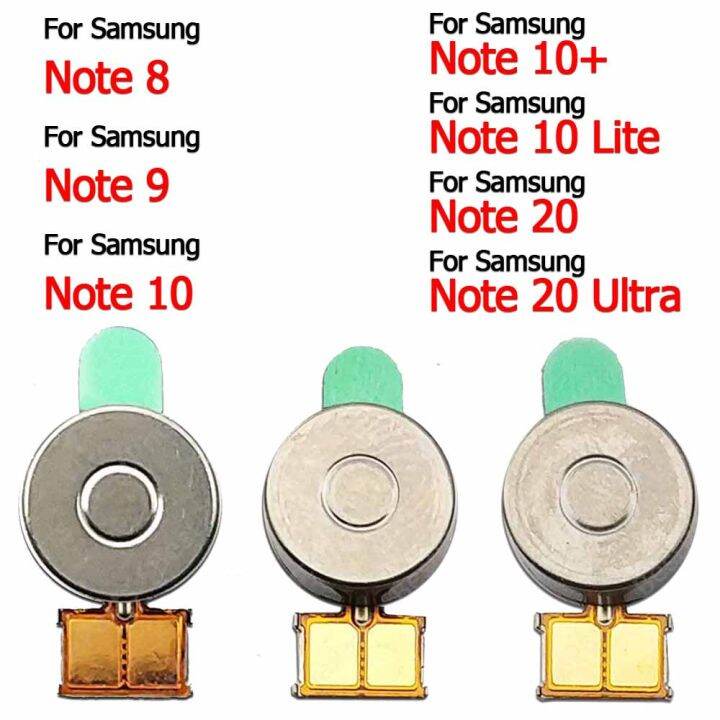
The vibration motor is held in place with a touch of light adhesive.
– Grab a trusty pair of tweezers and gently coax the vibration motor out of its cozy little spot in the frame.
– Now, go ahead and remove that vibration motor with confidence!
Tools Used