Galaxy Note10 Plus Loudspeaker Replacement Guide: DIY Tutorial for a Crisp Sound Experience
Duration: 45 minutes
Steps: 12 Steps
Hey there, just a quick heads up! Before you dive in, take a moment to review the steps. Safety first—make sure you’ve got everything you need before getting started. Remember, if you run into any hiccups, don’t hesitate to reach out and schedule a repair. You got this!
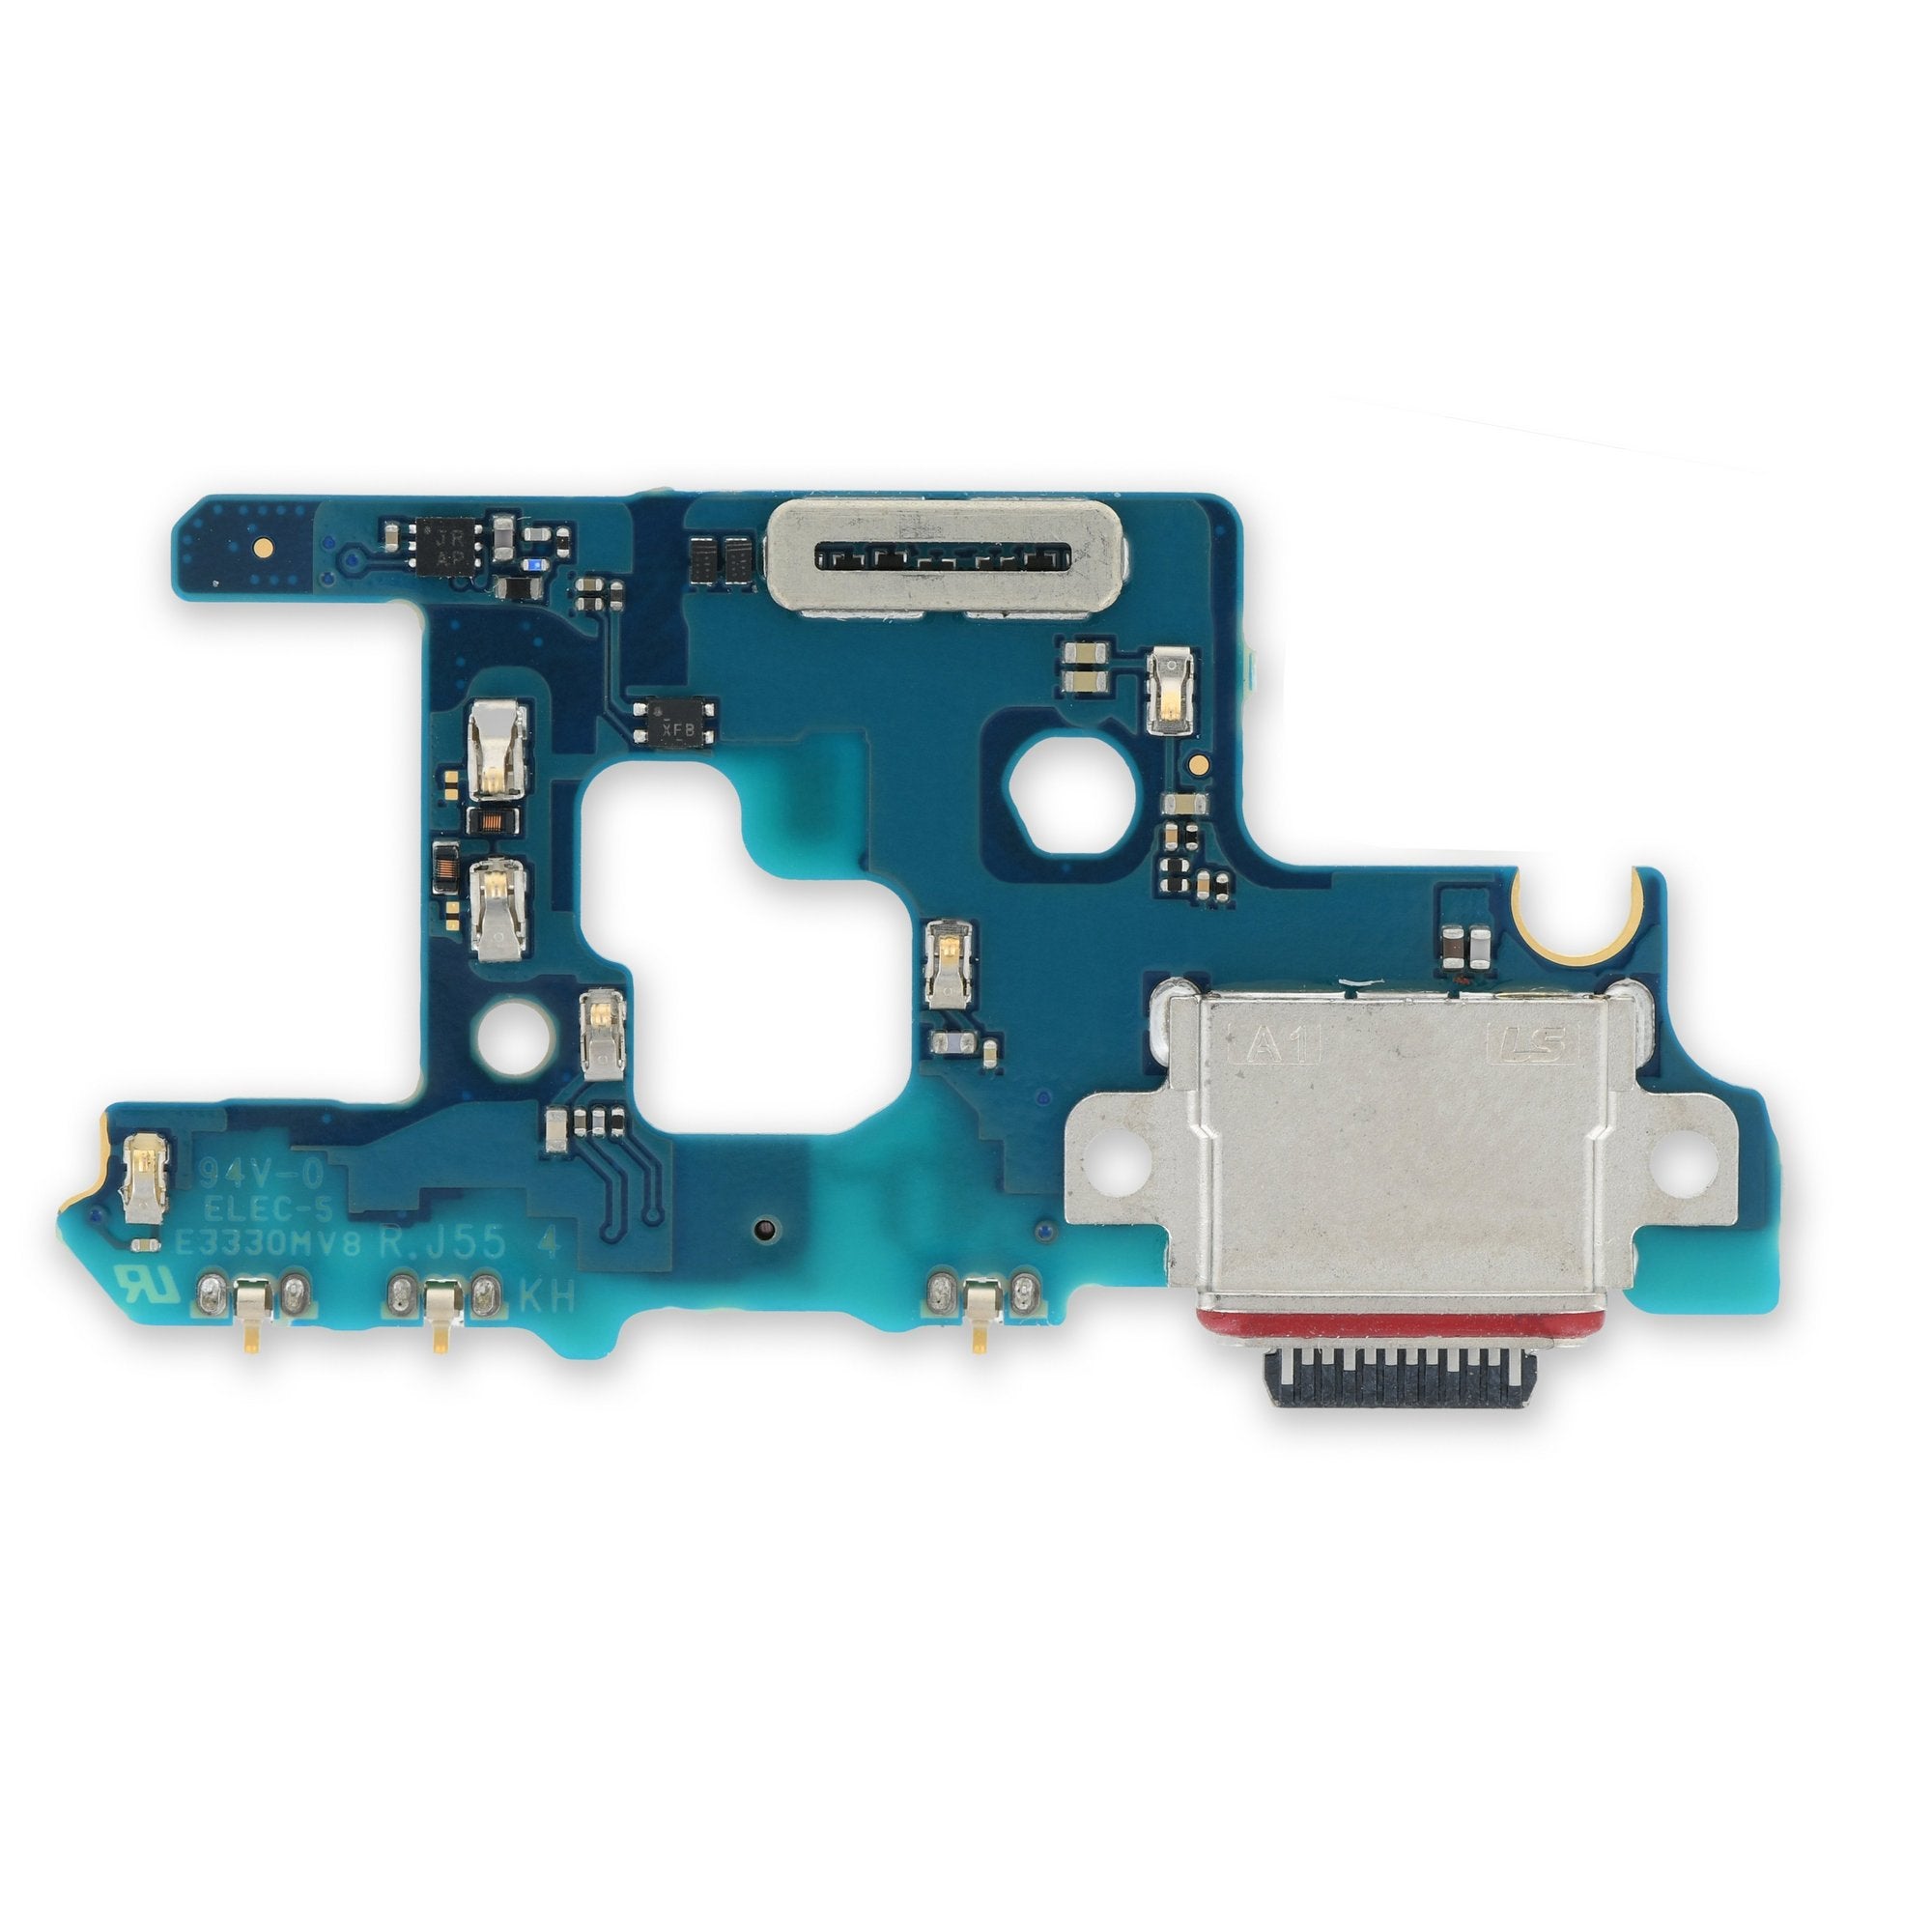
Get ready to breathe new life into your Samsung Galaxy Note10+ by replacing or removing the loudspeaker. Fun fact: the daughterboard cover also serves as the main downwards-facing loudspeaker. If you need help, you can always schedule a repair
Step 1

Make sure to power down your phone entirely before diving into the disassembly adventure!
You can whip out a hair dryer, heat gun, or hot plate for some gentle warmth, but keep a close eye on the temperature! We wouldn’t want to turn your phone into a hot mess—both the display and battery are easily hurt by too much heat. Stay cool while you heat things up!
– Get ready to unlock your device’s full potential – start by applying an iOpener to the left edge of the rear cover for about a minute. If you need help, you can always schedule a repair
Tools Used

Step 2


If your rear cover is looking a bit worse for wear with some serious cracks, a layer of clear packing tape might just do the trick to help that suction cup stick. If you’re feeling adventurous, you can also try using some super strong tape instead of the suction cup. And if you’re really in a bind, a little superglue on the suction cup can help it cling to the broken cover.
Depending on how old your phone is, this might be a bit tricky. If you’re having a tough time, don’t hesitate to apply a bit more heat to the edge and give it another go.
– Grab a suction cup and stick it to the warm edge of the rear cover, getting as close to the edge as you can.
– Give that suction cup a good, steady pull to open up a little gap between the rear cover and the frame.
– Slide the tip of an opening pick into that gap you’ve just created.
Step 3


Be careful not to go too far with that opening pick! You don’t want to hurt anything inside, right? Just a little way in, then you’re golden. If you’re feeling a little uneasy, you can always schedule a repair.
– Now it’s time to get this repair started – slide the opening pick along the left edge towards the bottom left corner. This will help you slice through the adhesive and make the rest of the process a whole lot easier.
– Great job so far! Leave the pick inserted in the bottom left corner to prevent the adhesive from re-sealing. If you need help or get stuck, you can always schedule a repair
Step 4


As you wrap up the work on all sides of the phone, you’ll notice the rear cover starting to pop off. Keep going, you’re almost there!
– Go ahead and give the other three sides of your phone some love with the same heating and cutting dance you just did! You’re on a roll!
– To keep the adhesive from playing tricks on you, leave an opening pick on each side before moving on to the next. You’ve got this!
Step 5


Make sure to power up your device and give your repair a test run before you go ahead and stick everything back together with new adhesive. You’ve got this!
– Time to get started! Lift that rear cover straight up and off you go – it’s the first step to getting your device back in action.
– Ready to put everything back together? Follow our guide to reinstall the rear cover and get the adhesive just right.
– Using Tesa tape to reattach some components? No problem! We’ve got a guide for that too – just follow along and you’ll be all set. And if you need help, you can always schedule a repair.
Step 6

– Alright, let’s get this show on the road! Grab your trusty Phillips screwdriver and give those five 4mm screws securing the wireless charging coil a little spin to the left. You got this!


Step 9


– Grab that trusty spudger and use its sharp tip to gently detach the wireless charging coil connector from the motherboard. You’ve got this!
Tools Used
Step 10


The wireless charging coil is held in place with a bit of light adhesive magic.
– Time to get a grip – carefully tilt the metal shielding up so you can get a good hold of it with your fingers.
– Now, let’s get that wireless charging coil out of the way – simply peel it up and away from the device.
– The final step: remove the wireless charging coil. If you need help, you can always schedule a repair
Step 11

– Time to get those screws out! Use a Phillips screwdriver to loosen up those five 4 mm screws holding the loudspeaker in place.
Step 12


– Time to get up close and personal with those tiny components – use a trusty pair of tweezers to carefully remove the loudspeaker. If you need help, you can always schedule a repair
Tools Used