Hakko FX-888D Teardown
Duration: 45 minutes
Steps: 12 Steps
Step 1


– A simple, eco-friendly cardboard box made mostly from recycled materials. It’s sturdy enough to get your gear to its next destination in one piece, and better for the planet too.
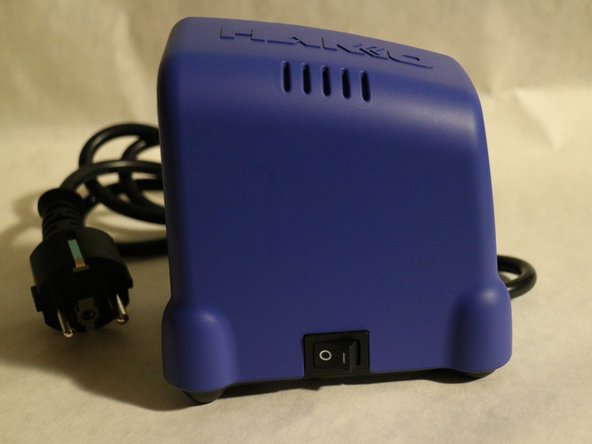
Step 2


– This holder means business—it’s hefty, super steady, and crafted from thick, colorful metal. Push the big button on the back to pop out the insert with the cleaning sponge.
– Here’s a close-up of the grip: five silicone grooves let you clean the soldering tip with precision. The silicone is tough enough to handle the heat, so no worries there.
Step 3
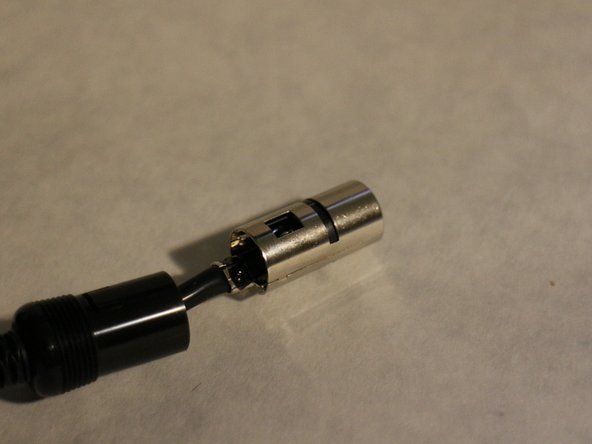
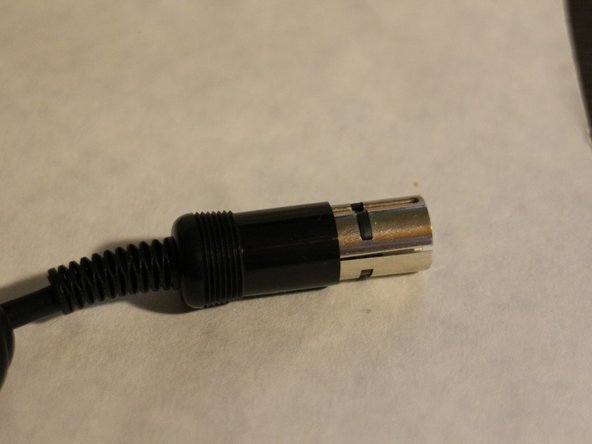

– The handle ends with an aviation 5-tip connector—no screwing it in, so expect a little wobble when it’s plugged in.
– You can take it apart in a snap and peek inside to check out how the cables are hooked up.
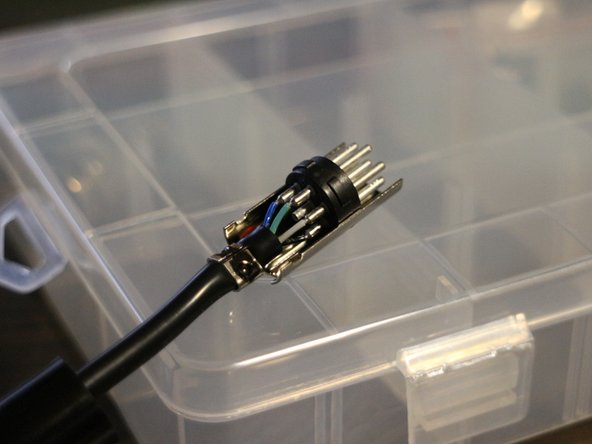
Step 4

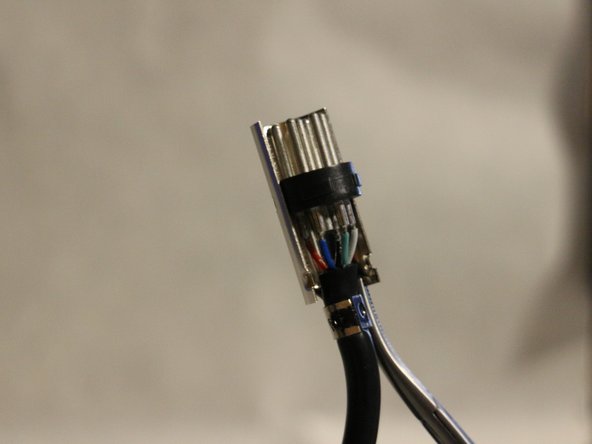
– Inside the connector, you’ll find 5 cables, each with its own color. They’re waiting for your expertise!
– From bottom to top (counterclockwise), the colors are: Black, grey, green (that’s the ground), blue, and red.
Step 5
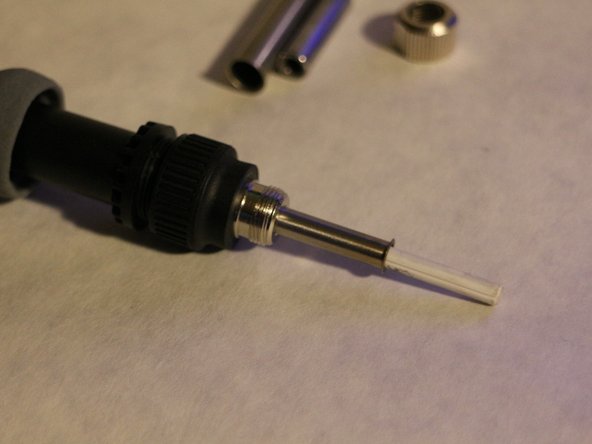
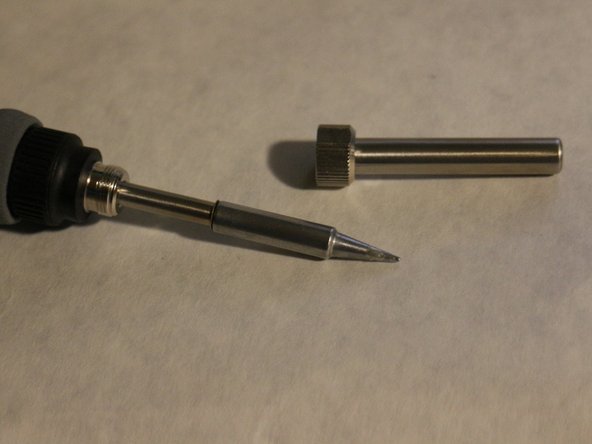

– Twist off the tip holder, and the tip will slide right down—revealing the ceramic heating element underneath, ready for action.
Step 6

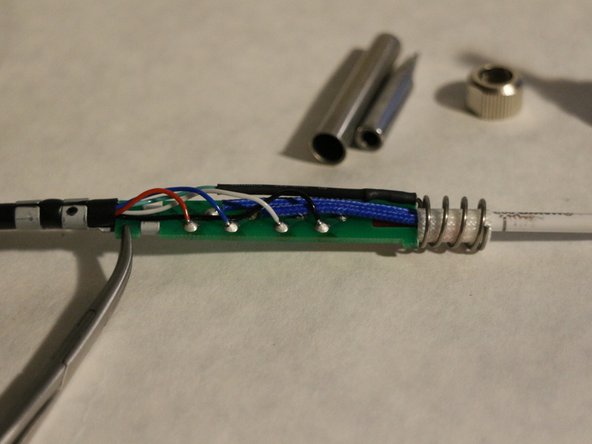
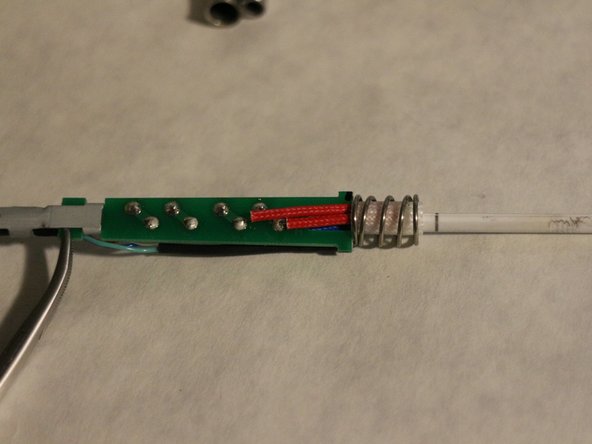
– Once you’ve unscrewed the second section, gently slide out the PCB—the brain behind those ceramic heating elements. It’s got connections for 26V power, a temperature sensor, and ground. That ground link runs through a metal spring, keeping your tip grounded and ESD safe.
– The ground wire comes with a cozy heatshrink jacket, so it won’t get too friendly with any live cables nearby.
Step 7
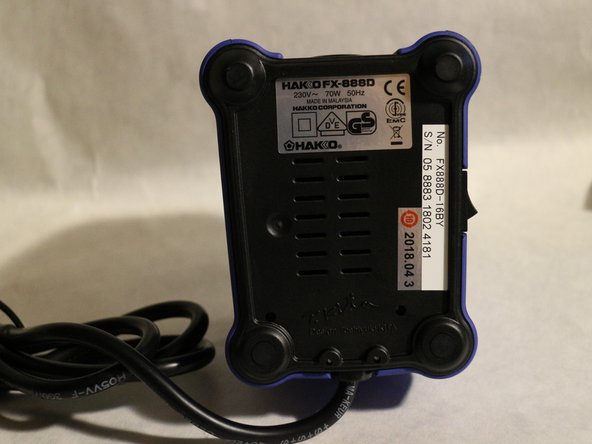

– The station is a bit on the heavier side, mostly thanks to the multi-voltage transformer snugly packed inside. The outer shell? It’s made from a tough, high-quality PC+ABS blend—pretty solid stuff.
– The bottom feet are equipped with four rubber discs, giving it a stable grip wherever you place it.
Step 8
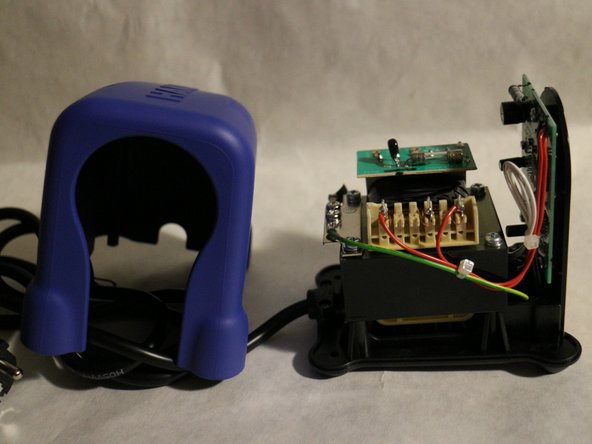

– Pop off those feet, and—surprise!—you’ll spot four PH1 screws just waiting to be unscrewed. Go ahead and set them free.
– With the screws out of the way, lift the top blue plastic shell up and let the insides greet you.
– Inside, you’ll see three big players: the transformer, the switch, and the main PCB. Most of the space is theirs to rule.
Step 9

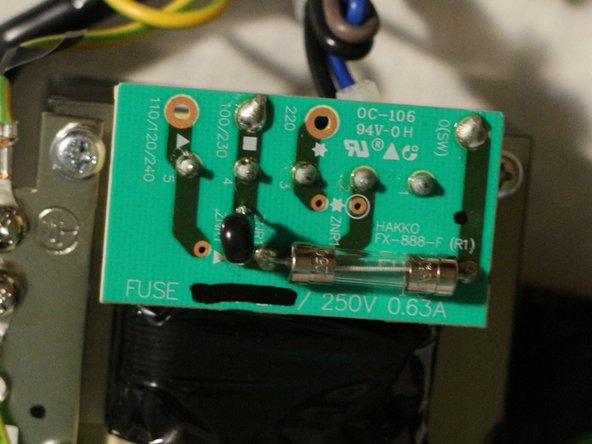
– The transformer comes with a small PCB that’s dedicated to the fuse mechanism—nothing too complex, but important to note!
– It looks like this transformer is designed to handle a range of voltages, including those used in the USA, UK, and Japan. So, if you need to tweak it for a different voltage, you’re in luck—it’s totally possible to modify it!
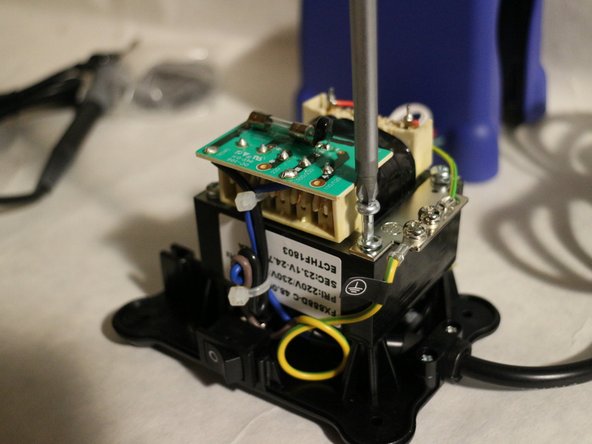
Step 10


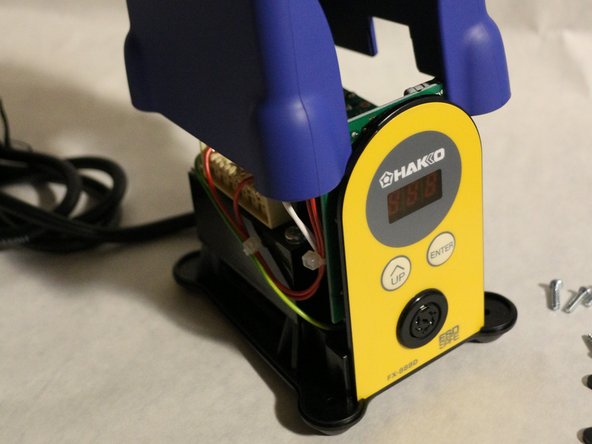
– Time to tackle the main PCB! It’s secured with three PH2 screws, so grab your screwdriver and pop those out.
– On the front, you’ll spot a 3-digit display and a pair of clicky buttons. This board runs on 26V AC, so it’s got to work some magic and convert that to DC for the chips and display.
– The PCB’s not winning any beauty contests—there’s some leftover soldering flux, but hey, no signs of corrosion. Just a little factory mess.
– Flip it over and you’ll find the business end: most of the components live here, including three standout ICs and a beefy MOSFET.
– IC1: 358,633
– IC2: RSF100FCA, 1652KN400, Japan (MCU 16-bit RL78 CISC 4KB Flash 24-Pin HWQFN EP, made by Renesas Electronics)
– IC3: 9C733
– MOSFET: GTAO6-600c GK00D VU, CHN, 742
Step 11

– The main switch controls the power to the station, turning it on and off. It switches the live wire (the brown one) that’s feeding power to the transformer. So, make sure to flip it off when you’re ready to power down.
Step 12

– Here’s a quirky little thing about the connector: ground is connected to two different pins, with one pin being bridged by a tiny resistor. Funny enough, only one pin is linked on the other male connector, which creates a bit of a weird redundancy.
– Now, let’s break down the color coding on the cable:
– Cable 1: Red
– Pin 2: Blue
– Pin 3: Green (this one’s the ground)
– Pin 4: White
– Pin 5: Black
– Pin 6: Not connected