S-993A Desolder Gun Teardown
Duration: 45 minutes
Steps: 7 Steps
This isn’t a complete teardown, but it covers everything you need to get your device back in action. If you’re picking up a desoldering gun, odds are you’re pretty comfortable with a screwdriver already. Let’s get started!
Step 1


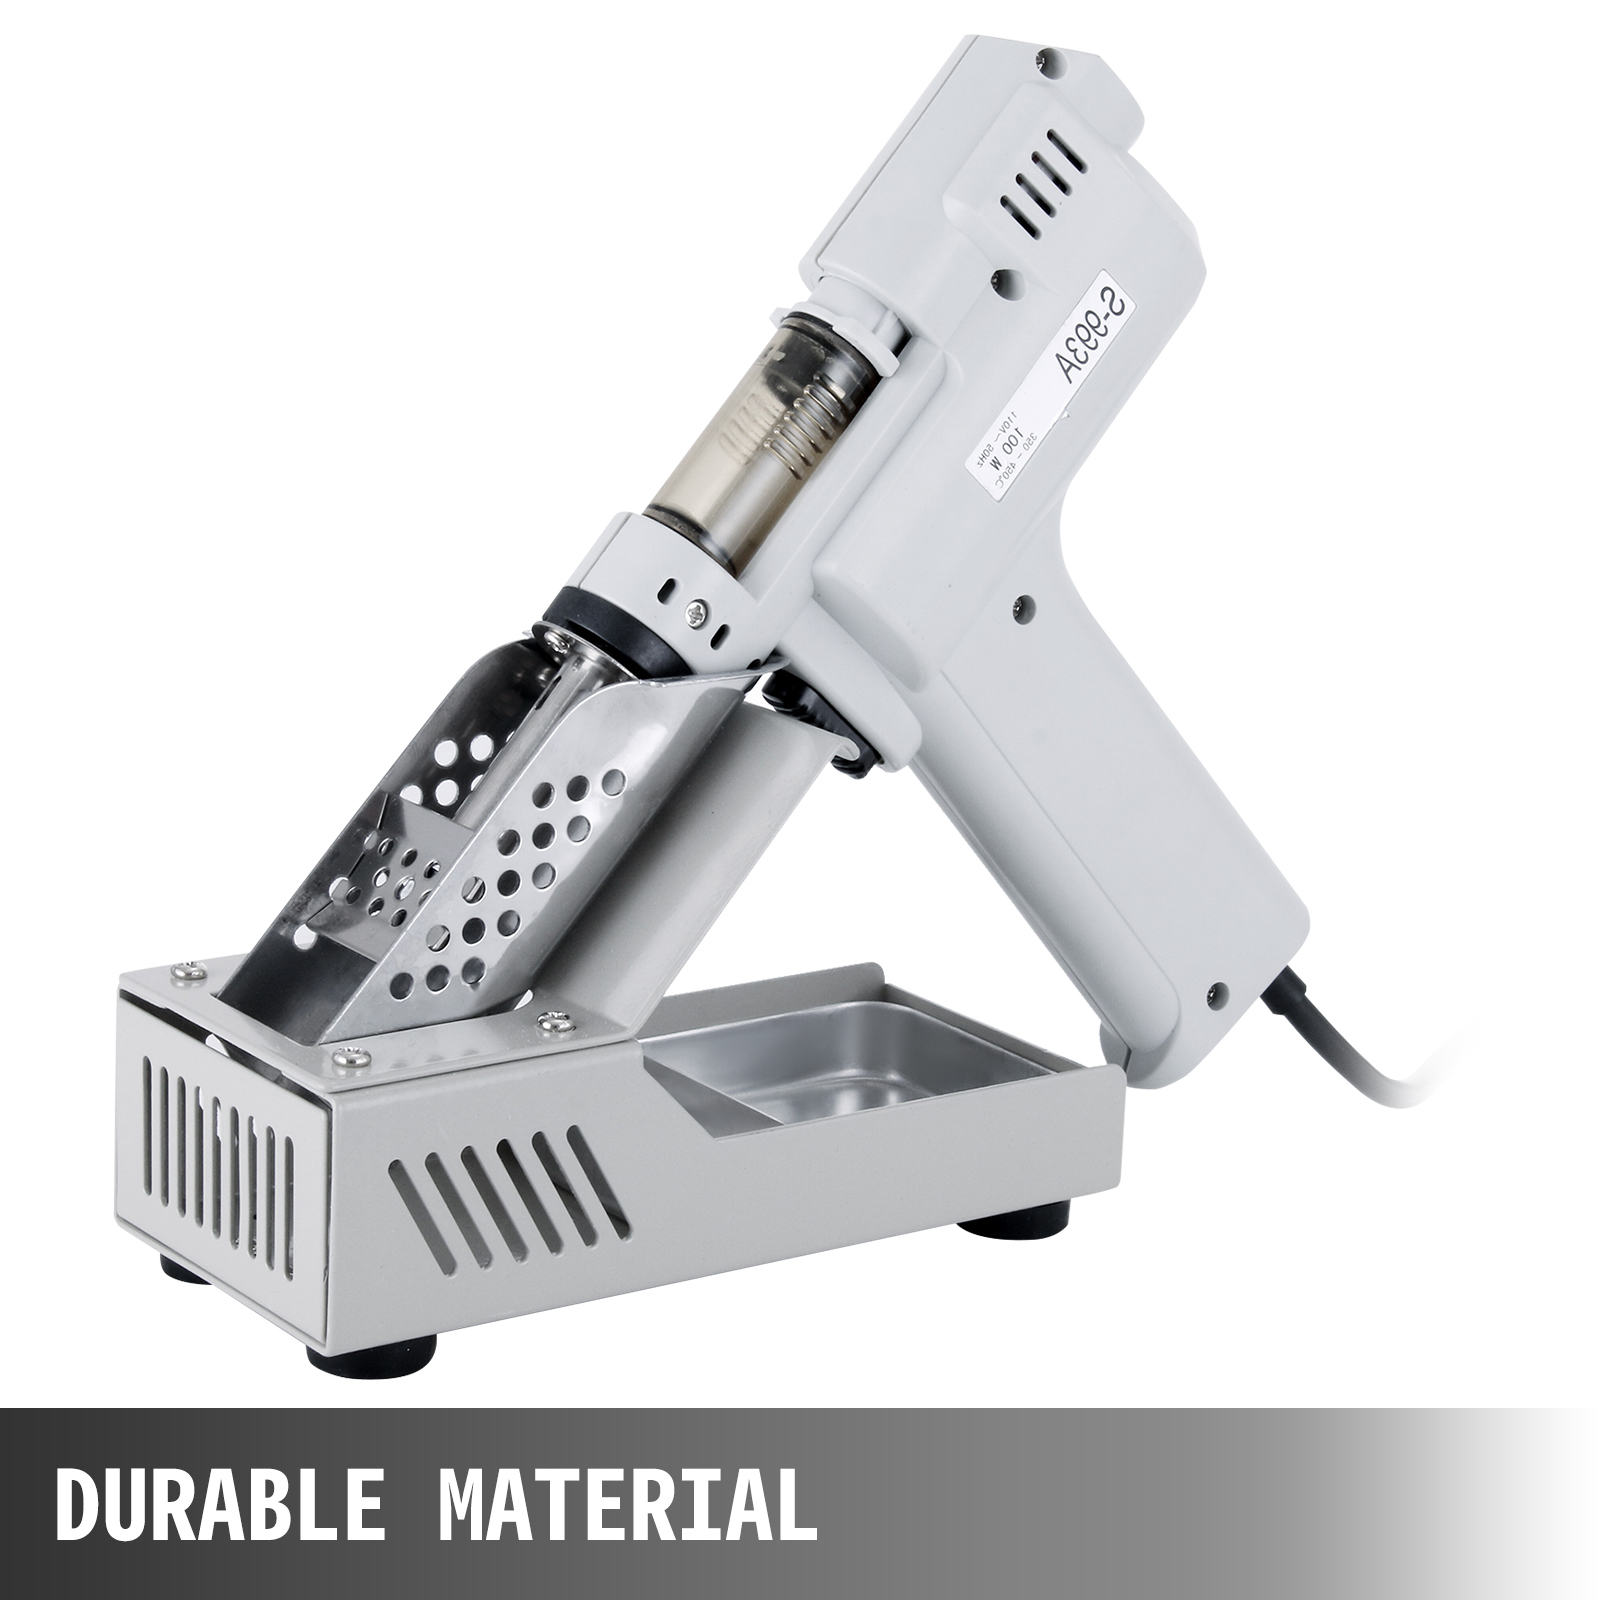
– Here’s a quick peek inside the S-993A desolder gun—a budget-friendly gadget straight out of China.
– This isn’t a full-blown teardown, but you’ll see where every part and connection goes. That’s all you need to get your device working again.
Step 2

– You’ll find three 18mm screws waiting for you, and their spots are highlighted in the picture.
Step 3

– Look for the three 14mm screws—check out the marked spots in the picture to spot them easily.
Step 4

– Spot the 7mm screw hanging out just where the photo shows—time to grab your screwdriver and show it who’s boss!
Step 5

– Time to open up the body! The pump might feel a bit clingy—just give it a gentle nudge to keep it steady.
– Spot the earth wire? It’s hooked up to the nozzle, and you’ll see exactly where in the picture.
Step 6

– Unscrew the two strain relief screws and set them aside.
– Next, remove the tiny screws securing the circuit board—grab your PH2 screwdriver to keep things smooth and prevent stripping the screws.
Step 7

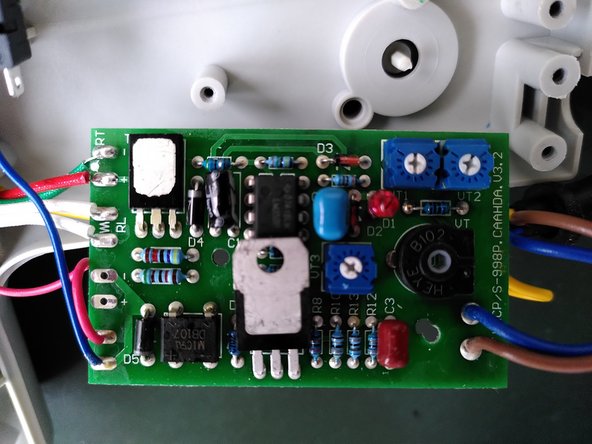
– Carefully ease the circuit board straight back. The temperature adjustment wheel in the handle is still holding it in place, but once you pull straight back, the wheel will pop right out.
Success!