Replace Samsung Galaxy Note 5 Motherboard Guide
Duration: 45 minutes
Steps: 5 Steps
Hey there, repair enthusiast! This guide’s not a full teardown of the Samsung Galaxy Note 5, just a taste of what’s involved up to the motherboard. It’s a cool journey, right? We’re following in the footsteps of TechMD here. If you get stuck, don’t sweat it – we’re here for you. You can always schedule a repair with our team. Happy fixing!
Step 1
– First things first, power down your Galaxy Note 5 and let’s give that S Pen some space by taking it out. We’re just getting started!
Step 2
– Warm things up a bit by running a hairdryer or heat gun around the edges of the Note 5’s back. This will help loosen that stubborn adhesive.
– Now, gently lift the battery cover. Take your time with this part; it’s got a strong bond thanks to the adhesive, and a little patience goes a long way!
Tools Used
- Heat Gun
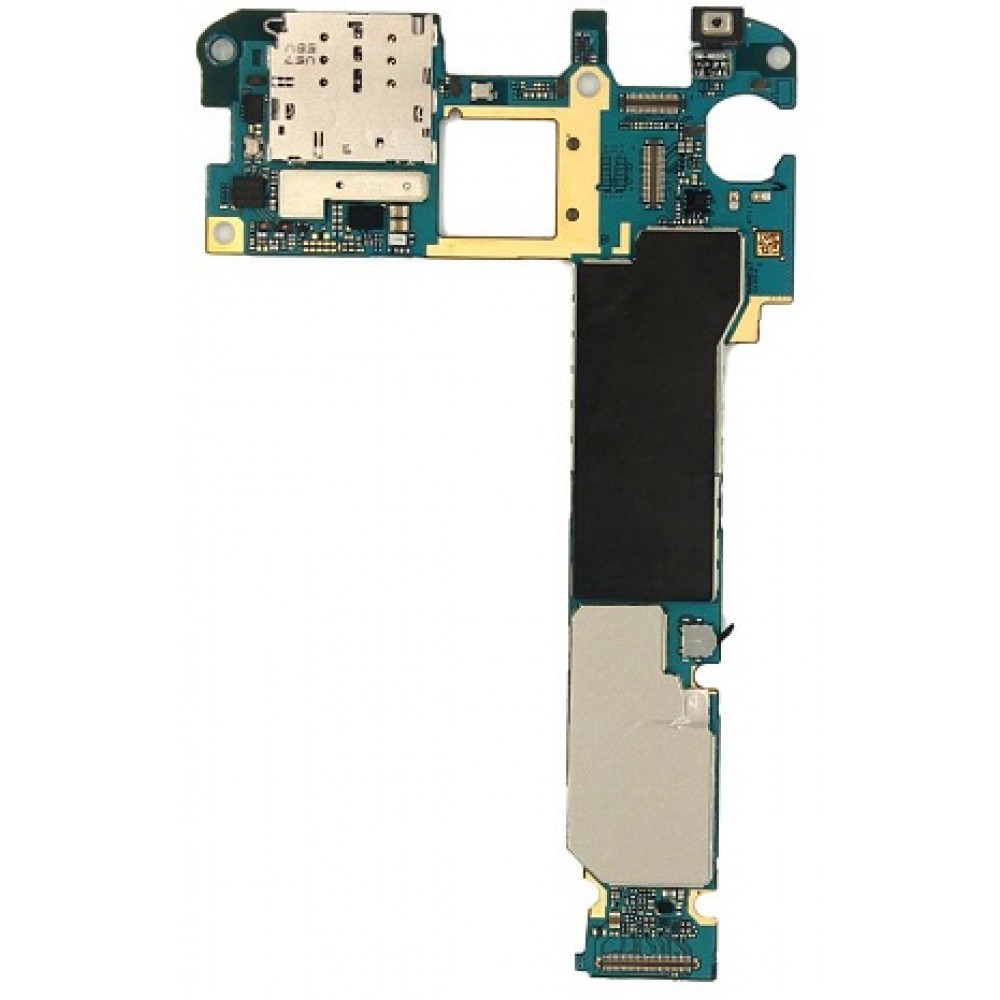
motherboard” src=”https://cart-products.cdn.ifixit.com/cart-products/NNxQlYbBureEhbdN.thumbnail”/>
Step 3
– Let’s get started by removing the 20 screws from the rear housing – it’s time to get inside.
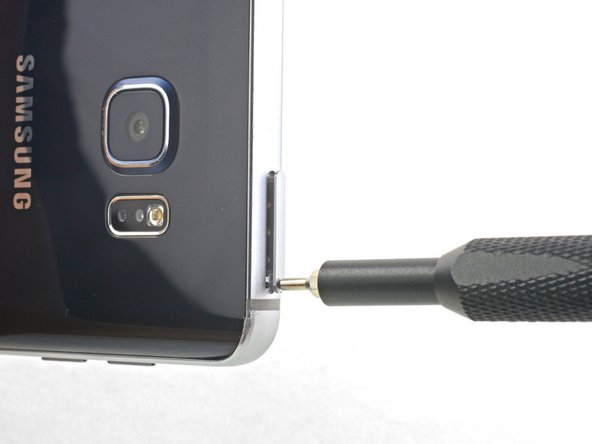
– Next, take out the SIM card tray to get it out of the way.
– Now, carefully pry up the wireless charging chip, being mindful of that delicate flex ribbon. To release the rear housing, insert your trusty case opening tool into the gap between the rear housing and LCD assembly. If you need help, you can always schedule a repair
Step 4
– Gently lift up those LCD and digitizer flex connectors, the battery flex connector, and don’t forget the proximity sensor flex connector too! You’re doing great!
– Next up, give a little nudge to the charging port flex connector, the RF signal cable connectors, and a sneaky connector hiding underneath, just like the picture shows, to free that motherboard. Keep it up!
Step 5
– If you need to, gently disconnect the front and rear camera connectors. You’ve got this!