Samsung Galaxy Note5 Repair: Step-by-Step Guide
Duration: 45 minutes
Steps: 12 Steps
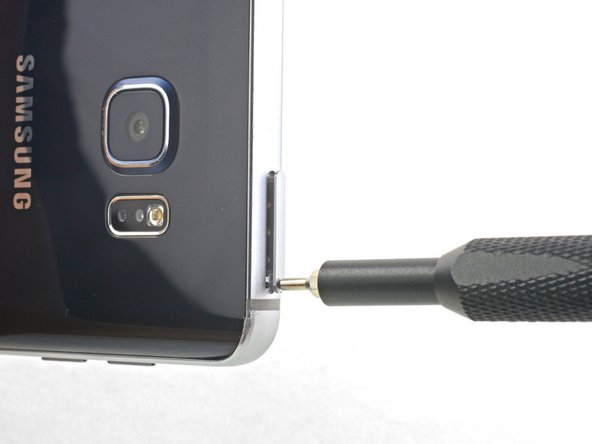
Step 1
– Let’s get started by removing the SIM card tray.
Step 2
– Alright, time to give that S Pen a little break. Go ahead and pop it out!
Step 3
– Let’s get started by removing the back cover.
Step 4
– Let’s get started by removing those screws.
Step 5
– Let’s get started by removing the middle housing. This is the first step in giving your device a brand new lease on life. If you need help, you can always schedule a repair
Step 6
– Whoa, don’t worry – no need to stress! Just give that pesky battery a friendly boost outta your device or, even cooler, snap that connection back into place. Need some extra help? No sweat! You can always schedule a repair to get you back on track in no time!
Step 7
– Time to give that connector a little break! Gently release it from the board.
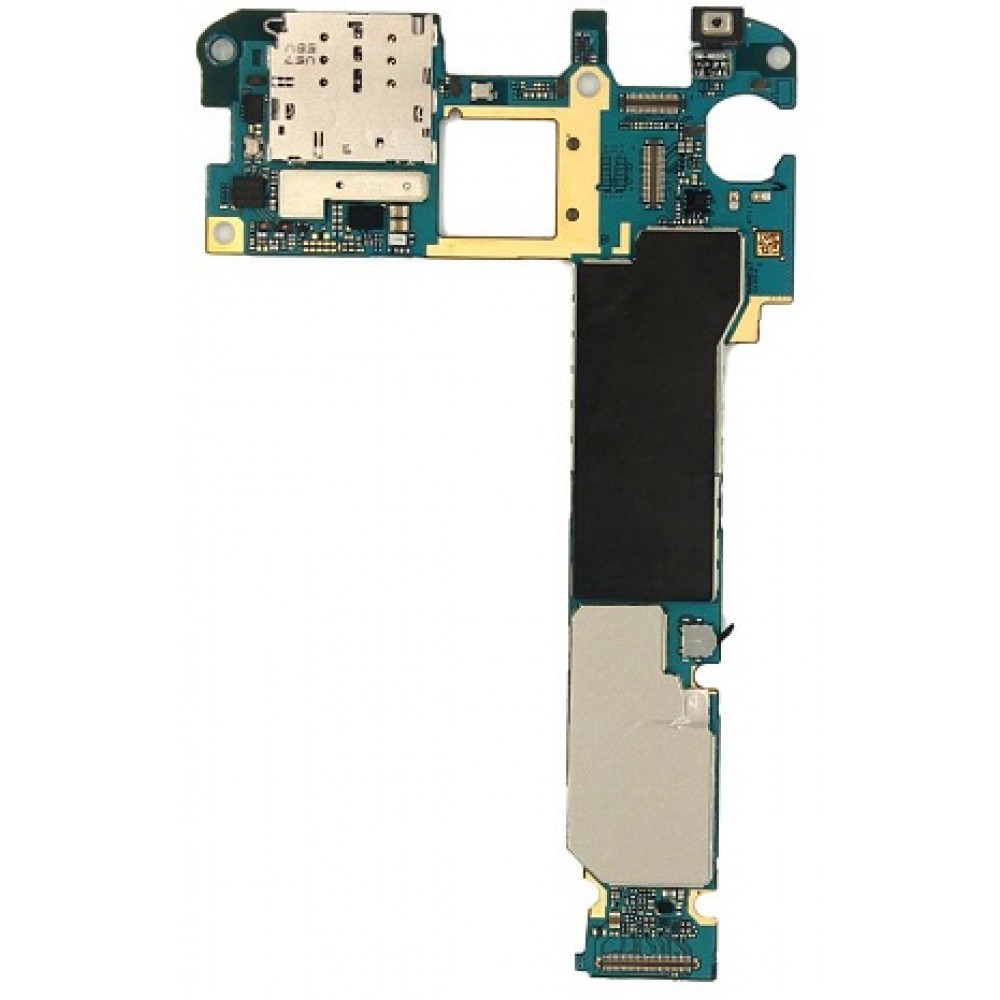
Step 8
– Alright, time to give that USB board connector a little break! Carefully release it from the back, and then gently slide the motherboard out from the front assembly. Piece of cake, right? If you need a little extra help, you can always schedule a repair.
Step 9
– Time to take out the rear camera. Let’s get started by removing it.
Step 10
– Take out the front camera and the noise-canceling microphone with care.
Step 11
– Time to say goodbye to the earpiece assembly! Carefully remove it and keep on rocking this repair journey.
Step 12
– That’s the earpiece with sensors, keeping you connected and in the loop!