Samsung Galaxy Note II USB Board Replacement Guide
Duration: 45 minutes
Steps: 19 Steps
Ready to give your Samsung Galaxy Note II a fresh start? This step-by-step guide will walk you through replacing its USB board, like a pro. We’ll make this a breeze! Don’t worry, it’s easier than it sounds. If you need help along the way, you can always schedule a repair.
Step 1


– Alright, time to give that stylus a little break! Grab the end of it and gently pull it out of its home in the midframe. It should pop right out. If you need help, you can always schedule a repair
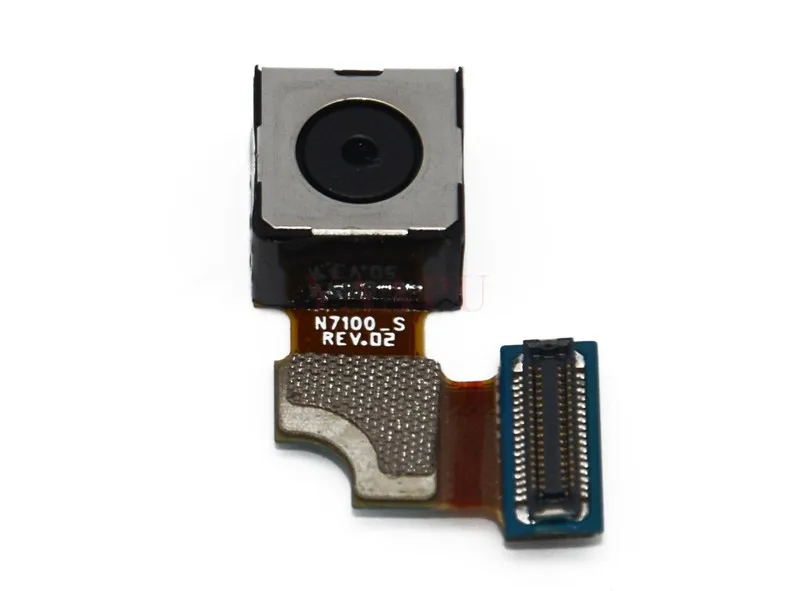
Step 2


– Let’s get this party started! Use a plastic opening tool (or your trusty fingernail) and gently wedge it into the little divot to the left of the rear-facing camera. You’ll find it near the power button. Keep going, you’ve got this! If you need help, you can always schedule a repair
Step 3


– Grab the rear case by the corner closest to the little dip and lift it off the phone. You’ve got this!
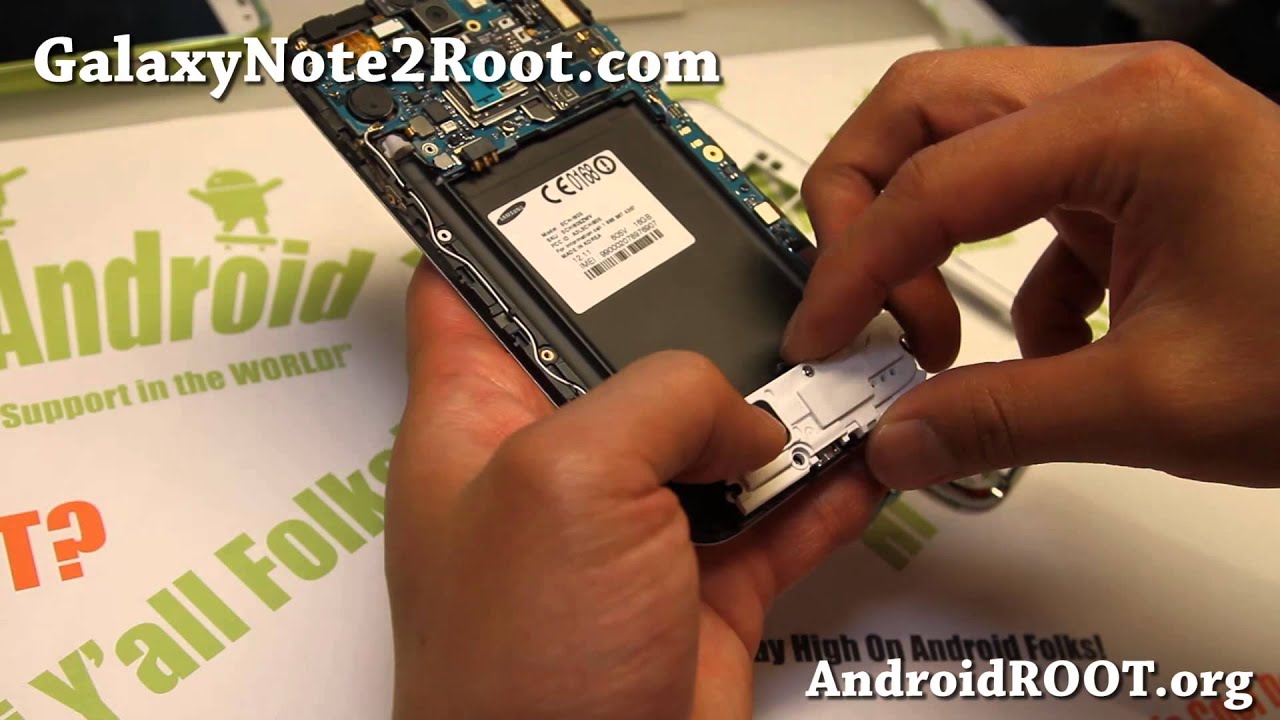
Step 4


– First, let’s get that microSD card out. If it’s inserted, use a spudger or your fingernail to gently push it into its slot until you hear a click – that’s the card being released.
– Now, let the card pop out of its slot. Easy does it!
– Next, carefully remove the microSD card from its slot.
– When you’re ready to put everything back together, simply push the microSD card into its slot until it clicks into place. If you need help, you can always schedule a repair
Tools Used

Step 5


– Get ready to rock this repair! Find the little notch on the battery compartment. Grab a plastic opening tool (or even your trusty finger) and gently pry up the battery. Let’s get that battery out of there! If you need help, you can always schedule a repair

Step 7

– Let’s get that midframe unhooked! Start by unscrewing the eleven 4.0 mm Phillips #00 screws that are keeping it snug with the display assembly. You’ve got this!
Step 8


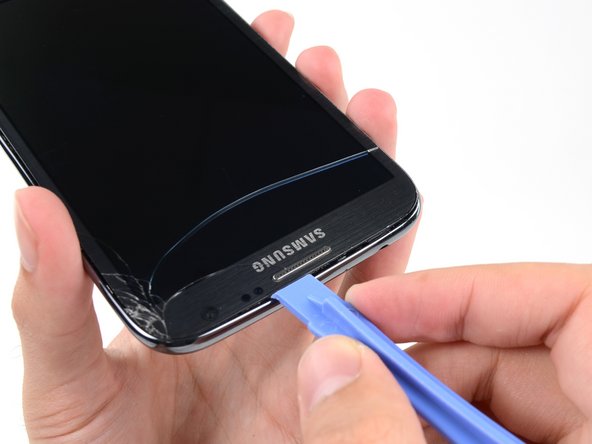
– Let’s get that phone open! Slide your handy dandy plastic opening tool between the phone’s midframe and the front panel assembly. You’ll want to start on the side of the phone.
– Now, gently slide that tool along the seam. Keep it moving! You’ll be a pro in no time. If you need help, you can always schedule a repair


Step 10


– Let’s get this party started! Gently pry around the corner using a plastic opening tool. It’s like a little dance, just be careful not to get too wild. If you need help, you can always schedule a repair.
Step 11

– Let’s get this party started! Slide a plastic opening tool along the top edge of your phone. We’re going to get this thing open in no time!
Step 12


– Let’s get this party started! Gently push your plastic opening tool down to loosen the corner of the midframe from the display assembly. It’s like giving it a little nudge to say ‘hello’!
Step 13


– Give those clips along the power button side a gentle nudge to set them free.
– And don’t forget to release the two clips snugged up along the top and bottom edges of the battery compartment. You’re almost there!
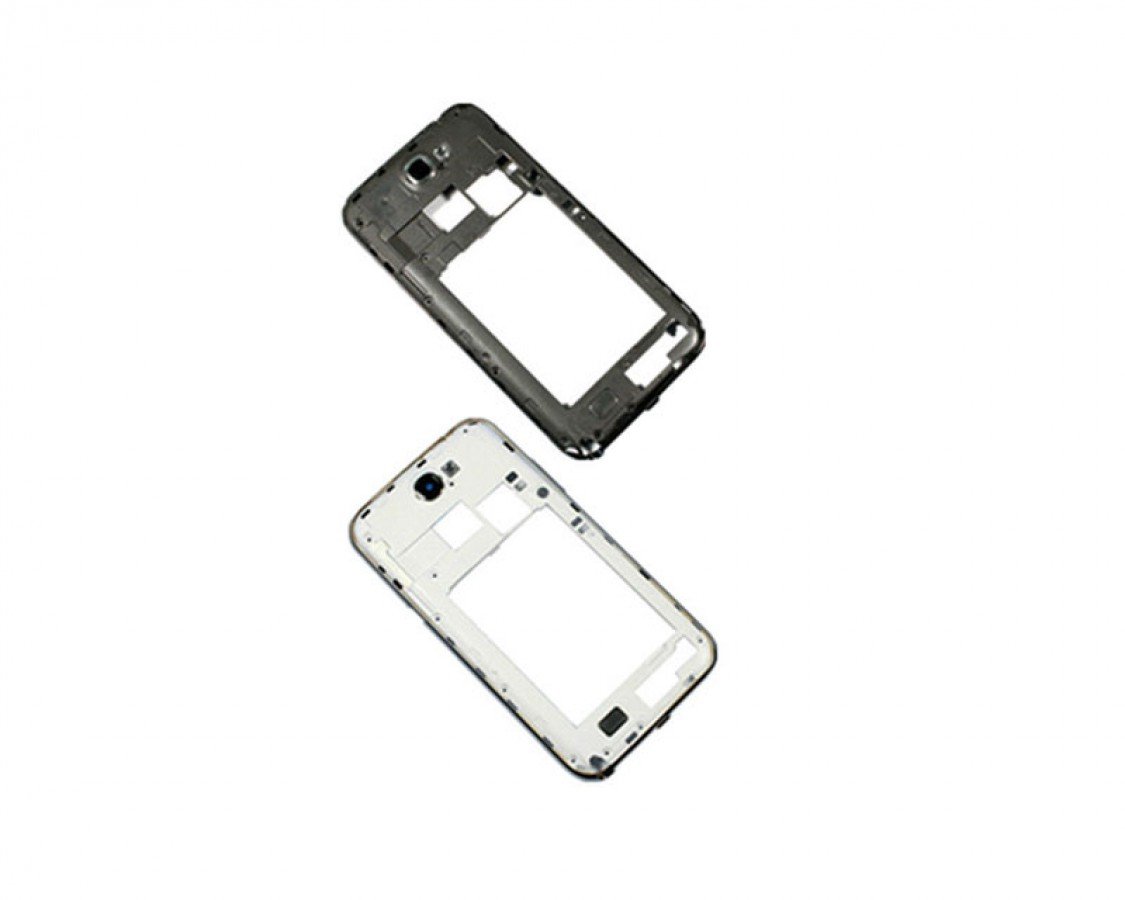
Step 14


– Time to give that display assembly a little lift! Gently pull it up and out of the midframe. You’re almost there!
Step 15

– Let’s loosen up that speaker enclosure! Grab your trusty 3 mm Phillips #00 screwdriver and give that screw a little spin.
Step 16

– Alright, let’s get this speaker enclosure off. It’s time to give that speaker some room to breathe!
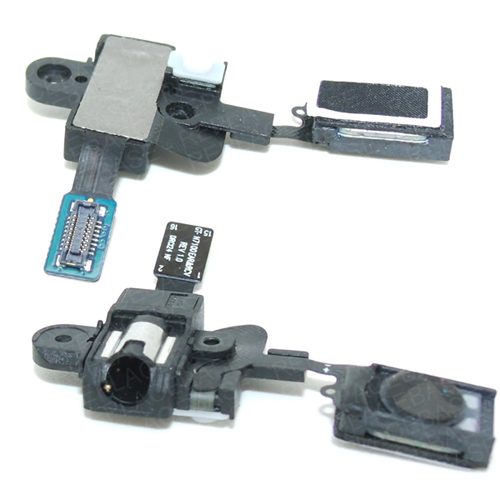
Step 17


– Let’s get started by using the flat end of a spudger to carefully disconnect the USB board cable connector.
– Next, use the tip of a spudger to gently release the antenna cable connector from the USB board. If you need help, you can always schedule a repair
Tools Used
Step 18


Don’t worry, you’ve got this! Just slide that spudger in gently, like you’re giving a high-five to the USB board. We don’t want to bend or hurt it, so keep it nice and shallow. If you need help, you can always schedule a repair
– Now, let’s gently pry that USB board loose from the display assembly. Use the flat end of your spudger to give it a little nudge. Don’t worry, it’s just like giving it a friendly hug! If you need help, you can always schedule a repair
Tools Used
Step 19

– Alright, let’s get that USB board out of the display assembly. It’s like a little dance – carefully slide it out and you’re good to go! If you need help, you can always schedule a repair