Samsung Galaxy S23+ Screen Replacement Guide: DIY Tutorial
Duration: 45 minutes
Steps: 32 Steps
Be ready, because this step will make your old screen vanish for good!
Get ready to rock-and-roll with this screen replacement guide for your Samsung Galaxy S23+! This guide’s all about swapping out the screen on its own. But hey, if your replacement part is a screen pre-installed on a frame, head over to this guide. This process means goodbye to your old screen, but no worries, let’s get that screen swapped and have your device looking sharper than ever! Need a hand? No sweat, you can always schedule a repair!
Step 1


– First things first, let’s disconnect any cables from your phone. Give it a little breather!
– Next up, press and hold the side button along with the volume down button, then tap ‘Power off’ to gracefully power down your phone.
Step 2

Hey there, a hairdryer, heat gun, or hot plate can also be used, just be careful not to turn up the heat too high! The display and internal battery don’t like getting too toasty. If you need help, you can always schedule a repair
– Warm up your iOpener, then slap it on the right side of the back cover for a cool two minutes to loosen that sticky stuff.
Tools Used


Step 3


If you’re having a tough time making that gap, just give it a little more heat to soften up that glue. Make sure to follow the iOpener instructions to avoid getting things too toasty. If you need help, you can always schedule a repair
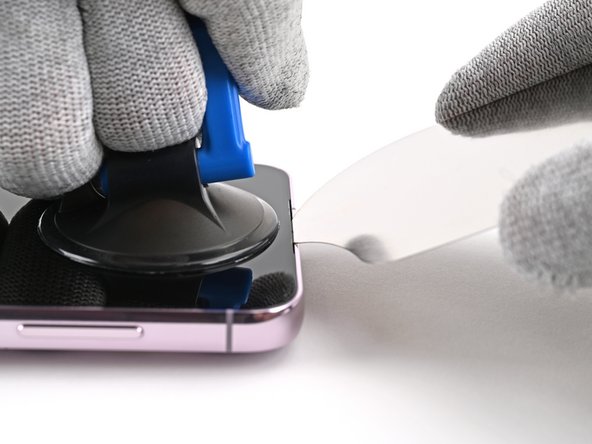
– Grab your trusty suction handle and give the back cover a little love. Stick it as close to the center of the right edge as you can.
– Now, get ready to give that suction handle a good pull! Use strong, steady force to create a little space between the cover and the frame.
– With that gap open, gently slide an opening pick in there. You’re almost there!
Tools Used


Step 5

– Let’s warm things up! Apply a heated iOpener to the bottom edge of the back cover for a couple of minutes. If you need help, you can always schedule a repair.
Tools Used
Step 6

– Pop in a second pick at the bottom right corner like you’re setting the scene for a mini adventure.
– Gently twist that opening pick around the bottom right corner to break free the stubborn adhesive. You’ve got this!
Step 7


– Gently slide the opening pick towards the bottom left corner to break that pesky adhesive loose.
– Once you’ve done that, keep the pick in place at the bottom left to stop the adhesive from sticking back together.
Step 8

– Warm up that iOpener and gently place it on the left edge of the back cover for a solid two minutes. Let’s get things cozy and ready for some repair action!
Tools Used
Step 9


– Now it’s time to get this repair started – gently rotate the opening pick around the bottom left corner to loosen the adhesive and get things moving.
Step 10


– Let’s get this party started by sliding a third opening pick into the bottom left corner.
– Now, give that adhesive a little nudge by sliding your pick towards the top left corner. We’re gonna separate those two lovebirds!
– Keep that pick right there in the top left corner, so the adhesive doesn’t decide to play a little reunion.
Step 11

– Time to get cozy! Warm up your iOpener and lay it on the top edge of the back cover for two minutes. We’re getting things nice and toasty so that sticky stuff loses its grip. If you need help with this step, you can always schedule a repair.
Tools Used
Step 12


– Alright, let’s get this party started! Time to insert your fourth opening pick at the top left corner.
– Now, give it a little twirl! Gently rotate the pick around the top left corner to loosen that sticky stuff holding things together.
Step 13


– Swipe your opening pick up to the top right corner to loosen the adhesive.
– Keep the pick in the top right corner to stop the adhesive from sticking back.
Step 14


Be careful to keep your pick away from the rear cameras! Pressing on those lenses could lead to some unexpected damage.
There’s still a little patch of adhesive hiding right under the flash.
You should catch a glimpse of the opening pick peeking through the flash cutout.
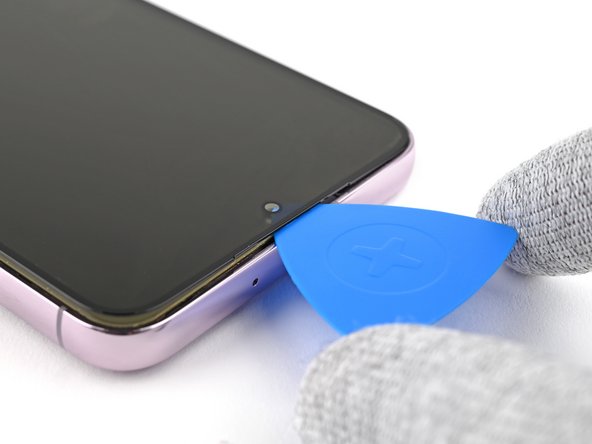
– Let’s get started by lining up the tip of an opening pick with the flash cutout – it’s the perfect spot to begin.
– Now, gently slide the opening pick under the top of the back cover until you feel it catch on the adhesive. Don’t worry, it’s supposed to do that!
– Keep sliding the pick toward the bottom of the phone, and you’ll start to feel the adhesive letting go of the back cover. You’re making great progress! If you need help, you can always schedule a repair
Step 15


If your cover is still hanging on, just keep sliding that opening pick around the edges. We’ve got this! Soon your cover will be totally free.
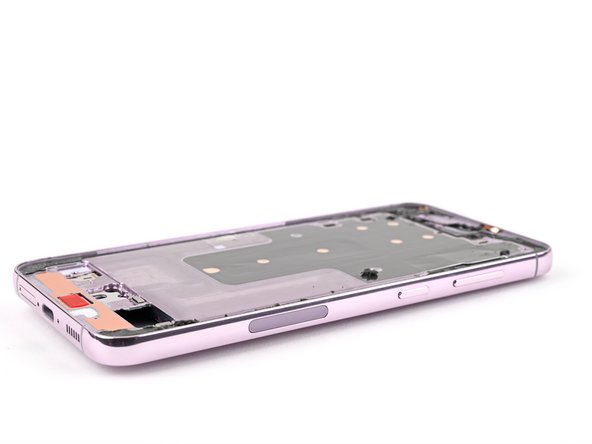
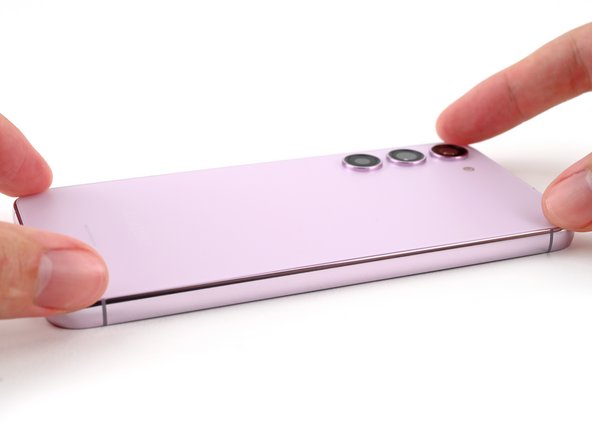
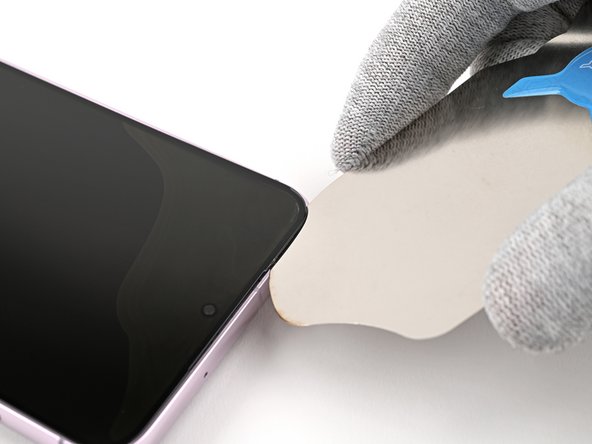
– Let’s get this party started by removing the back cover. It’s like taking off a jacket on a hot day.
– During reassembly, it’s time to power on your phone and make sure everything is humming along. If you’re feeling unsure, you can always schedule a repair with us.
– Once you’ve powered down your phone, you can remove any pesky adhesive chunks. Tweezers or your fingers will do the trick. If the adhesive is being stubborn, a little heat and isopropyl alcohol (90% or greater) will help it loosen up.
– If you’re using custom-cut adhesives, check out this guide .
– If you’re using double-sided tape, check out this guide .
Tools Used


Step 16


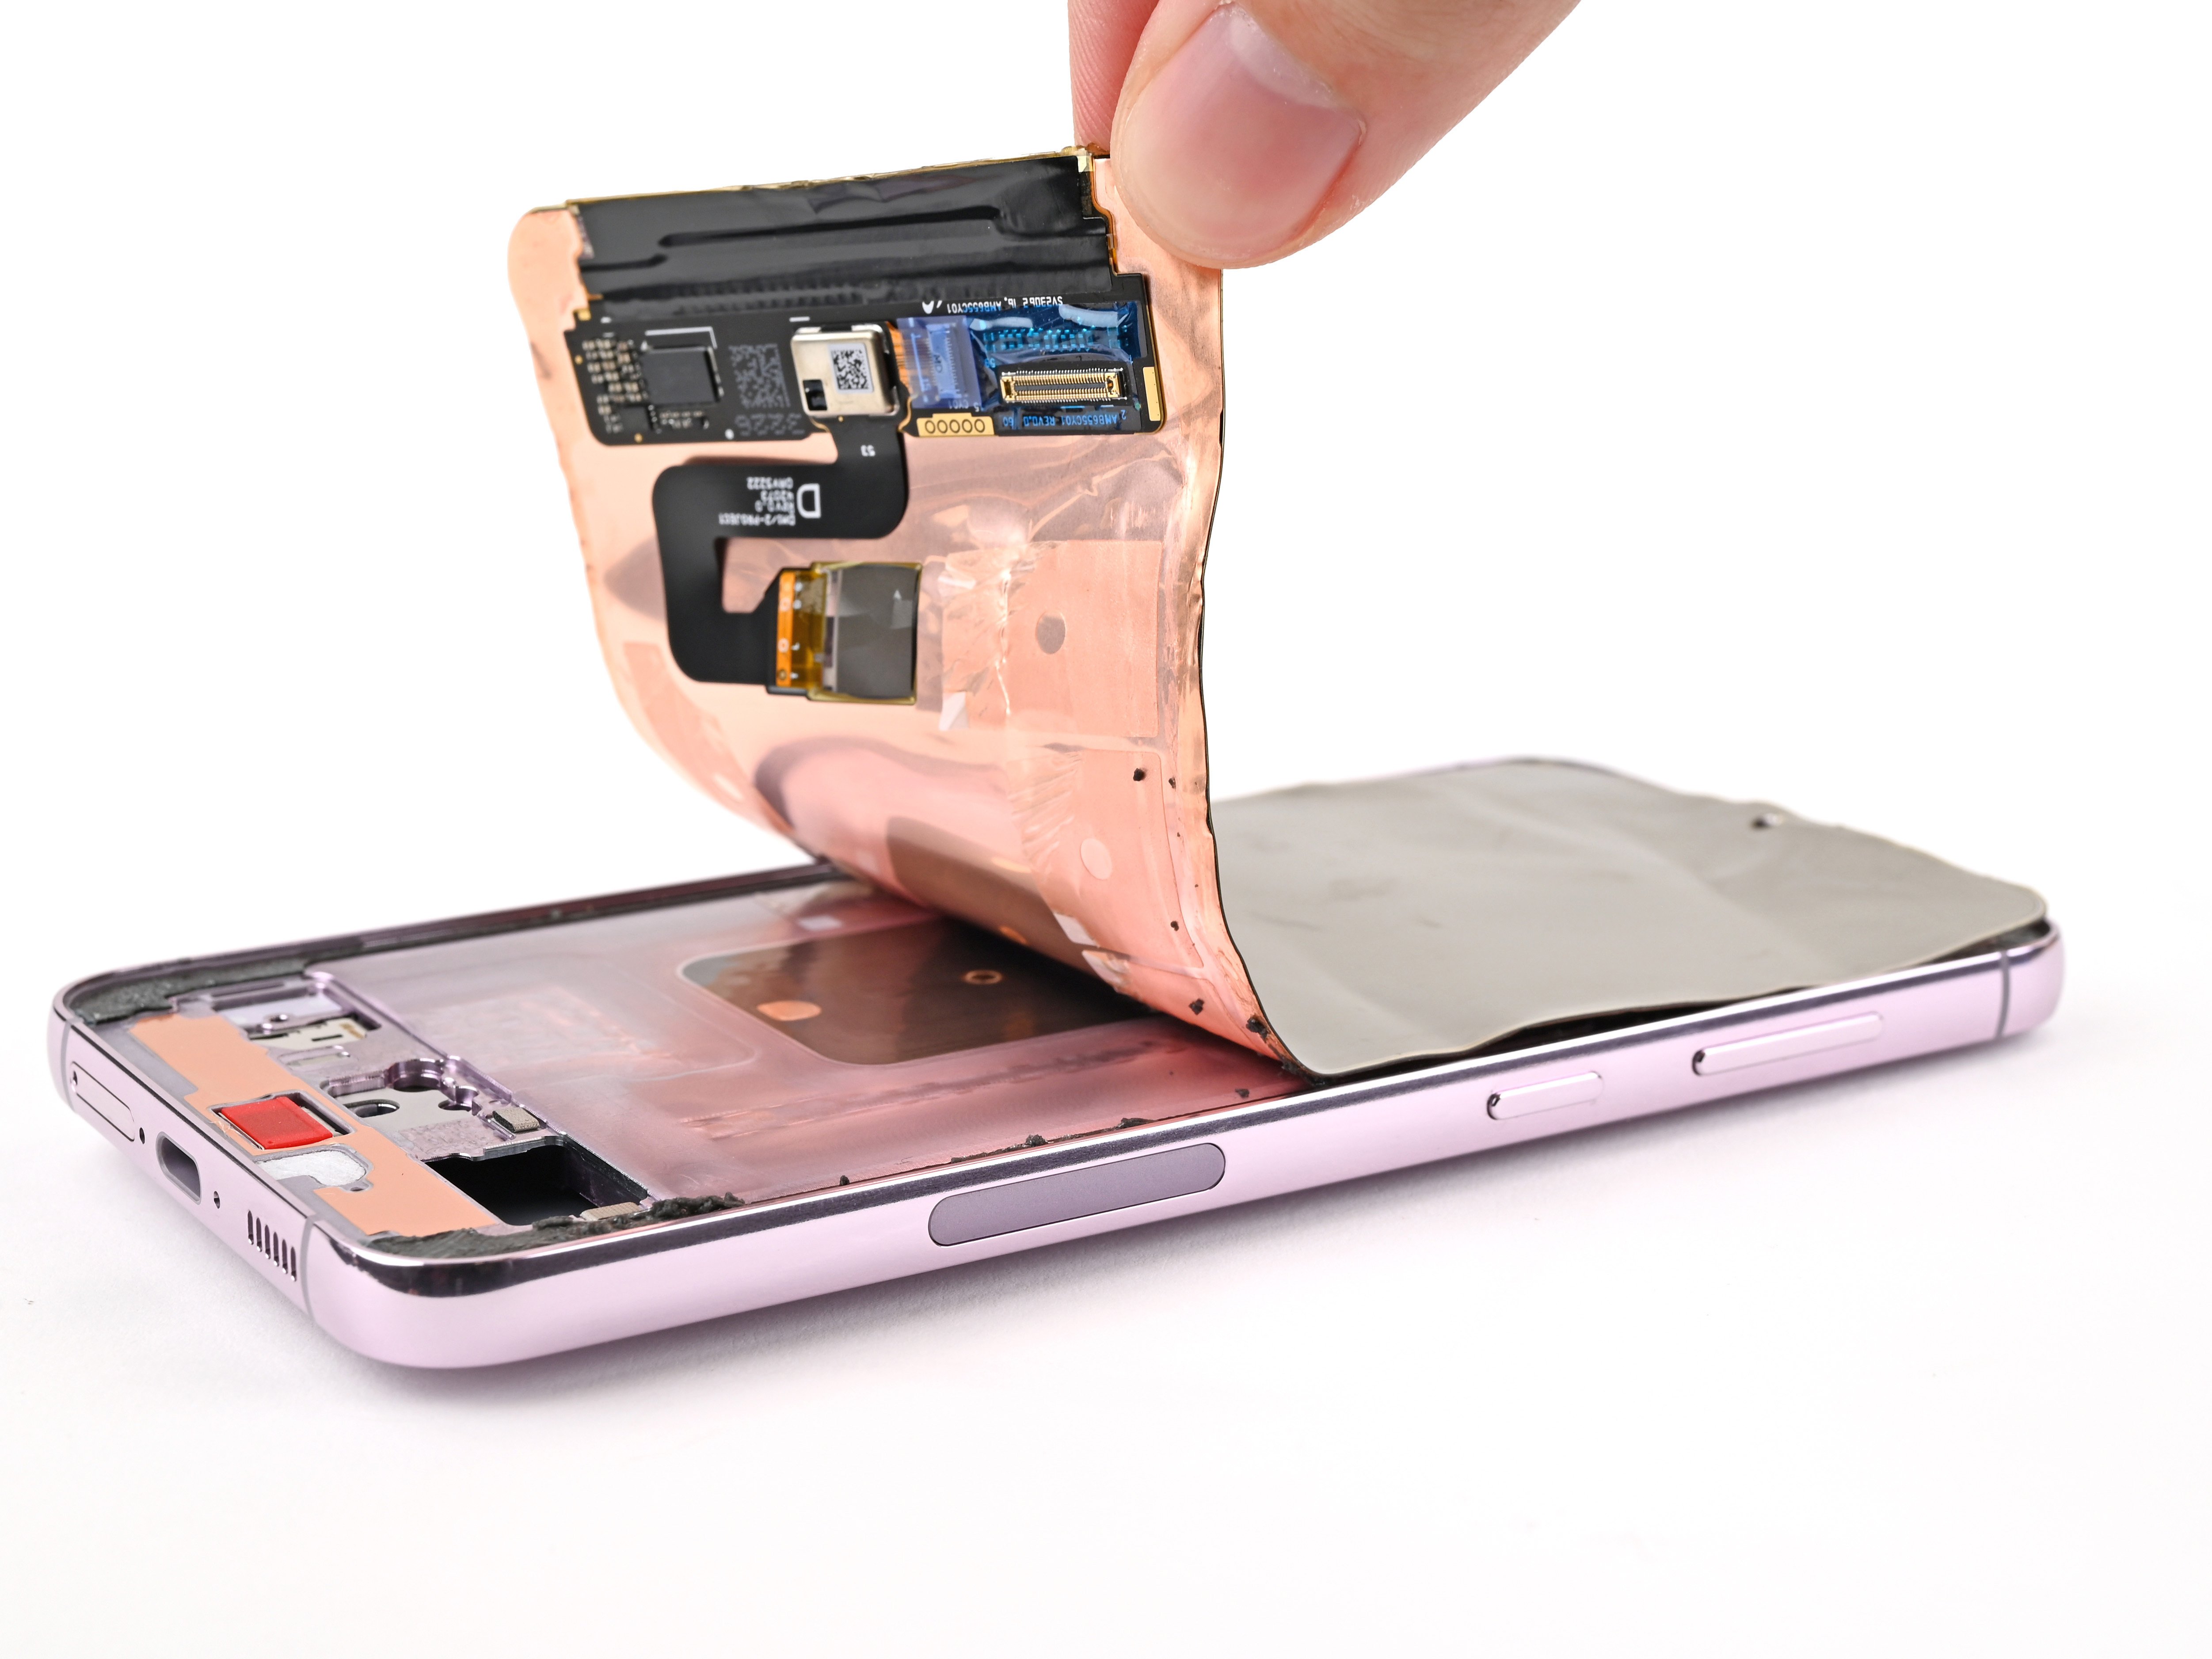
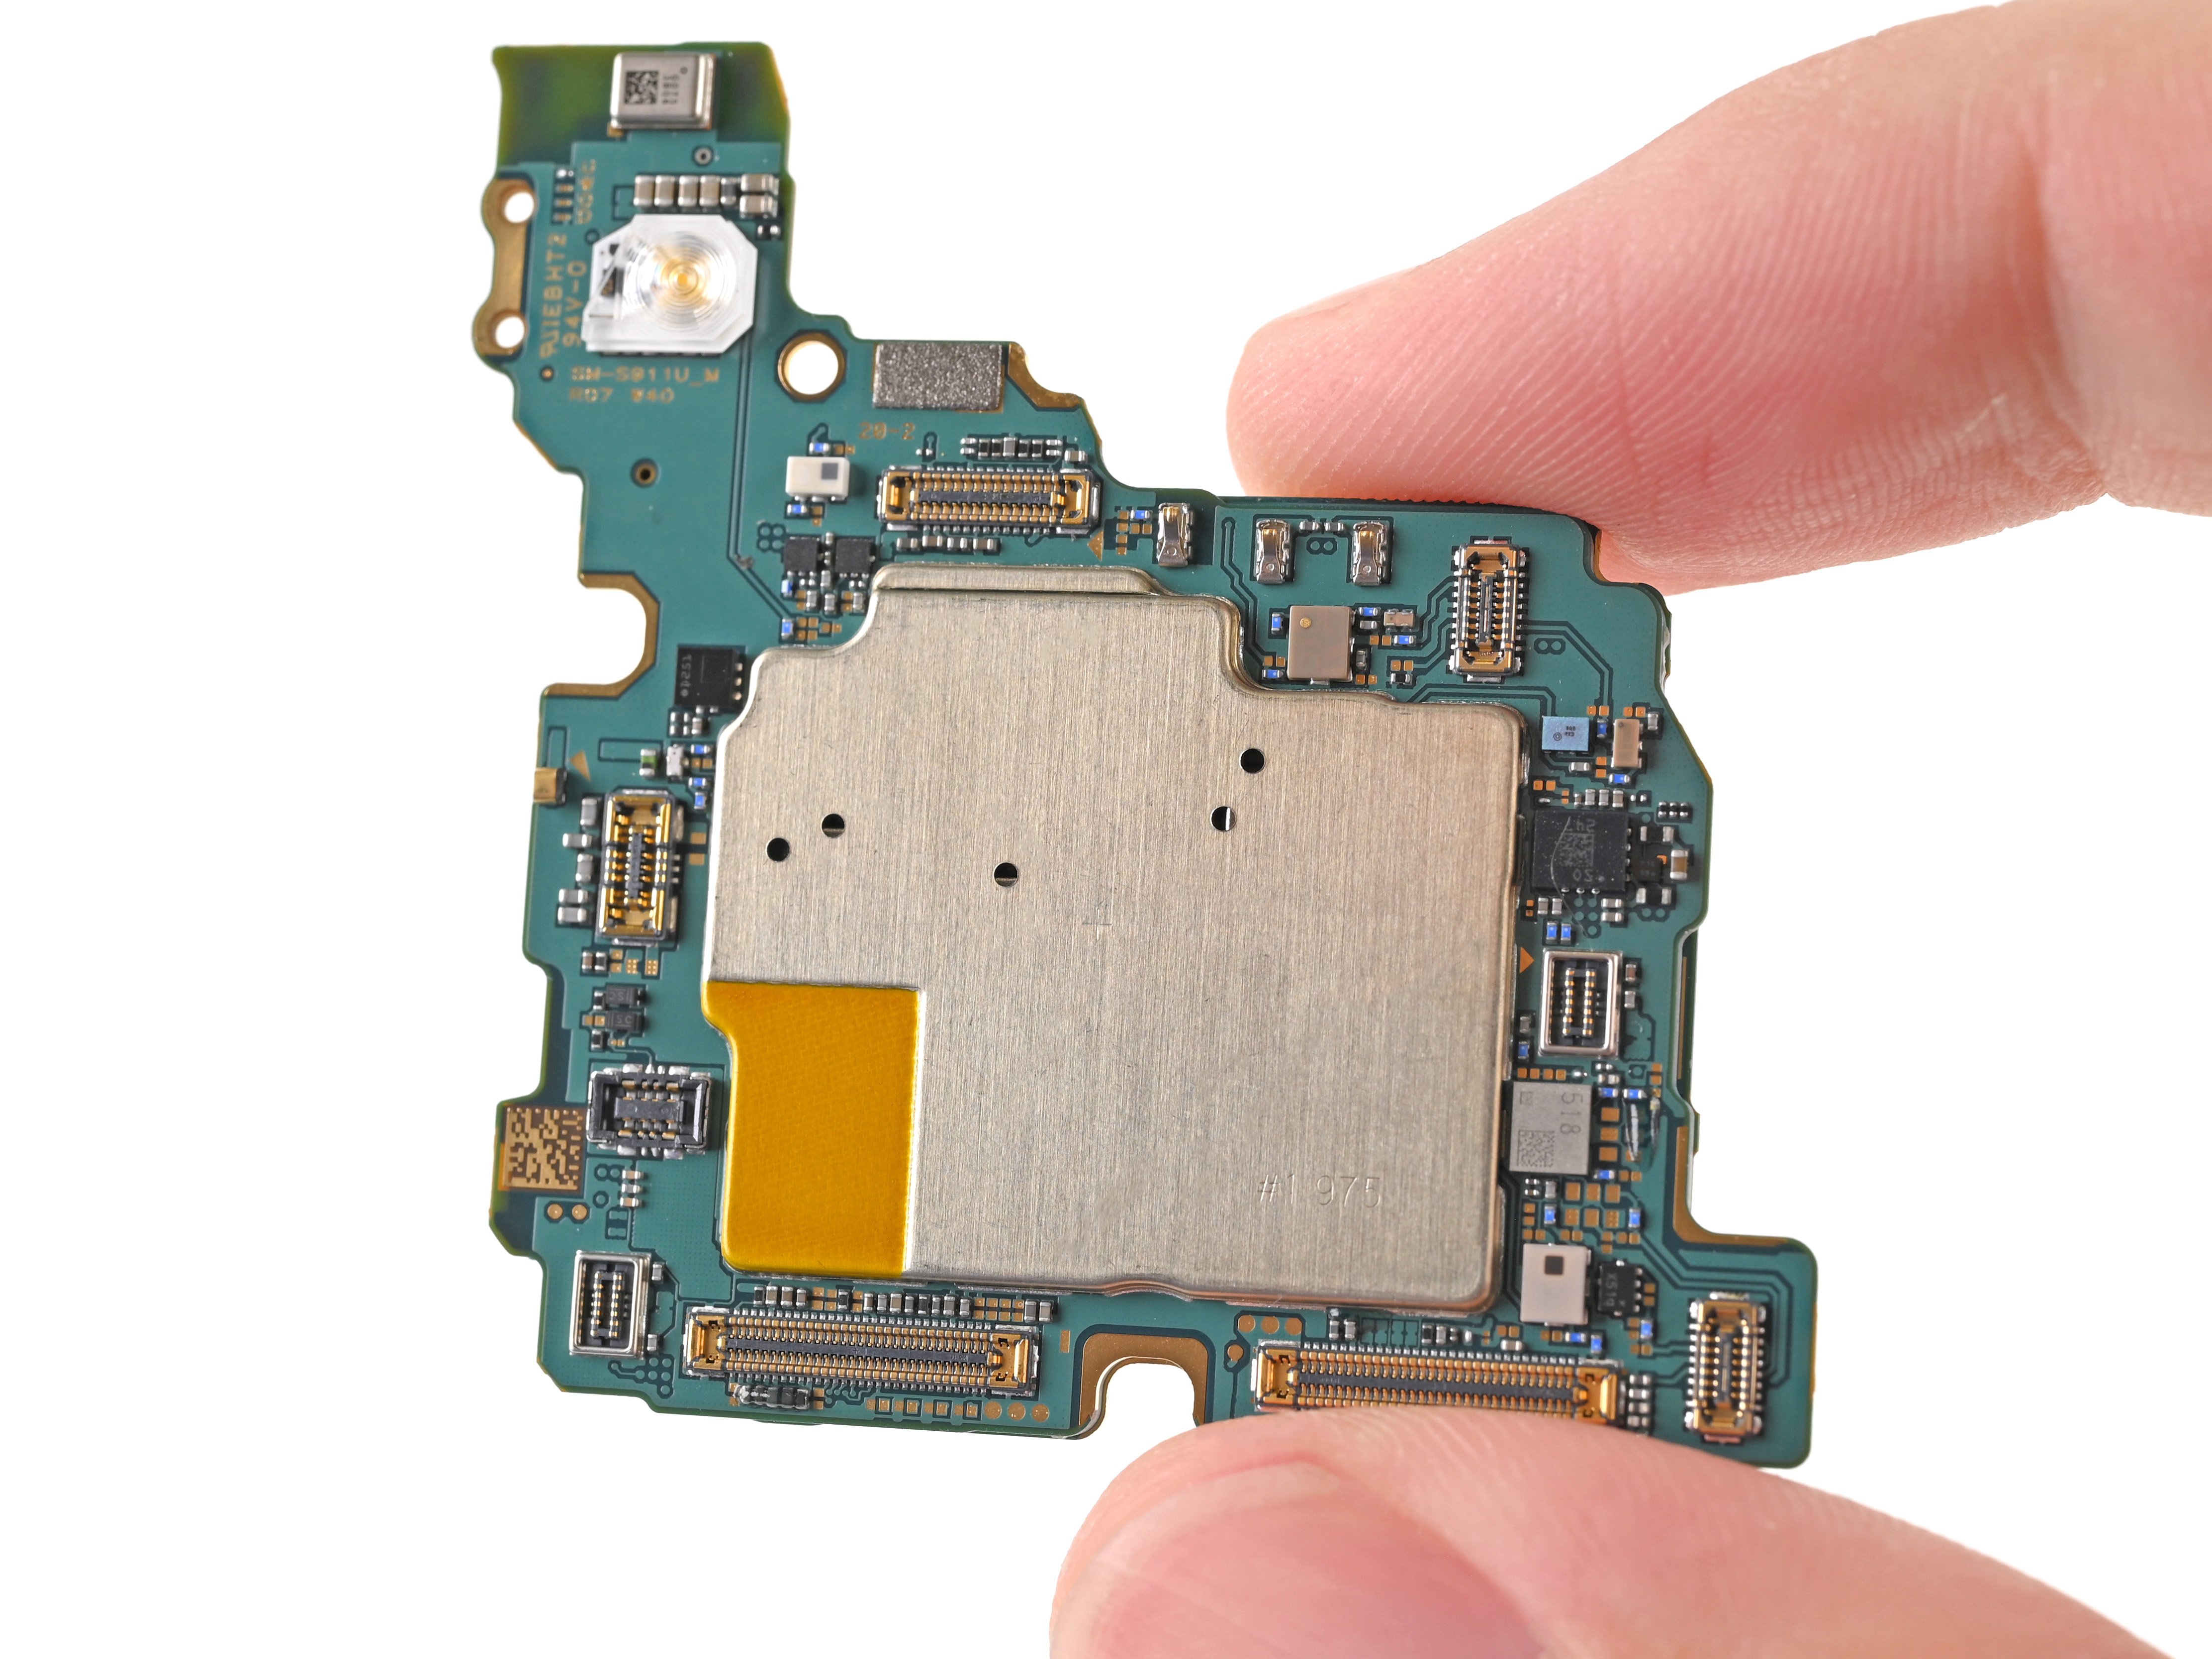
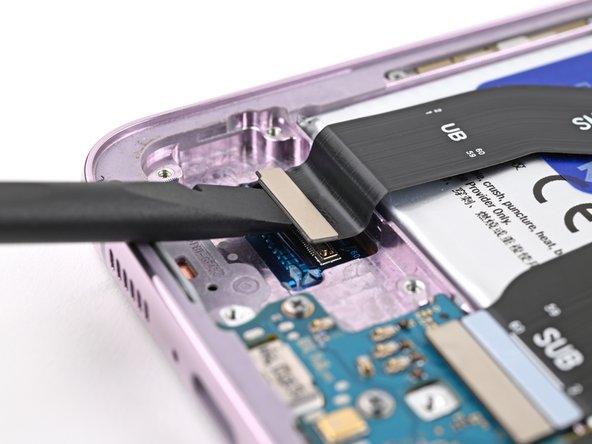
– Time to get that wireless charging coil press connector disconnected from the motherboard. Use the pointy end of your trusty spudger to gently pry it up and set it free.
– Re-attaching the press connectors is a breeze. Just carefully line them up and press down on one side until you hear that satisfying click. Then, repeat the process on the other side. Remember, don’t press down on the middle or you might end up bending those pins and causing some damage. If you need help, you can always schedule a repair with the pros at Salvation Repair.
Tools Used

Step 17


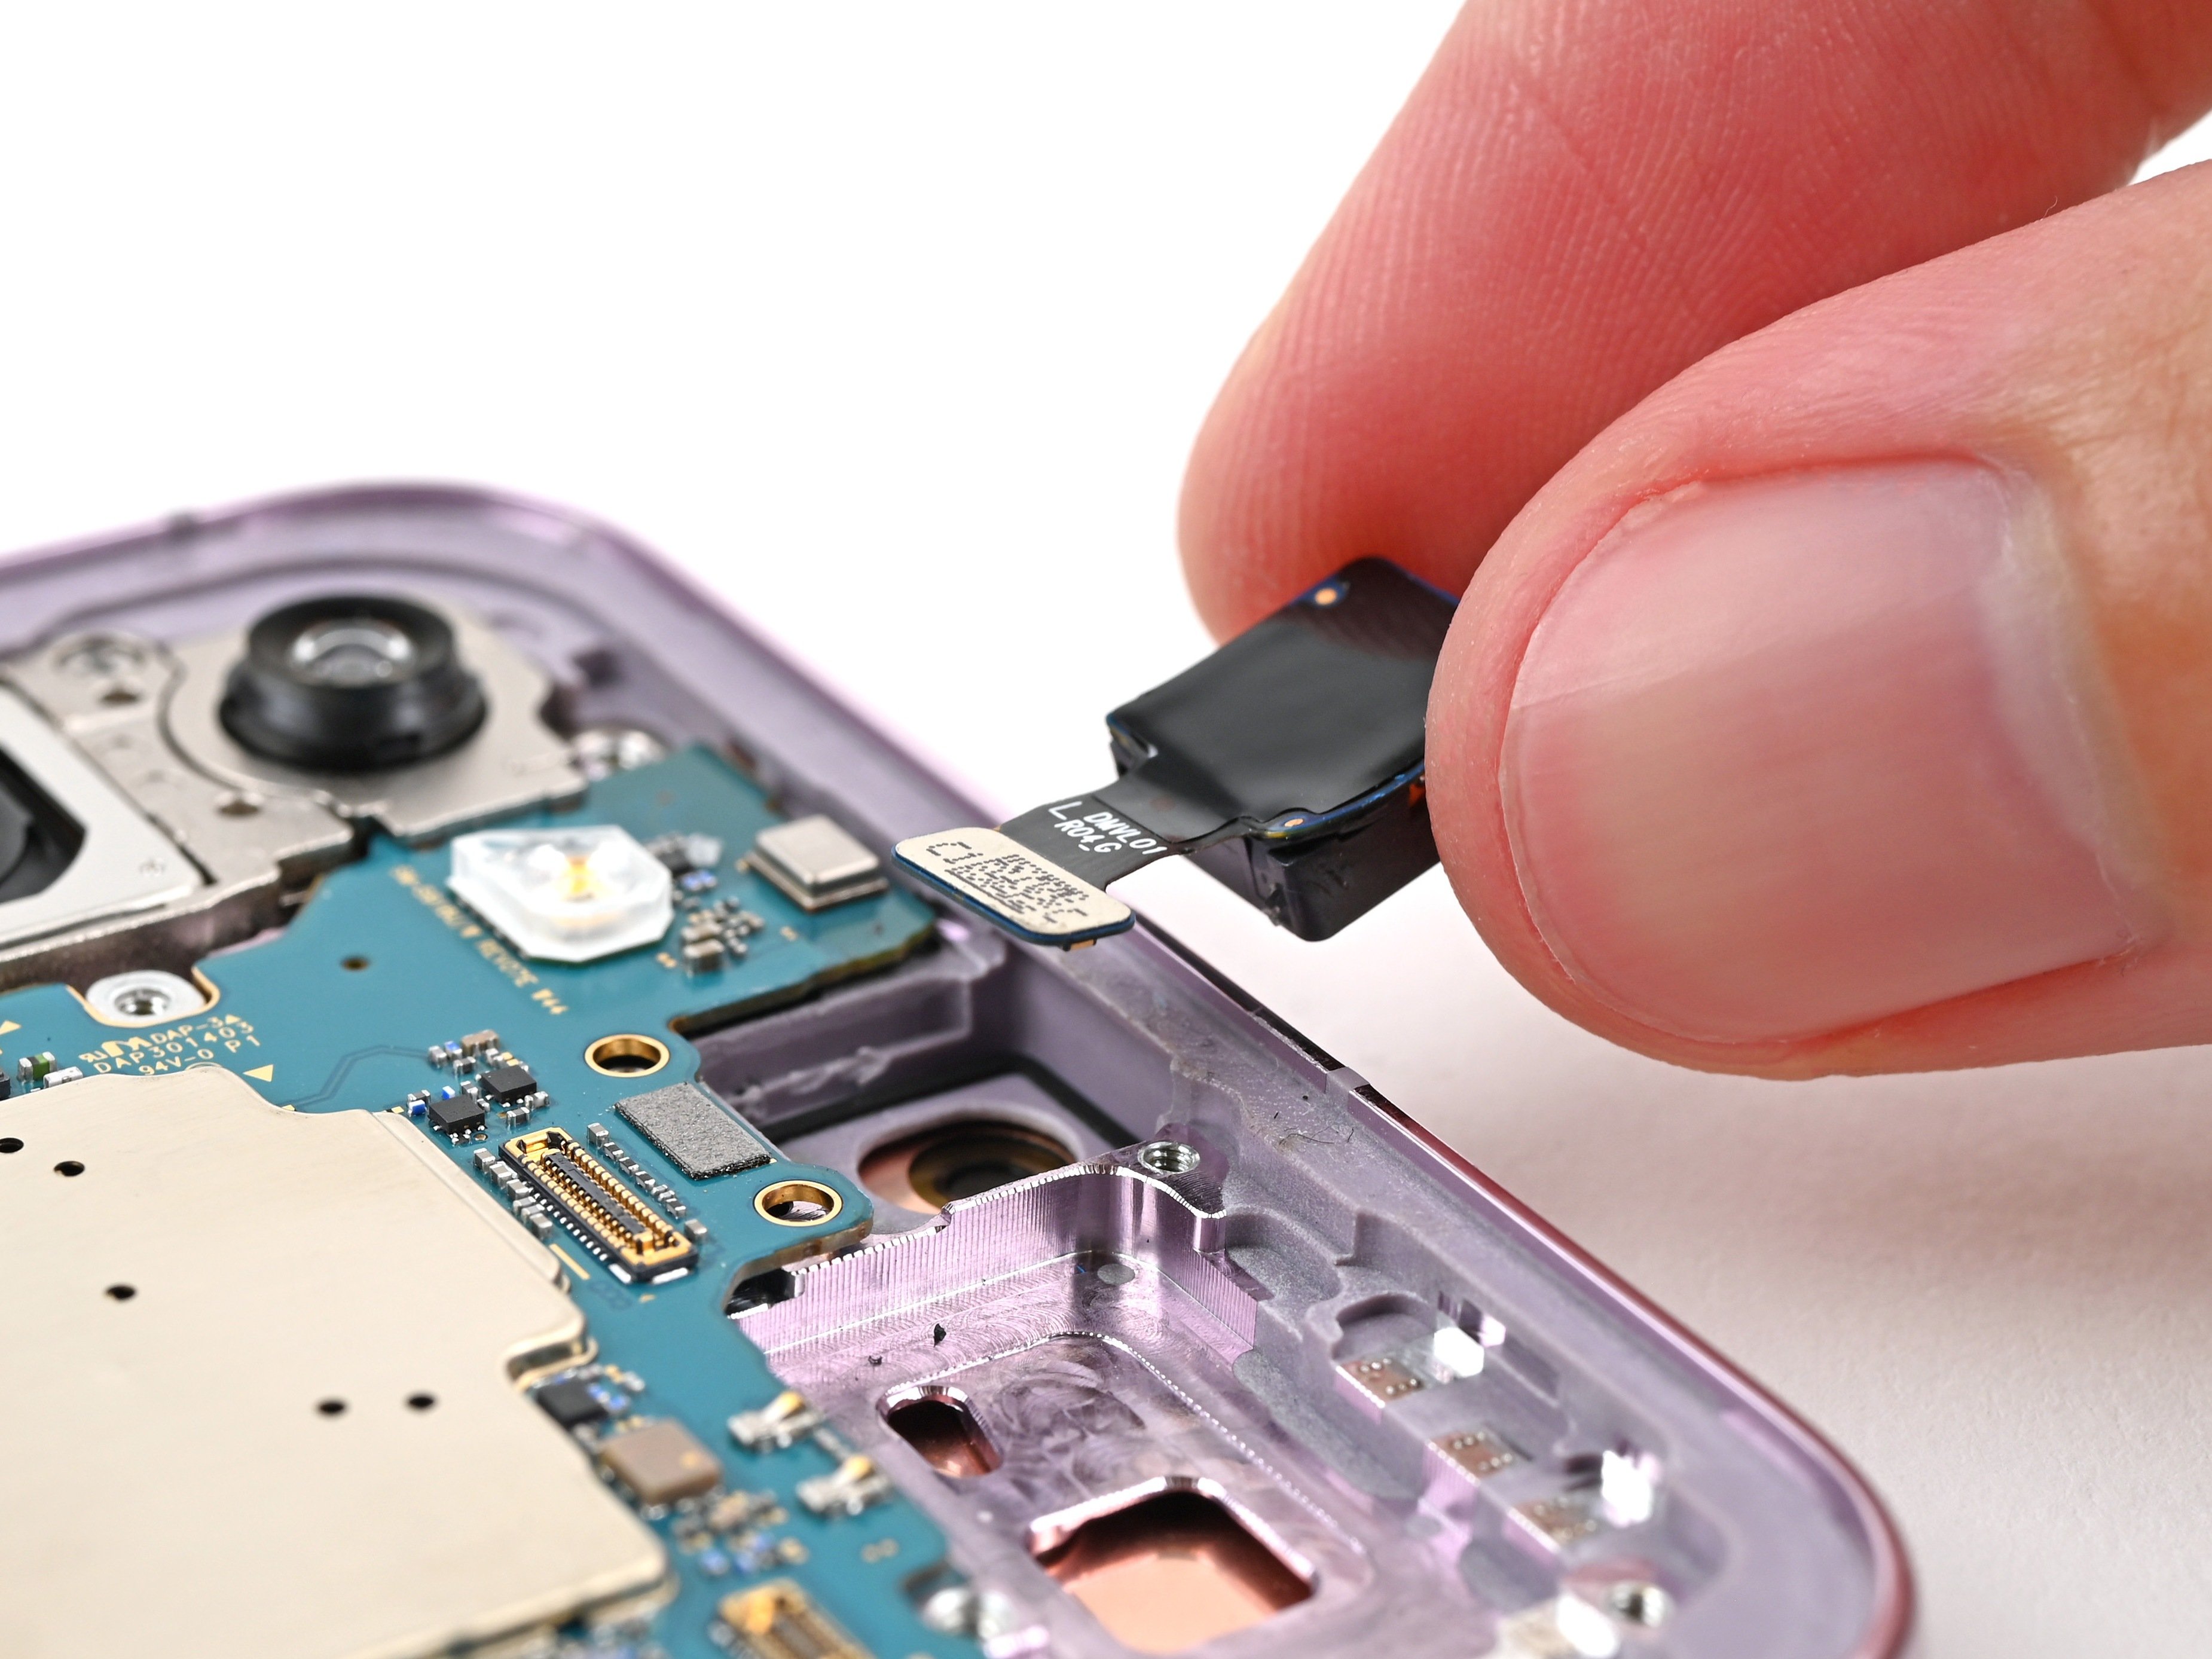
– Now it’s time to carefully disconnect the NFC antenna press connector – use the point of a spudger to gently pry it up. If you need help, you can always schedule a repair
Tools Used
Step 18


– Grab your trusty Phillips screwdriver and get ready to tackle those thirteen 3.5 mm-long screws holding down the wireless charging coil and the loudspeaker. Let’s break it down:
– First up, you’ll find six screws anchoring the wireless charging coil in place.
– Next, take on the seven screws keeping the loudspeaker cozy.


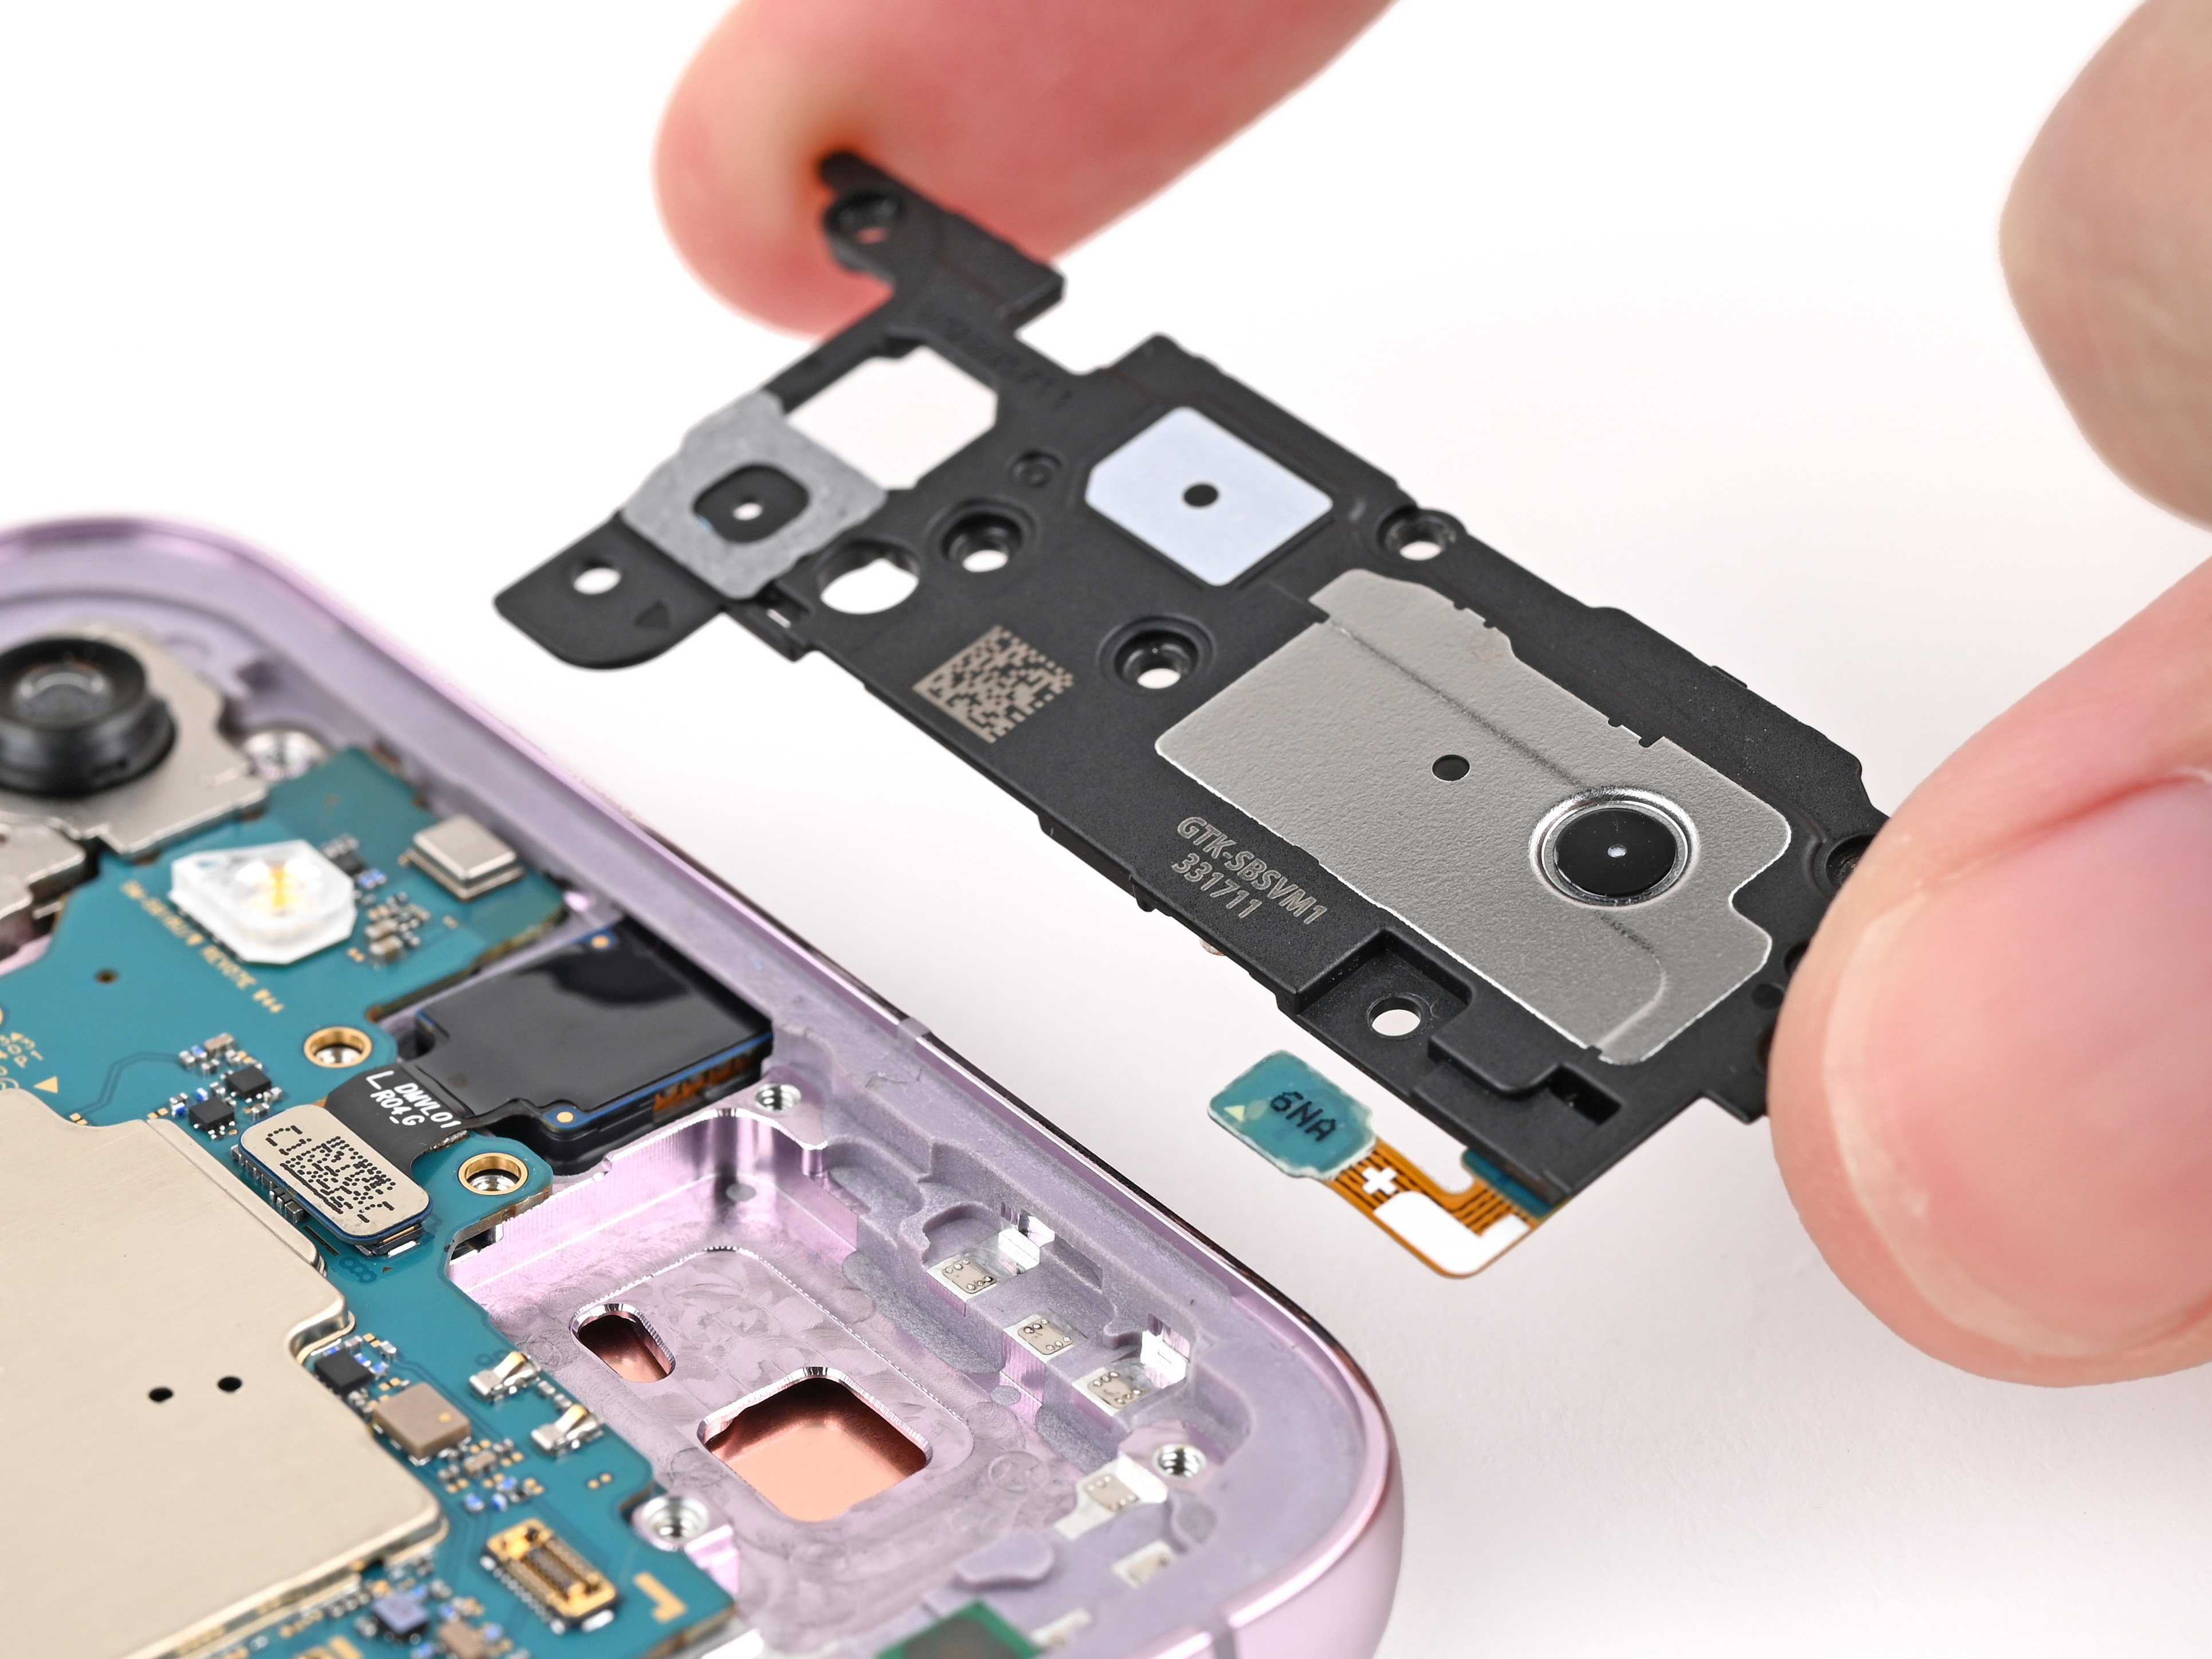
Step 20

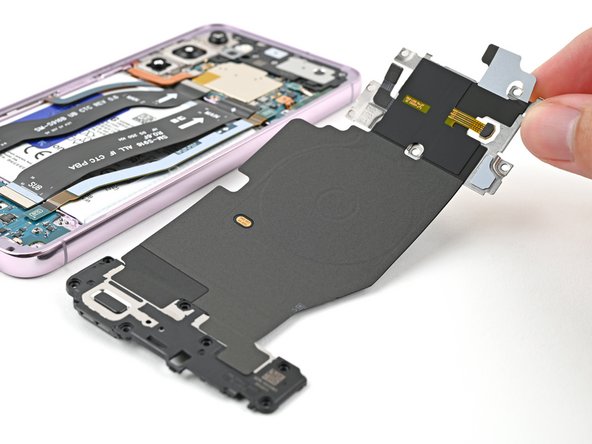
– Time to give that loudspeaker some freedom! Gently lift it away from the frame with your fingers. You’ve got this!
– Now, it’s time to say goodbye to the wireless charging coil and the loudspeaker. They’re ready to be removed from the frame.
– When putting things back together, give that loudspeaker a little hug! Press around its edges to clip it back onto the frame. You’re doing great!


Step 23

Don’t worry about applying new adhesive just yet. We’ll get to that later when we’re all done. For now, the old adhesive will keep the back cover in place while you work on the screen. It’s all part of the plan, trust us! 😉 If you need help, you can always schedule a repair.
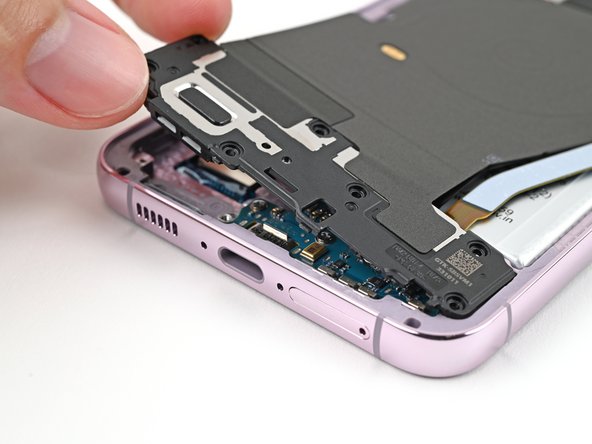
– Alright, let’s get this back cover on like a snug fit. This protects the battery and all the important stuff inside. Keep those components happy!
– Now, flip your phone over so the screen is facing up. Ready for the next step?
Step 24


Alright, let’s talk safety first! When you’re taking off the front glass in the next steps, remember to keep things cool and collected. You got this! If you need a hand with anything, you can always schedule a repair.
The space between that front glass and frame is pretty tight. Grab a sleek, rigid tool like the iFlex to get things started and make that initial gap.
– Hold those iFlex and other metal tools by the middle, okay? The edges are super sharp and can be a little nippy!
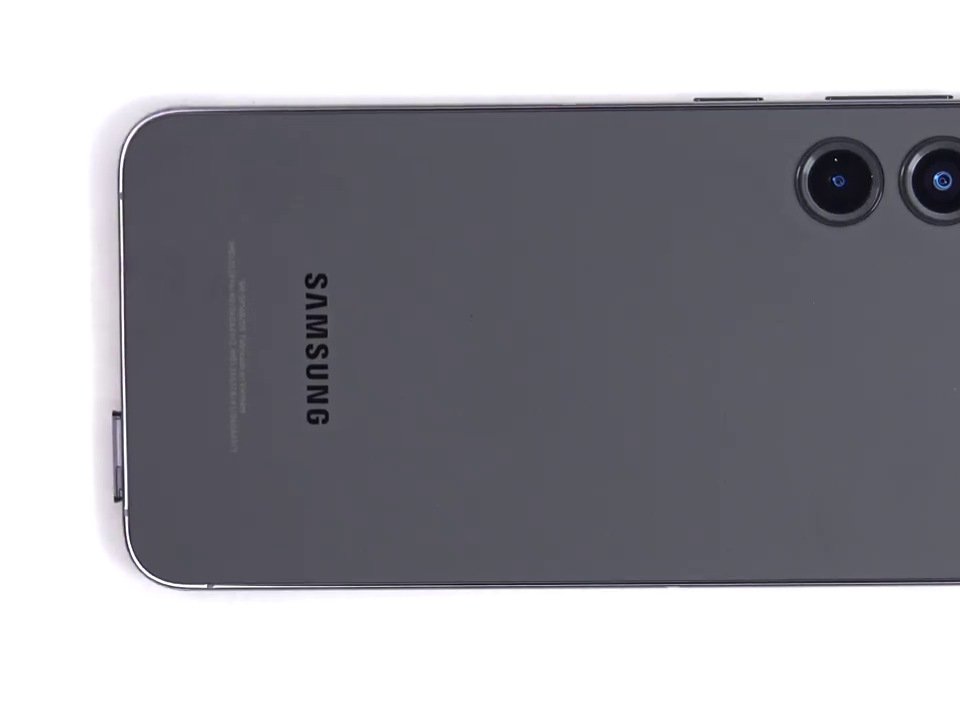
– Alright, just a heads-up: that front glass can be a little fragile. It might shatter and send glass flying around your workspace. You’re a pro, so wear some gloves and safety glasses, just in case. Safety first, always!
Step 25

Hey, watch out for the heat, okay? Keep that phone from getting too warm, or the battery might get angry! If you need help, you can always schedule a repair.
– Now it’s time to get this screen loose. Use a hair dryer or heat gun to warm up the top edge until it’s hot, but not scorching. If you’re not comfortable with this step, don’t worry – you can always schedule a repair and let the pros handle it.
Tools Used
Step 26

Be careful when inserting the iFlex – just slip it in far enough to create a small gap between the front glass and the rest of the device. If you push it in too far, you might accidentally damage the front-facing camera. If you need help, you can always schedule a repair
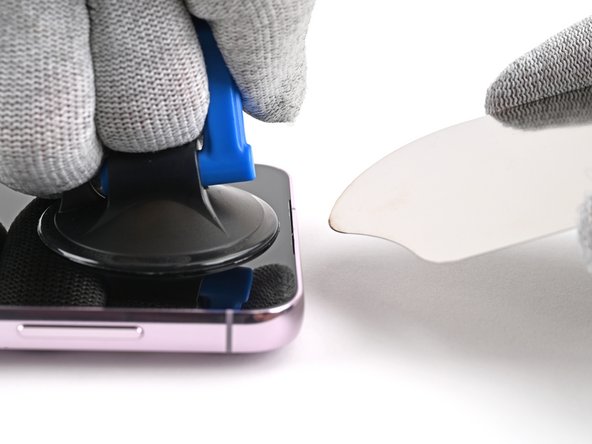
– Grab a suction handle and stick it right in the center of the top edge of your screen, getting as close to that edge as you can.
– Next, take the iFlex and slide it in at a slight angle into the earpiece speaker gap, nestled between the top edge of the front glass and the frame.
– Now, gently but firmly lift the suction handle while lowering the iFlex so it can sneak under the front glass. It’s all good if a big chunk of the glass pops free—that’s just part of the adventure!
Tools Used
Step 27

– Let’s get this party started! Rotate the iFlex around one of the top corners of the front glass to loosen up that sticky situation and create some space for our opening pick. If you need help, you can always schedule a repair
Step 28
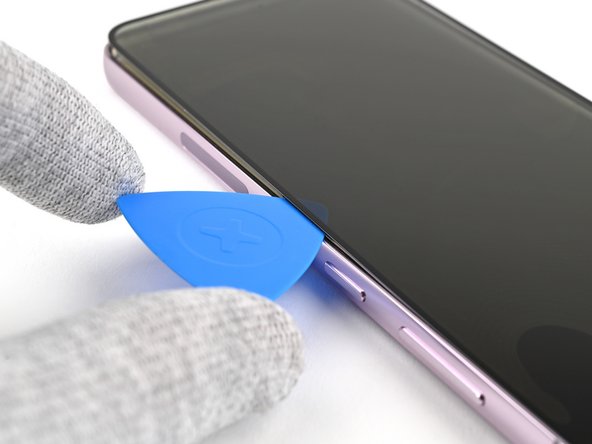

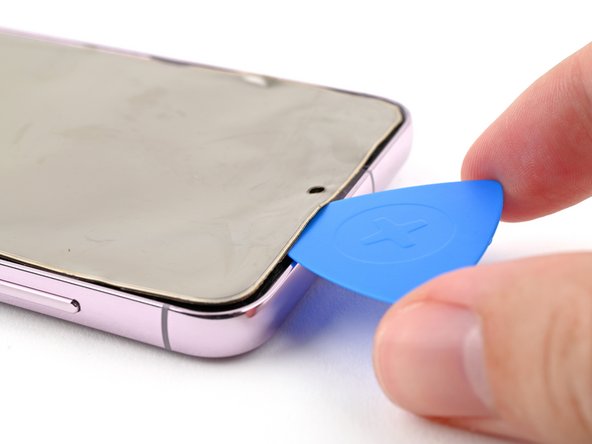
– Now it’s time to get this repair started. Carefully slide the opening pick around the edges of the front glass to loosen the adhesive that’s holding it in place. Remember to take your time and be gentle, and if you need help, you can always schedule a repair

Step 30

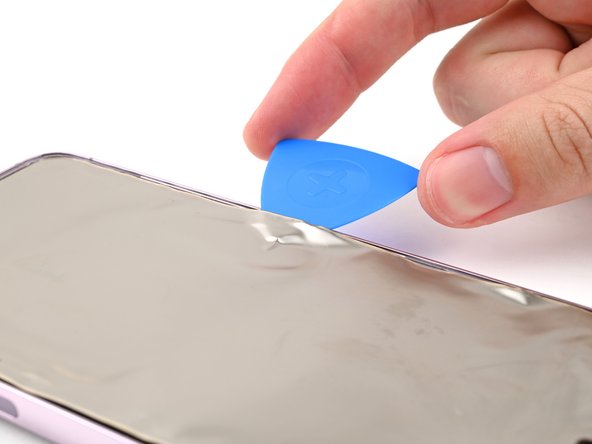
Don’t worry, if that adhesive is being stubborn, just give it a little TLC. Use a hairdryer or heat gun to gently warm up the screen panel until it’s nice and toasty. You’ll be able to separate those parts in no time! And if you need help, you can always schedule a repair.
– Let’s get started by carefully inserting an opening pick under the screen panel to begin the repair process. If you need help, you can always schedule a repair
Tools Used
Step 31
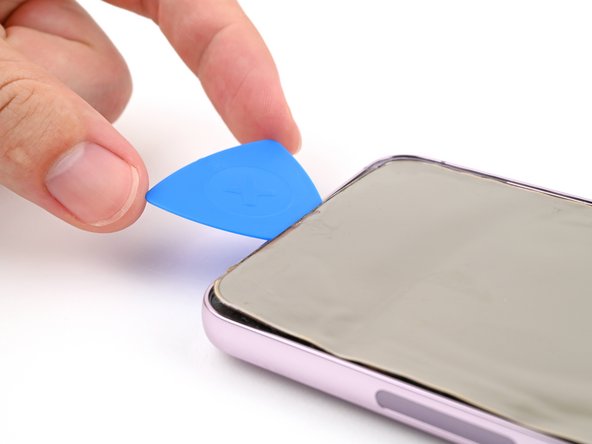

– Let’s get this screen party started! Slide the opening pick around the edges of the screen, like you’re giving it a little love tap. This will help loosen the adhesive holding it to the frame. Think of it as a gentle massage for your device!