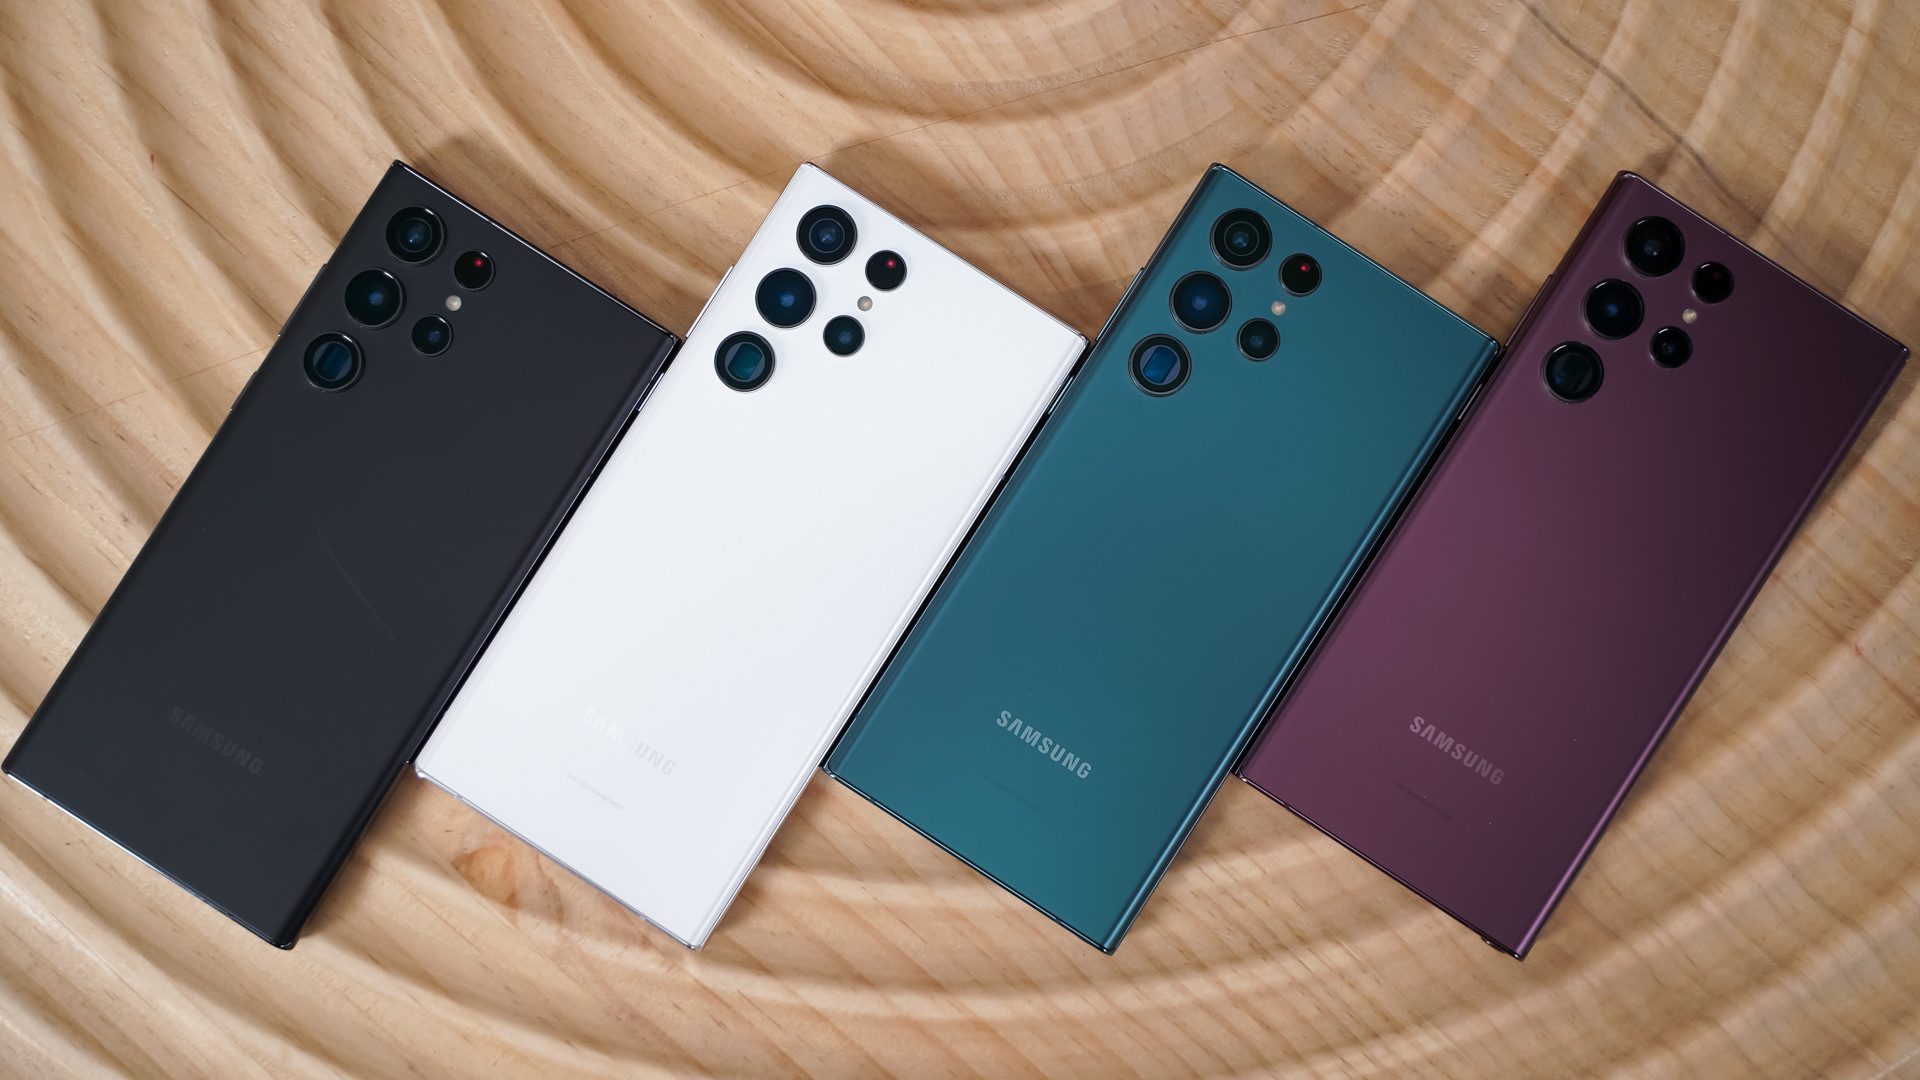
DIY Samsung Galaxy S22 Ultra Back Cover Replacement
Duration: 45 minutes
Steps: 16 Steps
Ready to give your Samsung Galaxy S22 Ultra a new look? Let’s remove or replace that back cover! Keep in mind, though, that water resistance after the repair depends on how well you reapply the adhesive. Your phone will lose its IP (Ingress Protection) rating, so maybe keep it away from the pool party for now. If you need help, you can always schedule a repair.
Step 1

Before you start, make sure your phone’s battery is below 25%. We want to avoid any accidents – a damaged lithium-ion battery can be a fire hazard if it’s fully charged. If you need help, you can always schedule a repair
You can also use a hairdryer, heat gun, or hot plate to help loosen the adhesive, but be careful! It’s easy to overheat things, and you don’t want to fry the display or the battery. If you need help, you can always schedule a repair.
– Warm up your iOpener and give it a cozy two-minute hug on the right edge of the back cover.


Step 2


The adhesive is strongest in the bottom right and top left corners. Keep that in mind, those corners are stuck together like glue!
– While you’re waiting for the adhesive to get all nice and loose, take a peek around the edges of the frame. You’ll see that the back cover is held on with some trusty adhesive. It’s like a little hug, keeping everything secure!
Step 3


Having trouble getting that gap started? No worries, just apply a bit more heat to loosen up the adhesive. Be sure to follow the iOpener instructions to avoid overheating. And if you need help, you can always schedule a repair
– Let’s get this party started! Stick a suction handle onto the back cover, aiming for the center of the right edge. You got this!
– Now, give that suction handle a good, strong pull. We’re looking to open up a little space between the cover and the frame. You’re doing great!
– Slide an opening pick into the gap you just created. You’re almost there! If you need help, you can always schedule a repair
Tools Used

Step 4


– Now, let’s slide that pick back and forth along the right edge to get that sticky stuff nice and loose.
– Leave that pick chilling down near the bottom of the right edge, just to make sure that sticky stuff doesn’t try to sneak back together.
Step 5

– Let’s get this repair started! Apply some heat to the bottom edge of the back cover using a heated iOpener for about two minutes. If you need help, you can always schedule a repair
Tools Used
Step 6


Hey, take it easy around the corners, that glass is pretty delicate! Go slow and steady, and you’ll be good to go.
– Now it’s time to add a second opening pick – slide it into the bottom right corner and get ready to make some progress.
– Gently angle the pick upwards to match the curve of the edge, then rotate it around the bottom right corner. You’re doing great, and if you need help, you can always schedule a repair
Step 7


– Gently slide your trusty opening pick down to the bottom left corner to cut through that sticky adhesive like a pro.
– Keep that pick snugly in the bottom left corner to make sure the adhesive doesn’t decide to play hide and seek!
Step 8

– Heat things up a bit by applying a warm iOpener to the left edge of the back cover for a cozy two minutes.
Tools Used
Step 9


Take your time while carefully trimming the edges, as the glass here is super delicate. Move slowly to keep it from cracking, and you’ll be golden!
– Slide a third opening pick into the bottom left corner to get things started.
– Tilt the pick upward to hug that curved edge and gently spin it around the bottom left corner.
Step 10


Hey, don’t go crazy with the pick! Just gently slide it in up to 5mm, you know, like a pro. Going too far could mess with the antenna or power button, and nobody wants that!
– Gently slide your trusty opening pick down the left edge to gently cut through the adhesive, and stop once you’ve reached the power button.
– Keep that pick in place along the left edge to prevent the adhesive from sealing back up on you.
Step 11

– Let’s get that back cover warm and toasty with our iOpener buddy! Gently apply it to the top edge of the back cover for about two minutes. If you need help, you can always schedule a repair
Tools Used
Step 12


Watch out when cutting near the edges, buddy! This glass is super delicate, so take it slow with those snippy tools, alright?
– Slip an opening pick into the gap at the top right edge.
– Tilt the pick upwards to align with the curved edge and swivel it around the top right corner.
Step 13


Keep the pick insertion to 4 mm max to avoid messing with the cameras or sensors. If you need help, you can always schedule a repair
Step 14


Don’t go overboard with that pick! Just a little nudge, about 4 mm, and you’ll be golden. Too far and those cameras might get a little grumpy. If you need help, you can always schedule a repair.
– Slide an opening pick into the little gap at the top left corner. It’s like giving your device a gentle nudge!
– Tilt the pick upwards so it hugs that curved edge, then smoothly rotate it around the top left corner. You’re doing great!
Step 15


Just slide the pick in up to 4 mm, or you’ll risk damaging the cameras.
– Now, gently slide the pick towards the bottom camera. Keep going until you’ve cut through the remaining adhesive, but be careful not to go too far – stop before you reach the power button. If you need help, you can always schedule a repair
Step 16


If your cover is still being a bit stubborn with the frame, gently slide an opening pick all the way around the edges until the cover pops off like a champ.
– Let’s get started by removing the back cover. Take a firm grip and gently pull it off.
– When you’re putting everything back together, remember:
– Now’s a great time to turn on your phone and test all the functions before sealing it up. Just be sure to power it back down completely before moving forward.
– Use a pair of tweezers or your fingers to carefully remove any leftover adhesive chunks. If they’re being stubborn, try applying a bit of heat to help loosen them up.
– If you’re using custom-cut adhesives, be sure to follow our guide for the best results.
– And if you’re using double-sided tape, we’ve got a guide for that too. Check it out and you’ll be all set.