Samsung Galaxy S10 Screen Replacement Guide: Step-by-Step Tutorial
Duration: 45 minutes
Steps: 24 Steps
Ready to give your Samsung Galaxy S10 a new lease on life? Let’s tackle that broken screen together! Start by removing the back cover to access the internals and disconnect the screen from the motherboard. In this guide, we’ll show you how to gently, but effectively, remove the screen while keeping the original frame intact. If you need help, you can always schedule a repair.
Step 1


You can also use a hair dryer, heat gun, or hot plate. Just be careful not to make the phone too hot—the screen and battery are easily damaged by heat. If you need help, you can always schedule a repair.
– First things first, unplug your phone and power it down before diving in. Safety first, right?
– Grab your trusty iOpener, heat it up, and let it work its magic on the back cover’s right edge for a solid two minutes.
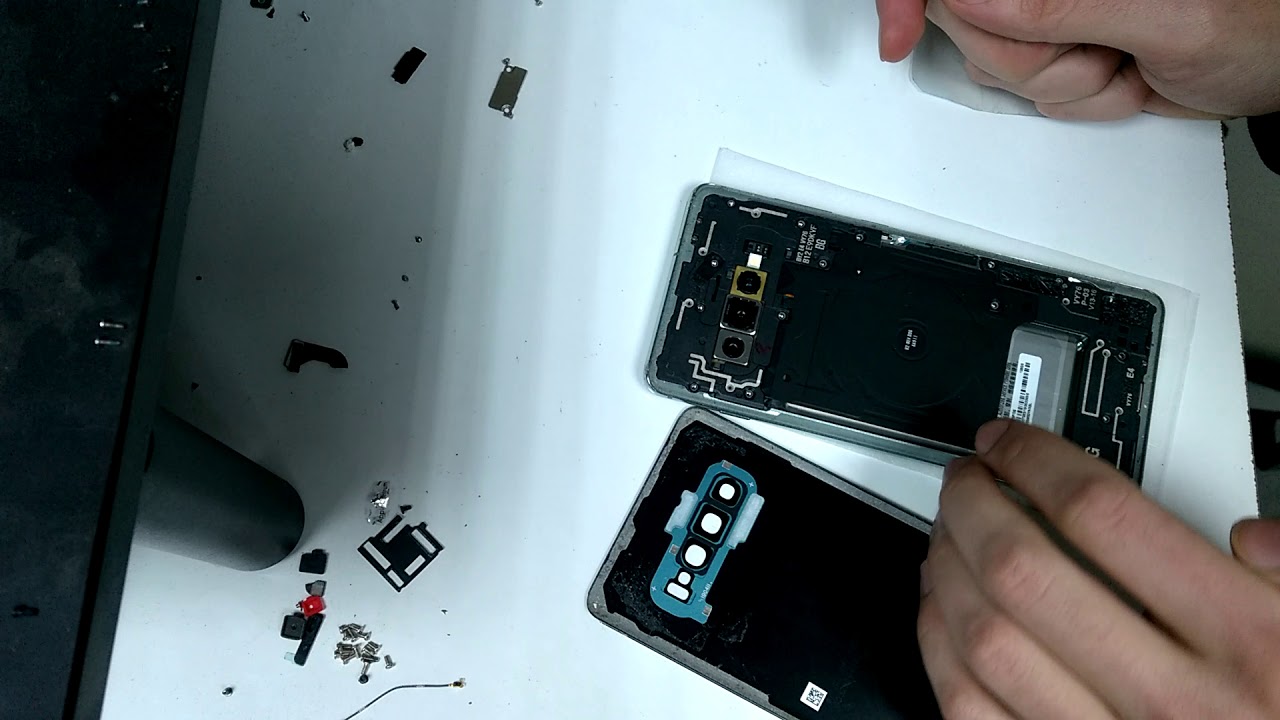
– While you’re waiting, take a peek at the image of the removed back cover and get familiar with where that adhesive likes to hang out.
Tools Used

Step 2


– Alright, let’s get this party started! Find something around 0.5 inches (13 mm) thick and gently rest the heated right edge of your phone on it. This will give you a sweet angle for your opening tool.
– Now, hold onto the left edge of your phone with your fingers, like you’re giving it a hug. This will keep it steady while you work. Pull on that suction cup with a little oomph – you got this!
– Time to introduce your opening tool! Carefully wedge the edge of that tool into the tiny gap between the back cover and the frame. You’re a pro!
– With the opening tool in place, slide it back and forth along the seam. You’re almost there – loosen up that back cover! If you need help, you can always schedule a repair
Step 3


Be gentle with the pick, or you might just turn that back cover glass into a puzzle!
Getting that opening pick in can be a bit of a challenge due to snug fits and some serious adhesive love. Don’t worry if it takes a few tries to create that perfect gap—persistence is key!
– Warm up an iOpener and place it on the same edge of your phone for two minutes.
– Stick a suction cup as close as you can to the center of the right edge (where the adhesive is the thinnest).
– Give the suction cup a good, steady pull to create a gap between the back cover and the frame.
– Slide the tip of an opening pick into the gap.
– If the gap isn’t forming, the adhesive might need more heat. Make sure it’s almost too hot to touch and try again.
– You can also dab a few drops of high concentration (over 90%) isopropyl alcohol into the seam to help loosen the adhesive.
Tools Used
Step 4


Be careful not to slice the adhesive holding the corners down before applying heat – you might end up cracking the back cover. If you’re not sure, don’t hesitate to schedule a repair and let the pros at Salvation Repair handle it for you.
– Let’s get this party started! Slide the opening pick along the edge of the phone, gently cutting through that sticky adhesive.
– Hold on to that pick like it’s your best friend – it’ll keep the adhesive from getting too cozy and sealing itself back up.
Step 5


If the cutting’s a little tough, just give that edge a quick blast of heat and you’ll be right back on track!
– Let’s get started by applying a heated iOpener to the bottom edge of the phone for about two minutes – this will help loosen things up.
– Next, carefully insert an opening pick into the right edge near the bottom right corner. Take your time, you got this!
– Now, gently slide the pick around the corner, working your way along the bottom edge and around the bottom left corner. Remember to be patient and take it one step at a time.
– As you make progress, leave an opening pick in the seam to prevent the adhesive from re-sealing. If you need help or get stuck, don’t worry – you can always schedule a repair with the experts at Salvation Repair.
Tools Used
Step 6


Don’t be afraid to get cozy with that corner! Make sure it’s nice and toasty before you start cutting around it. You’ll get a smoother, more even cut that way. If you’re feeling a little unsure, you can always schedule a repair with us. We’re always happy to help!
– Now, keep the heat on and carefully slice around the remaining edges of your phone – you’re making great progress!
Step 7


If you’re looking to get your device back in shape, you can reinstall the back cover without replacing the adhesive. Just make sure to remove any big chunks of adhesive that might get in the way of a smooth fit. Once it’s back on, apply some heat to the back cover and press down firmly to secure it. If you need help, you can always schedule a repair
– Alright, time to get that back cover off! Carefully slice around the phone with your trusty opening tool. Once you’ve made the rounds, gently twist an opening pick into one of the edges to start separating the cover from the frame.
– Slowly lift that back cover off. If there’s any sticky stuff left, just use those opening picks to slice it away. No sweat!
– Now, you’ve got that back cover off! You’re doing great!
– Before you put everything back together, it’s a good idea to power up your phone and test all the functions. That way, you can make sure everything is working like a charm. Then, power it back down completely before you move on to the next step.
– You’re almost there! Just follow this guide to put the back cover back on, transfer the camera bezel, and replace that adhesive. You’ve got this!
Step 8

– Let’s get started by removing the eight 4 mm Phillips screws that hold the top midframe in place. Take your time and make sure they’re all out before moving on to the next step. If you need help, you can always schedule a repair
Step 9


– The midframe is still stuck in place by some sneaky plastic clips around the edge – let’s get it out.
– Carefully insert the point of a spudger into the notch on the right edge of the midframe, near the volume up button. This is where things start to get interesting.
– Gently pry up to loosen the midframe from the phone. If you need help, you can always schedule a repair
Tools Used

Step 10


– Alright, let’s get this midframe off! Gently lift it up from the top corners and give it a little wiggle to pop it off.
– Now, let’s put it back on!
– Line up the top edge of the midframe with the phone and carefully lay it down.
– Now, press along the edges of the midframe. You’ll hear some satisfying clicks as the clips snap back into place. Make sure the edges are nice and snug against the phone. You got this! If you need help, you can always schedule a repair
Hey there! It might be a little tricky getting the top midframe loose. Sometimes it gets cozy with its buddy, the lower midframe, especially at the bottom right corner. Don’t worry, just gently peel them apart. It’s all good, we’re here to help you through this. If you need help, you can always schedule a repair.
Step 11


Hey, be careful when you disconnect connectors like these, alright? You don’t want to accidentally bump those tiny parts around the socket, okay? We don’t want to cause any unexpected issues. If you need help, you can always schedule a repair.
– Slide the flat end of your spudger right under the battery connector that’s cozying up with the motherboard beneath the rear-facing camera.
– Apply a gentle upward push to uncouple the connector from its socket.
– Carefully nudge the battery’s flex cable away from the motherboard socket to keep it safe from any accidental runs-ins.
Tools Used
Step 12

– Time to tackle those seven 4 mm Phillips screws that are holding the lower midframe in place. Let’s get to it and show them who’s boss!
Step 13

Alright, we’re almost there! A couple of plastic clips are holding the midframe in place. We’ll need to carefully release those to get things moving. Don’t worry, it’s not as complicated as it sounds! If you need help, you can always schedule a repair
– Time to get started. Carefully insert the point of a spudger under the top right corner of the lower midframe – it’s the perfect spot to begin.
– Gently pry up to release the midframe from the phone. Remember, if you need help, you can always schedule a repair
Tools Used
Step 14


– Grab the loose end of the midframe with your fingers and give it a little lift. Nice and easy, we don’t want to break anything!
– Now, wiggle the midframe gently. This helps release those stubborn edge clips. Think of it like a little dance.
– And there you have it! You’ve successfully removed the lower midframe. Remember, the loudspeaker is part of this piece, so be careful with it. If you need any help along the way, you can always schedule a repair.
Step 15


– Gently slide the flat edge of your trusty spudger under the display connector and give it a little lift to unplug it from the motherboard socket. You’ve got this!
Tools Used
Step 16

You can totally use a hair dryer, heat gun, or even a hot plate to warm things up a bit, but keep an eye on it! Overheating can cause some serious trouble for your phone’s internal battery. Just remember, a little warmth goes a long way!
– Flip that phone over so the display is facing up. You’re in control now!
– Let’s get this screen warm! Apply a heated iOpener to the right edge of the screen for two minutes.
Tools Used
Step 17


Depending on how seasoned your device is, this might be a bit tricky. If you’re hitting a snag, just crank up the heat a little more and give it another go!
– Alright, let’s get this display popping! First, grab that suction cup and stick it right on the heated edge of the display.
– Now, give that suction cup a good pull – think strong and steady! You’re trying to create a little gap there.
– Time to slip that opening pick into the gap you just made. You’re almost there!
Step 18


– Now, let’s get that adhesive separated! Slide the opening pick along the right edge to cut through it.
– Keep that opening pick in the corner, holding the adhesive back so it doesn’t stick back together. You’re doing great!

Step 20


– Let’s get this show on the road! Slide an opening pick along the bottom edge to break through the adhesive.
– Leave the opening pick in place to keep the adhesive from sealing itself back up. We don’t want that, now do we?
Step 21


– Keep on truckin’ and repeat the heating and slicing procedure for the remaining display sides. You got this!
Step 22


– Use an opening pick to gently pop open and slice through any leftover adhesive. If you need help, you can always schedule a repair.
Step 23


– Slide that display panel connector right through the frame. Easy peasy, right?
– If you’re struggling a bit, you can always carefully snip the display panel cable to get the display out. Don’t worry, it’s a super common thing! If you need help, you can always schedule a repair
Step 24


– Start by gracefully removing the screen. It’s like peeling a sticker, but with a bit more finesse.
– If you’ve got a custom-cut adhesive, check out this guide for tips on gently getting rid of the old stuff and securing your shiny new screen.
– Using Tesa tape? No worries! Just follow this guide to make sure your screen sticks like a champion.