Asus X200CA-HCL 1104G Headphone Jack Replacement
Duration: 45 minutes
Steps: 4 Steps
Step 1
– Grab your Phillips 1 screwdriver and pop off the laptop’s back panel. Easy does it!
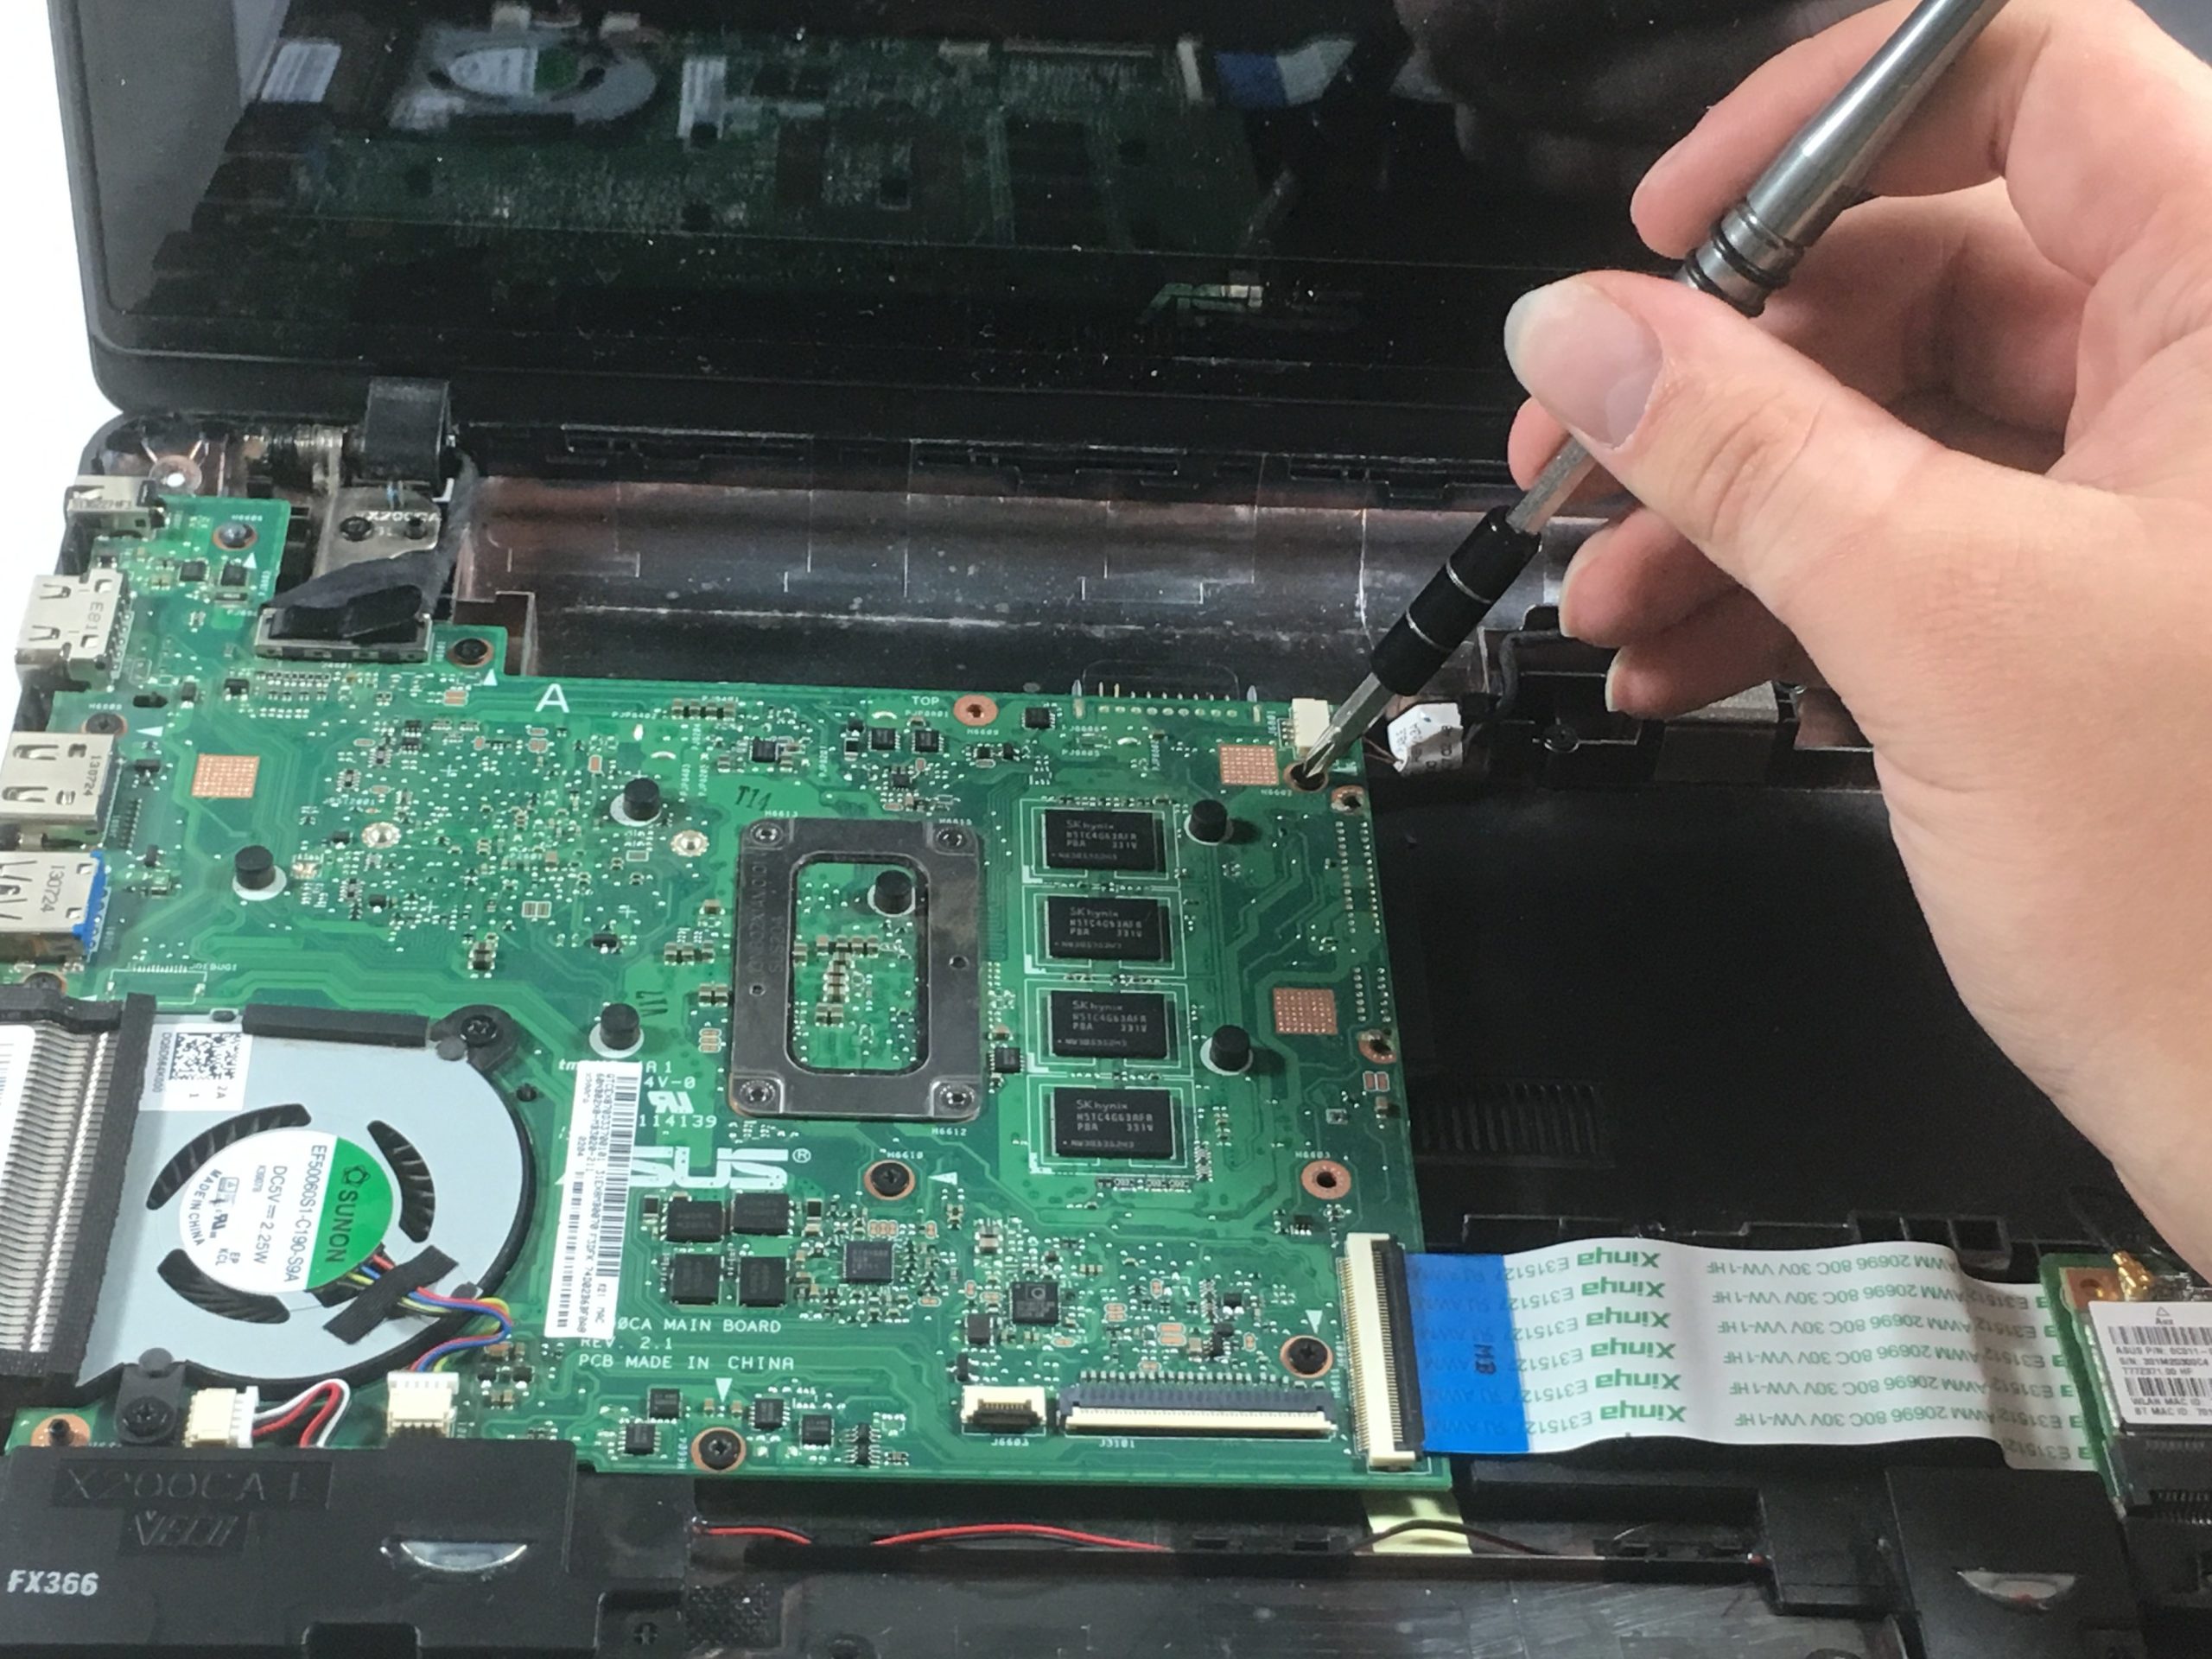
– You’ll now be looking at all the good stuff inside—these are your laptop’s ‘internals.’
Step 2
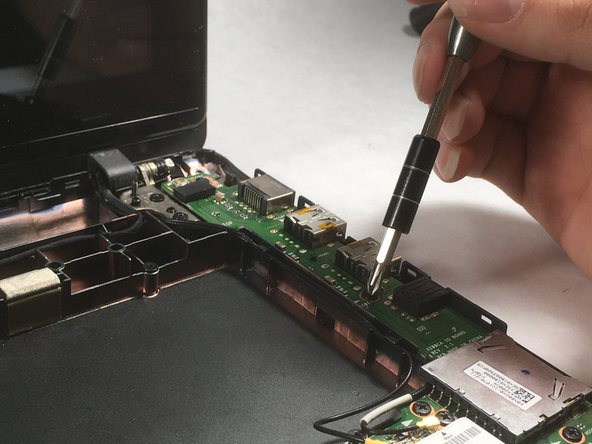
– Alright, let’s track down that audio board! This model features a nifty L-shaped board, and you can spot it hanging out in the far left corner of the internals. Keep your eyes peeled!
Step 3
– First up, gently unplug those two tiny wires linking the audio board to the other parts. You’ll spot them on a little black square right next to the green decoder strip. Just a friendly reminder to treat these delicate components with care—you’re doing great!
Step 4
– Grab your Phillips 1 screwdriver and unscrew the six screws holding the audio board in place.
– Pro tip: The sixth screw might be a bit sneaky. It’s tucked away in the bottom left corner of the audio board, hiding under a tiny black flap.
– Once those screws are out, you’ll be able to gently lift the audio board out with ease.
Success!


