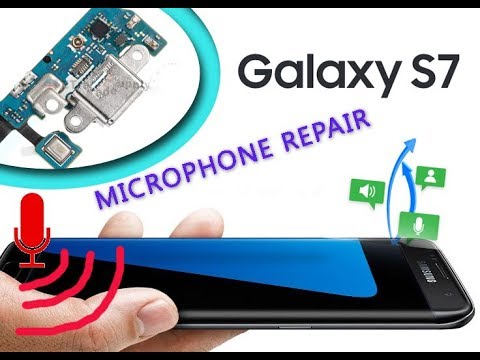
Samsung Galaxy S7 Microphone Replacement Guide: DIY Step-by-Step
Duration: 45 minutes
Steps: 8 Steps
Got a Galaxy S7 with a wonky microphone? Don’t worry, fixing it is easier than you think. The good news is you won’t need to disassemble the LCD. Follow our step-by-step guide and you’ll be back to making crystal-clear calls in no time. If you need help, you can always schedule a repair.
Step 1
Hey, just a quick heads-up! While a hairdryer, heat gun, or hot plate can be your best friend here, make sure you don’t go overboard with the heat. You wouldn’t want to accidentally toast your phone’s OLED display or battery. If things get too hot, just chill out and give it a break. If you need help, you can always schedule a repair.
Before you start, keep in mind that opening your phone will affect its waterproof seals. Make sure you have some replacement adhesive on hand, or be super careful not to get any liquids inside if you’re planning to put it back together without replacing the adhesive.
Getting your phone warm enough might take a few rounds of heating and reapplying the iOpener. Just follow the instructions to avoid overheating, and you’ll be golden. If you need help, you can always schedule a repair
– Let’s get this repair started – apply a heated iOpener to a long edge of the phone for about two minutes to loosen things up. If you need help, you can always schedule a repair
Tools Used
Step 2
Hey there, we don’t want to see any cracks, so be gentle! If you use too much force or try to pry with metal tools, you could break the back glass. Take it slow and steady, and if you’re unsure, you can always schedule a repair.
The curved part of the glass can be a bit tricky – the suction cup might not stick as well as you’d like.
If your phone’s back cover is cracked, the suction cup may not cooperate. Try using some strong tape to lift it, or attach the suction cup with a bit of superglue and let it set before proceeding.
Because of the curved glass, you’ll need to push up rather than sliding the tool in parallel to the phone’s surface.
Having trouble? Apply some more heat to loosen the adhesive, and then try again. The adhesive cools down quickly, so you might need to repeat this process a few times.
To make things easier, you can add a few drops of isopropyl alcohol to the gap once you’ve got the pick in place. This will help weaken the adhesive for the next steps. And remember, if you need help, you can always schedule a repair
– Once the back panel feels nice and toasty, grab a suction cup and stick it near the heated edge. Just make sure to avoid the curved part.
– Give the suction cup a little lift and slip an opening pick under the rear glass.
Step 4
Take your time to avoid any slips with the tip. If you find it tough to slide, just give the iOpener another heat-up and try again.
– Glide the opening pick along the phone’s side to break the adhesive.
– Leave the pick where it is and grab a second one for the next step. Keeping the pick in place helps keep the glue from sticking back together. If you need help, you can always schedule a repair.
Tools Used
Step 5
– Now, let’s keep the momentum going! Just like before, heat up and slice through the remaining three sides of your phone with care.
– To make things easier, tuck an opening pick into each edge as you go along. This way, the adhesive won’t sneak back in and seal everything up again!
Step 6
– Alright, time to get that glass off! Carefully lift it up and remove it from the phone. You got this!
Step 7
Feel free to pop the back cover back on without swapping out the adhesive, just make sure to clear away any big blobs that might stop it from sitting properly. After you place it back, give it a little warmth and press down to lock it in. While it won’t be fully waterproof, that adhesive usually packs a punch to keep things secure!
Before sealing everything up tight with new adhesive, be sure to power up your device and check your handiwork. A quick test never hurt, right?
– To get that back cover back on with a custom-cut adhesive strip, just follow along with our easy steps.
– When you’re cleaning the midframe surface with isopropyl alcohol, be super careful not to spill any on the wireless charging coil – the coating can break down if it comes into contact with alcohol. If you need help, you can always schedule a repair
Step 8
– Got a Galaxy S7 with a faulty microphone? Don’t worry, we’ve got you covered. Our solution is straightforward and doesn’t require disassembling the LCD, so you can get back to making calls and recording videos in no time. If you need help, you can always schedule a repair


