Samsung Galaxy M31 AMOLED Screen & Digitizer Replacement
Duration: 45 minutes
Steps: 24 Steps
Ready to tackle that cracked or broken screen on your Samsung Galaxy M31? Awesome! Just a heads up: if the frame is a bit bent out of shape, you’ll want to swap it out too. This ensures your new screen fits snugly and avoids any drama from uneven pressure. Before diving in, make sure your battery is below 25%. A punctured battery can be a bit of a firecracker, but discharging it first makes things a lot safer. Quick note: this guide focuses on swapping out just the screen while keeping the original frame and motherboard intact. However, some replacement screens come with a new frame (or chassis), which means a whole different ball game. So double-check you have the right part before you get started. Don’t forget that you’ll need some replacement adhesive to reattach everything when you’re putting your device back together. If you need help, you can always schedule a repair.
Step 1


– Grab your trusty SIM card eject tool, a SIM eject bit, or even a straightened paper clip. Now, pop that bad boy into the little hole on the SIM tray on the left side of your phone.
– Give it a firm press to release the tray and voilà!
Tools Used

Step 2


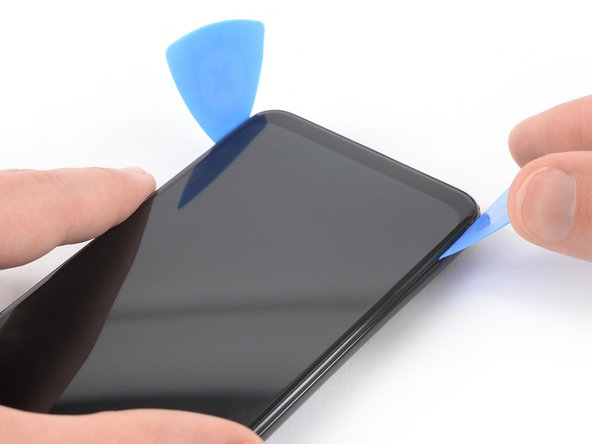
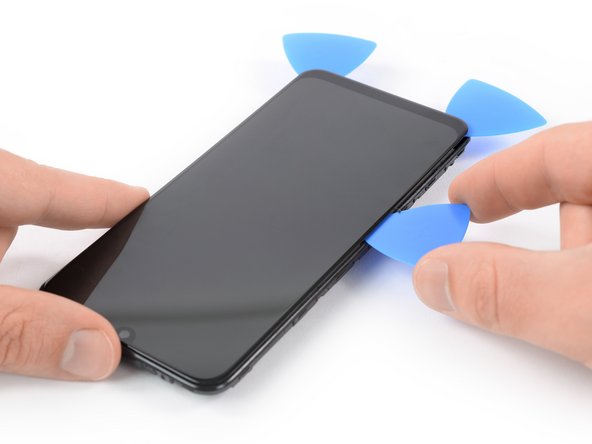
– Gently slide an opening pick between the phone assembly and the back cover at the bottom edge of your device.
– Carefully maneuver the opening pick around the bottom right corner to unclip the back cover and set it free!
Step 3

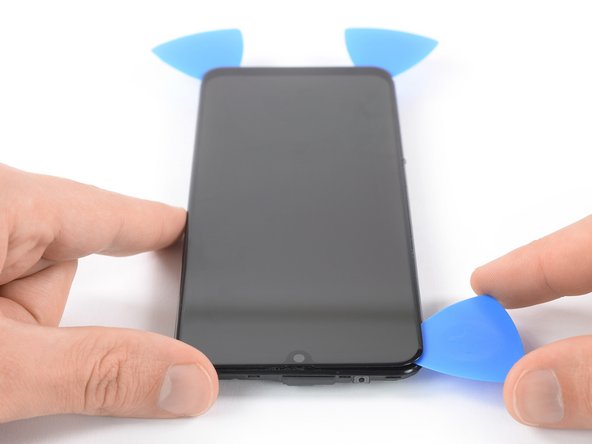
– Slide a second opening pick in between the back cover and the phone assembly at the bottom edge of the device. You’ve got this!
– Now, glide that opening pick around the bottom left corner to pop those plastic clips free and set the back cover loose. Keep it smooth!
Step 4

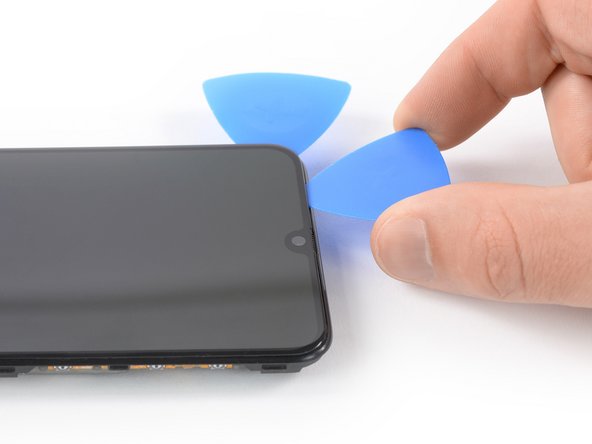
– Gently glide your trusty opening pick down the left edge of your phone to pop free those pesky plastic clips holding the back cover in place.
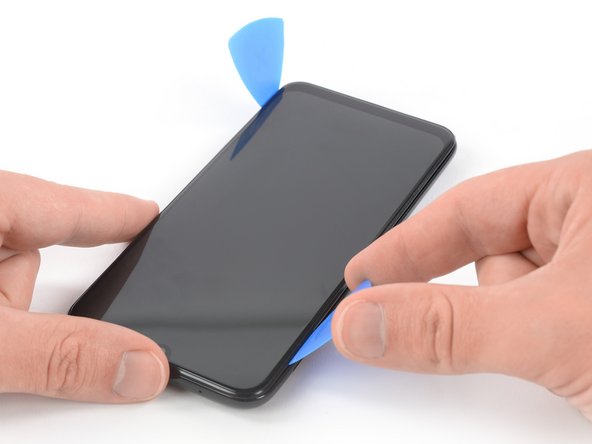
Step 5


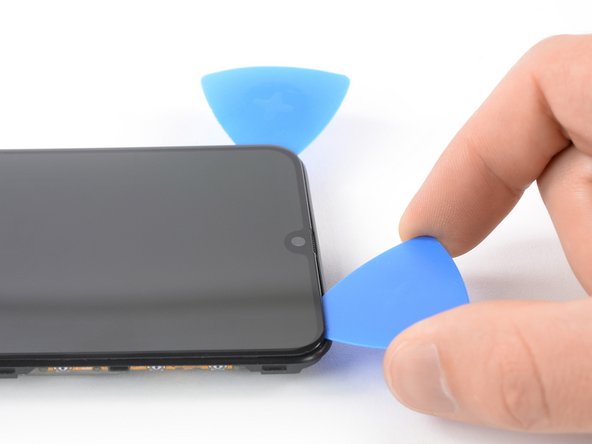
– Gently glide your opening pick down the right edge of the phone to pop those plastic clips free from the back cover. You’ve got this!
Step 6

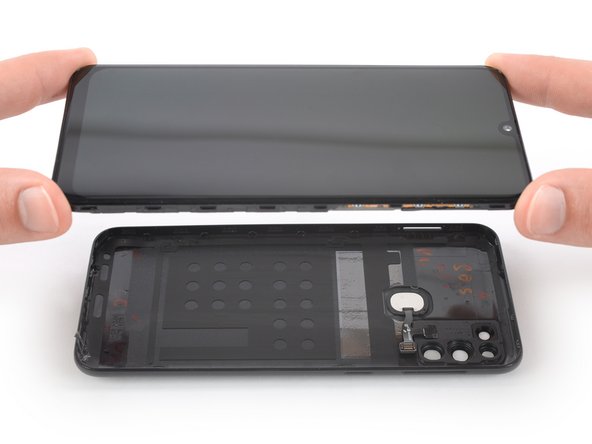

Hey, that fingerprint sensor cable is a little shorty! Be careful not to yank it out too fast when you’re taking off the back cover, okay? We wouldn’t want to damage that little guy.
– Gently pry the phone assembly out of the back cover – you’re making great progress!
– Now’s a good time to power on your phone and test all the functions before putting the back cover back on. Remember to power it back down before moving forward. If you need help, you can always schedule a repair
Step 7

– Take out those seven Phillips #00 screws, measuring in at a tidy 3.9 mm long. You’ve got this!
Step 8
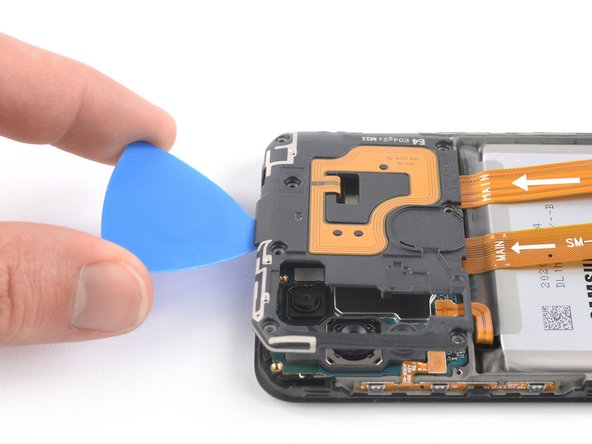

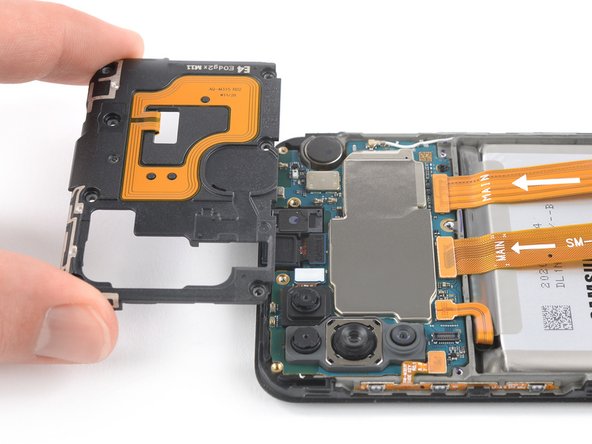
– Slide the tip of your trusty opening pick under the top edge of the motherboard cover.
– Gently use the opening pick to nudge the motherboard cover upwards.
– Go ahead and lift off the motherboard cover, revealing the inner workings!
Step 9

– Grab the flat end of your trusty spudger and gently nudge up the battery flex cable to disconnect it. You’re doing great!
Tools Used

Step 10

– Unscrew those eight Phillips #00 screws (3.9 mm length) like a pro! You’ve got this!
Step 11

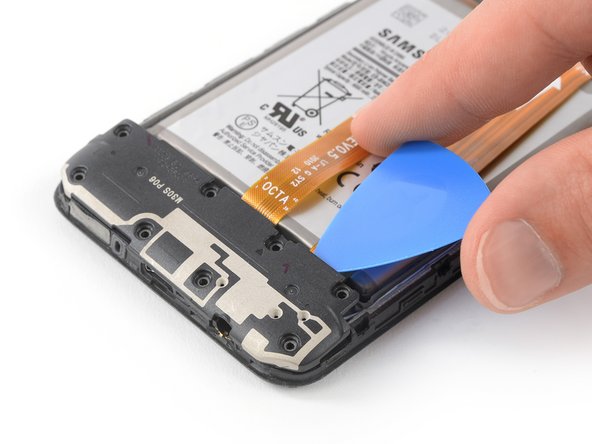
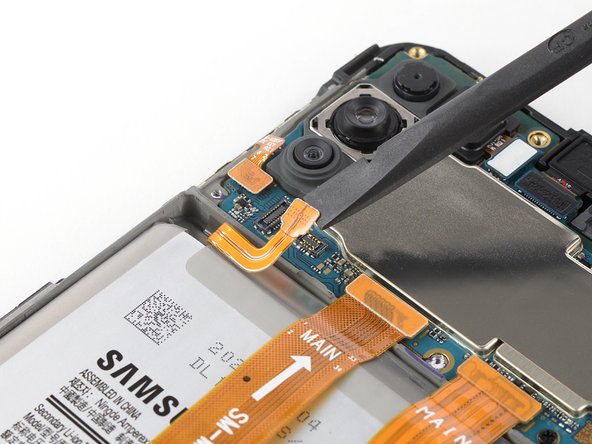
– Slip an opening pick beneath the top edge of the loudspeaker where the interconnect flex cable hangs out.
– Give that opening pick a friendly lift to pop the loudspeaker up.
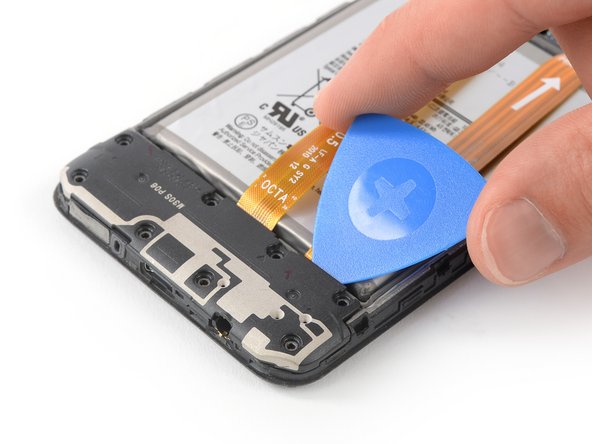
Step 12


– Time to give that loudspeaker a little vacation! Let’s remove it gently, like a pro.
Step 13

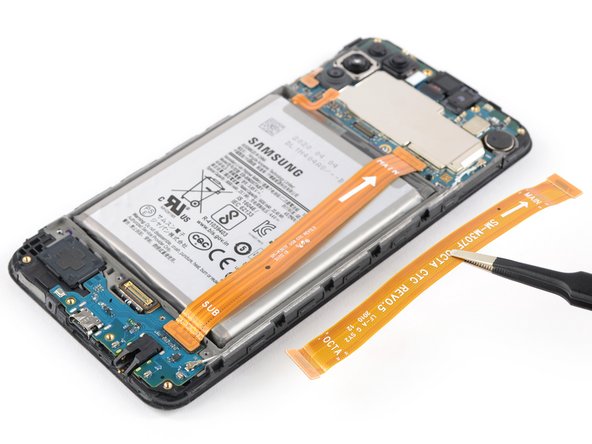

– Time to get started! Use the flat end of a spudger to carefully pry up and disconnect the display flex cable extension – it’s like freeing a tiny cable from its cozy home.
– Now, gently remove the display flex cable extension. If you need help, you can always schedule a repair
Tools Used
Step 14
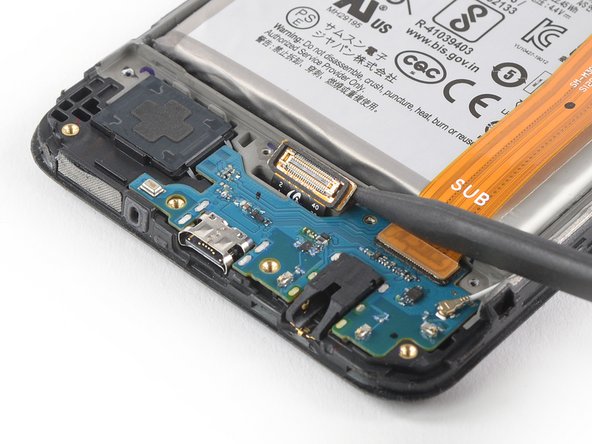


The display flex cable connector is secured with a bit of gentle adhesive. If it’s being a little stubborn, don’t worry! Just grab a heated iOpener and give the bottom of the screen a warm hug to help loosen that adhesive around the connector. You’ve got this!
– Grab your trusty spudger and gently pop up that display flex connector from the midframe. Take it slow and steady!

Step 15

– Heat up that iOpener and give the screen some love to loosen up the adhesive beneath! Let it hang out for at least two minutes to work its magic.
Tools Used
Step 16

If your phone’s screen is sporting a crack, the suction handle might be feeling a bit rebellious and refusing to stick. No worries! You can try using some sturdy tape for a lift-off, or if you’re feeling crafty, superglue that suction handle in place and let it set so you can carry on with the repair adventure.
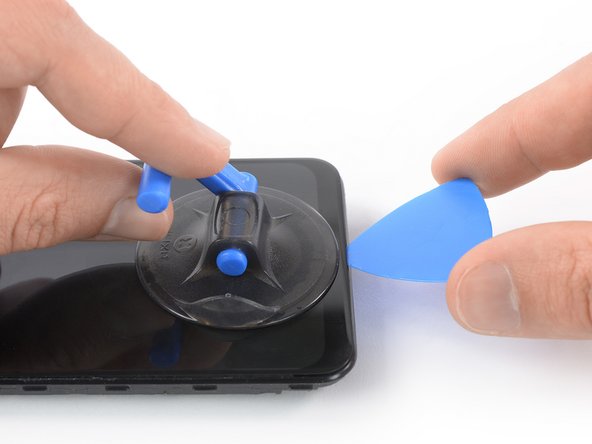
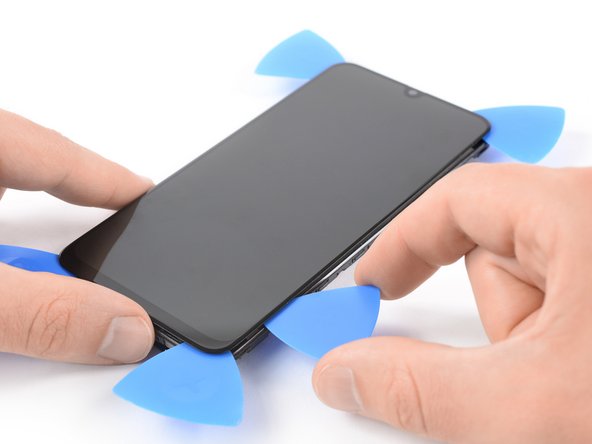
– First, warm up the screen until it’s nice and toasty to the touch – then it’s time to bring in the suction handle to the bottom edge of your phone.
– Now, use that suction handle to gently lift the screen and create a small gap between the screen and the frame. You’re making progress!
– Next, take the tip of an opening pick and carefully insert it into the gap between the midframe and the screen. This is where the magic happens.
– Slide that opening pick all the way to the bottom right corner to cut through the adhesive. Leave it in place for now, so the adhesive doesn’t reseal – you’re doing great! If you need help, you can always schedule a repair
Step 17


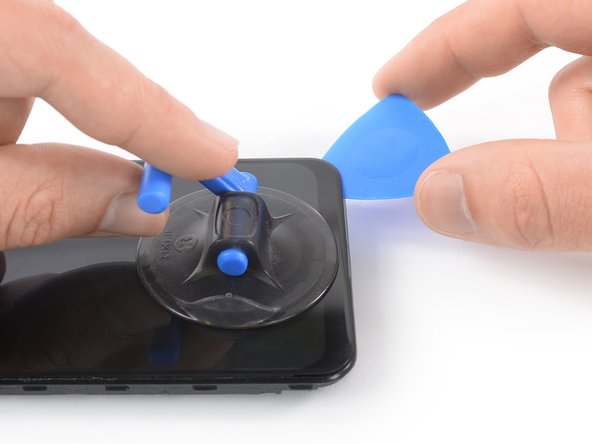
– Now it’s time to bring in some backup – insert a second opening pick and slide it down to the bottom left corner of the screen to cut through that adhesive. You got this!
– Leave those picks right where they are, so the adhesive doesn’t get a chance to reseal and undo all your hard work. If you need help, you can always schedule a repair
Step 18

– If you find yourself struggling to cut, no worries! Just give the iOpener another round of heating and stick it back on.
– Slide a third opening pick under the bottom left corner of your phone like a pro.
– Gently glide that opening pick up to the top left corner, slicing through the adhesive. Keep it in place to stop the adhesive from sticking back together.
Tools Used
Step 19
When you’re getting close to the front-facing camera, be careful to only use the tip of the opening pick. You don’t want to damage or smudge the camera. Also, keep an eye on the speaker grill above it – it can fall off easily, so try not to lose it. If you need help, you can always schedule a repair
– Pop in a fourth opening pick at the top left corner, just like placing the cherry on top of a sundae!
– Now, gently slide that opening pick along the top edge of your phone to slice through the adhesive like a pro. Make sure to leave the pick nestled in the top right corner of the screen so the adhesive doesn’t get any funny ideas about resealing.
Step 20

Hold your horses! Don’t yank that display off just yet; it’s still hanging on to the midframe with some sticky adhesive right in the center.
– Slide in that fifth opening pick along the right edge of your phone to slice through the last bits of adhesive with ease.
– Keep those opening picks right where they are to stop the adhesive from sticking back together.
Step 21

– Warm up that iOpener and give your screen some love! Place it on the center of the screen to get the adhesive nice and cozy. Keep it there for at least two minutes to let the magic happen.
Tools Used
Step 22
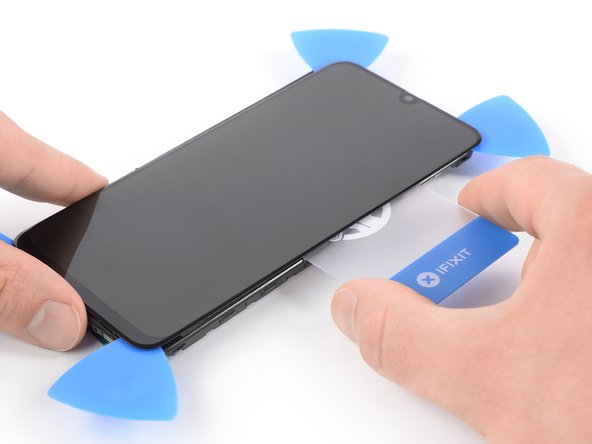
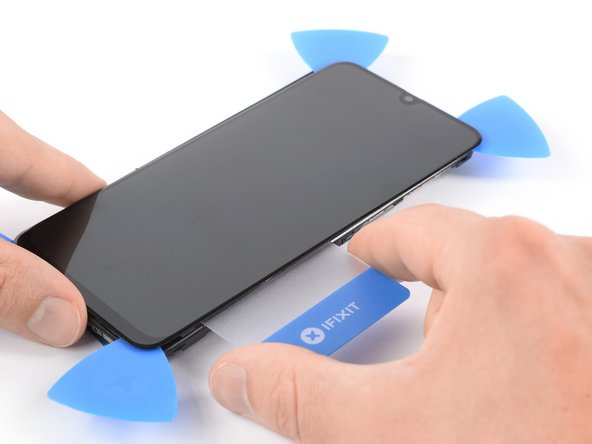

Be careful not to completely remove the display just yet – the display cable is still routed through the frame and might be stuck to the inside of the midframe. If you need help, you can always schedule a repair
– Gently slide a plastic card under the right edge of the screen to get started.
– Now, use that plastic card to carefully cut the adhesive under the center of the screen by sliding it down to the bottom edge of the phone. If you need help, you can always schedule a repair
Step 23


– Gently guide that display flex cable through the midframe gap and say goodbye to the display!
Step 24

– Take a moment to compare your shiny new replacement part with the old one. You might need to swap over some leftover bits or peel off those sticky backings from the new part before you get to the fun part of installing it.
