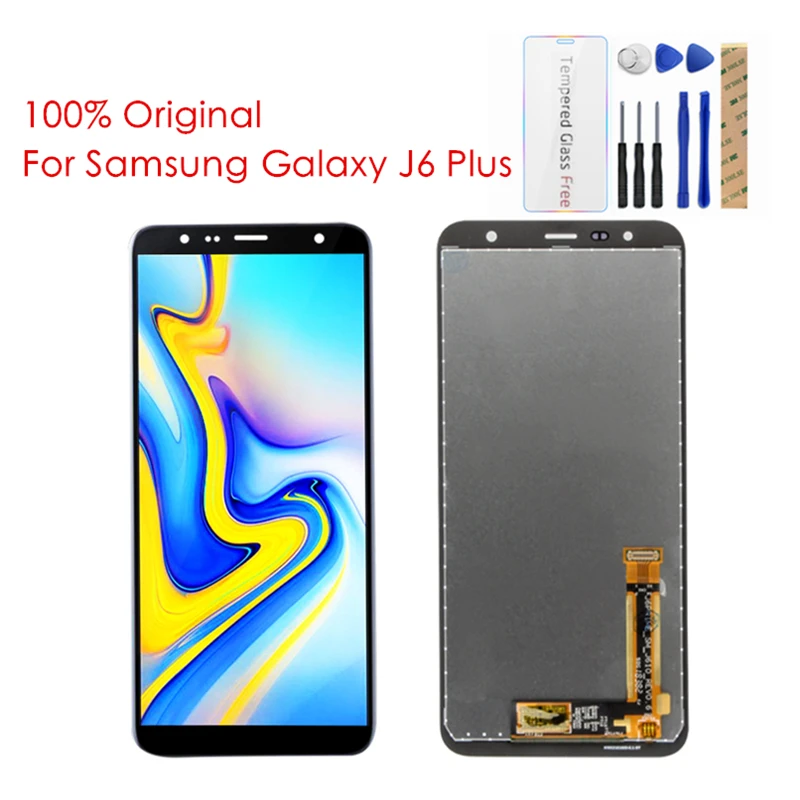
DIY Guide: Samsung Galaxy J6 Display Replacement Tutorial
Duration: 45 minutes
Steps: 3 Steps
Step 1
Keep those peepers safe! Wear some eye protection to keep those glass shards away from your eyeballs. We don’t want any unwanted eye candy. 😉
– First things first, give that display some love! Warm up the edges where the double-sided adhesive is hanging on tight with a hairdryer or something similar. This will help it loosen up, making it much easier for you to slide in the blade and lift it off.
– Now, gently insert the blade between the body and the glass and start separating the display. A little tip: begin at the top and take your time – it’ll pay off!
– Don’t forget, the flat connection connectors are hanging out at the bottom, waiting for you to find them.
Step 2
– Gently raise the display.
Step 3
– First things first, gently unplug that black plastic plug holding the display connector in place.
– Now, carefully unhook the display connector like a pro.
– Time to say goodbye to the old display! Remove it and get ready to place the brand new one.
– To keep the new display snug and secure, apply a bit of glue. You’ve got this!


