Samsung Galaxy J3 Luna Pro Camera Replacement Guide
Duration: 45 minutes
Steps: 6 Steps
So, you’ve had one of those heart-stopping moments when you drop your phone, and miraculously, the screen survives! But then, you pick it up only to find your camera lens has met its unfortunate fate. Don’t fret! This guide is here to walk you through the simple, step-by-step process of replacing the camera on your Samsung Galaxy J3 Luna Pro. Let’s get started and bring that camera back to life. And remember, if you need help, you can always schedule a repair.
Step 1

– First things first, let’s power down that phone! Give it a little rest.
– Now, gently pry off the back cover and take out the battery like you’re unveiling a surprise.
Step 2


Be careful not to completely remove the screen, since there are still cables connecting the two pieces. If you need help, you can always schedule a repair
– Grab that suction cup and give your screen a gentle tug upwards!
– Slide that plastic opening tool into the small gap beneath the screen and take your time, working your way around the edges like a pro.


Step 5


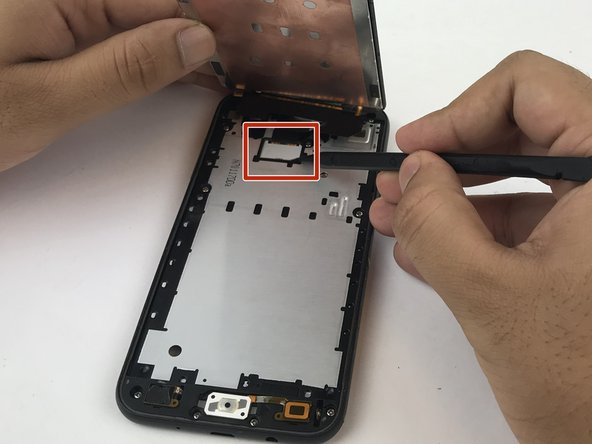
– Alright, let’s get this motherboard out of the mid-frame. Just take your time and you’ll be good to go! If you need help, you can always schedule a repair
Step 6

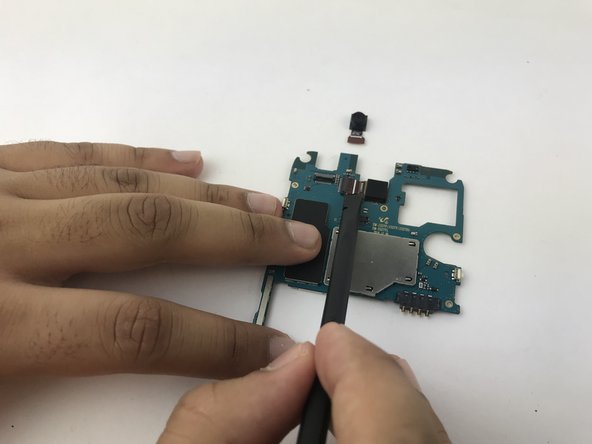
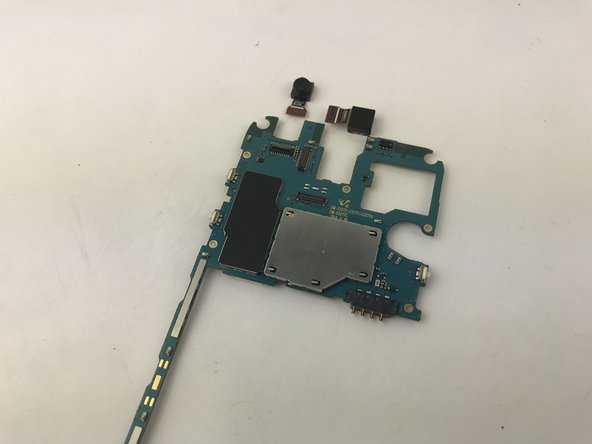
– Use a spudger to gently flip up the retaining flaps on the front and rear camera ribbon cable ZIF sockets.
– Pull the cables out of the ZIF sockets. If you need help, you can always schedule a repair
Tools Used
