Samsung Galaxy Emerge Repair Guide
Duration: 45 minutes
Steps: 8 Steps
Step 1

– Let’s get started by carefully prying the back off your device and removing the battery. This is the first step in getting your device up and running again. If you need help, you can always schedule a repair
Step 2

– To get started, use a heat gun or a hairdryer to melt the adhesive that holds the screen in place – it’s easier than you think. At Salvation Repair, we’ve found that a little heat goes a long way.
– While the adhesive is melting, use a tool like an iFixit opening pick or a guitar pick to carefully pry the screen loose. Be gentle, as you don’t want to damage the LCD inside. If you need help, you can always schedule a repair
Step 3
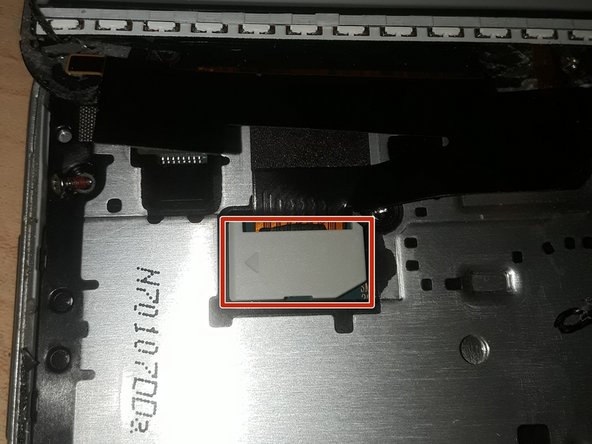
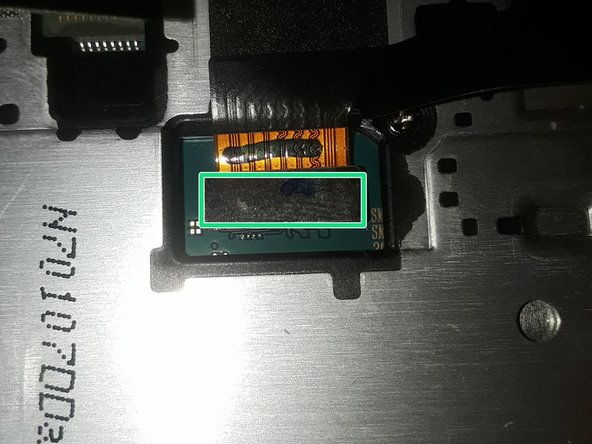

– Gently lift the phone’s screen from the bottom, letting it lean over the top like a cool dude leaning on a wall.
– See that tab marked with the red box? Yeah, pry that baby up and get that connector peekin’ out!
– Check out the green box – that’s the connector. Use an iFixit opening pick (or a trusty guitar pick) to pop it off the motherboard with care.
– If you need help, you can always schedule a repair
Step 4


– Grab your trusty #00 Philips head screwdriver and take out all 11 screws marked by those cheerful red circles in both pictures. No need to stress about where they go, they’re all the same size! And guess what? These are the only screws hanging out in your phone, so you’re in the clear.
Step 5


– Once you’ve removed all the screws, give a gentle push to the back of the phone where the battery used to be until you hear those satisfying little clicks.
– When you catch those clicks, grab your trusty ifixit opening pick (or a guitar pick if you’re feeling musical) and flip the phone over to start easing it open on the other side. Just be careful, as the pick will be dancing close to those delicate circuits!
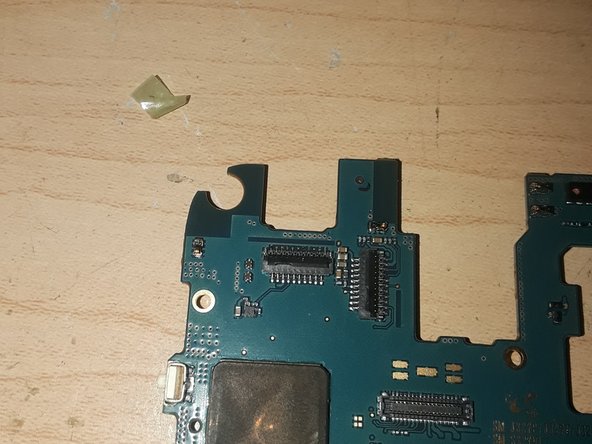
Step 6

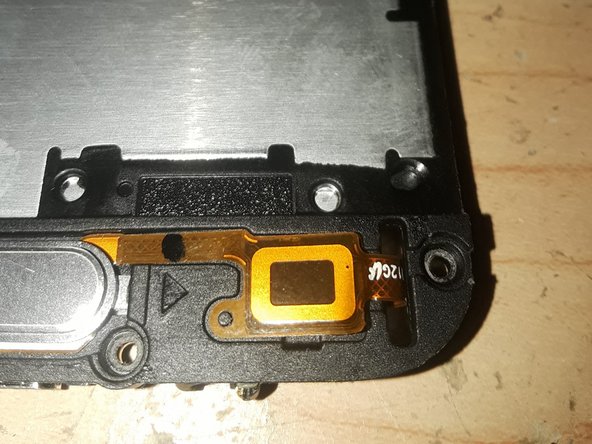

– The headphone and home button are snugly connected with a single little buddy of a connector. Grab an iFixit opening pick (or a trusty guitar pick) and gently coax it off the motherboard with care.
– The headphone jack is best friends with the home button and hangs out inside the phone’s chassis. Remember, no need to go all Hulk on it—just avoid yanking it out!
Step 7
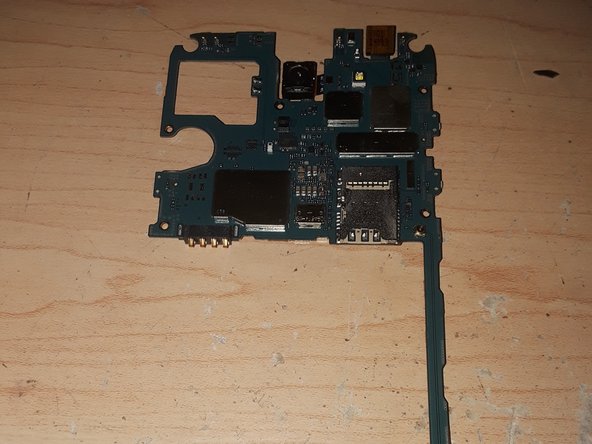

– Now, it’s time to give that motherboard a little nudge. Gently go around the edge, starting from the micro USB connector and working your way up. Use your tool to carefully pry it out. Take your time and don’t be afraid to be gentle – we want to make sure we don’t damage anything. If you’re feeling a little unsure, you can always schedule a repair with us!
Step 8

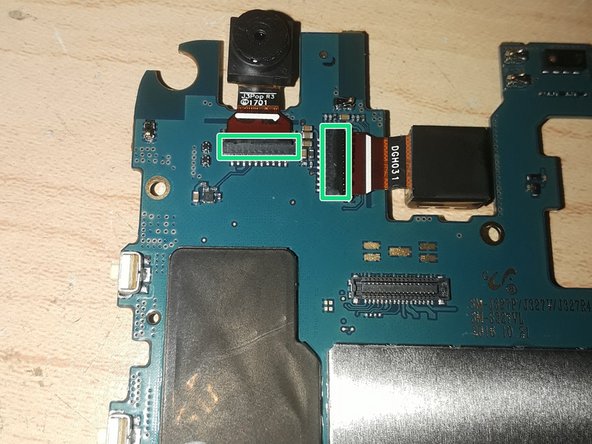
– Let’s get started by gently lifting the green tape (marked in red) that’s covering the camera connectors. Next, use the iFixit opening pick (or a guitar pick) to carefully pry up the tabs (marked in green) that are holding the ribbon cable in place. If you need help, you can always schedule a repair