DIY Samsung Galaxy J3 Eclipse Display Replacement Guide
Duration: 45 minutes
Steps: 5 Steps
Get your Samsung J3 device looking brand new again with this easy-to-follow repair guide. We’ll walk you through the steps to fix a broken or shattered screen. If you need help along the way, you can always schedule a repair.
Step 1

Keep that heat movin’! Don’t linger too long in one spot. Just a quick and even sweep around the edges, and we’ll be good to go. If you need help, you can always schedule a repair
– Grab your trusty heat gun or a hair dryer and warm up those front edges of the phone for about two minutes. Keep it about six inches away from the screen so we don’t accidentally turn up the heat on your device too much!
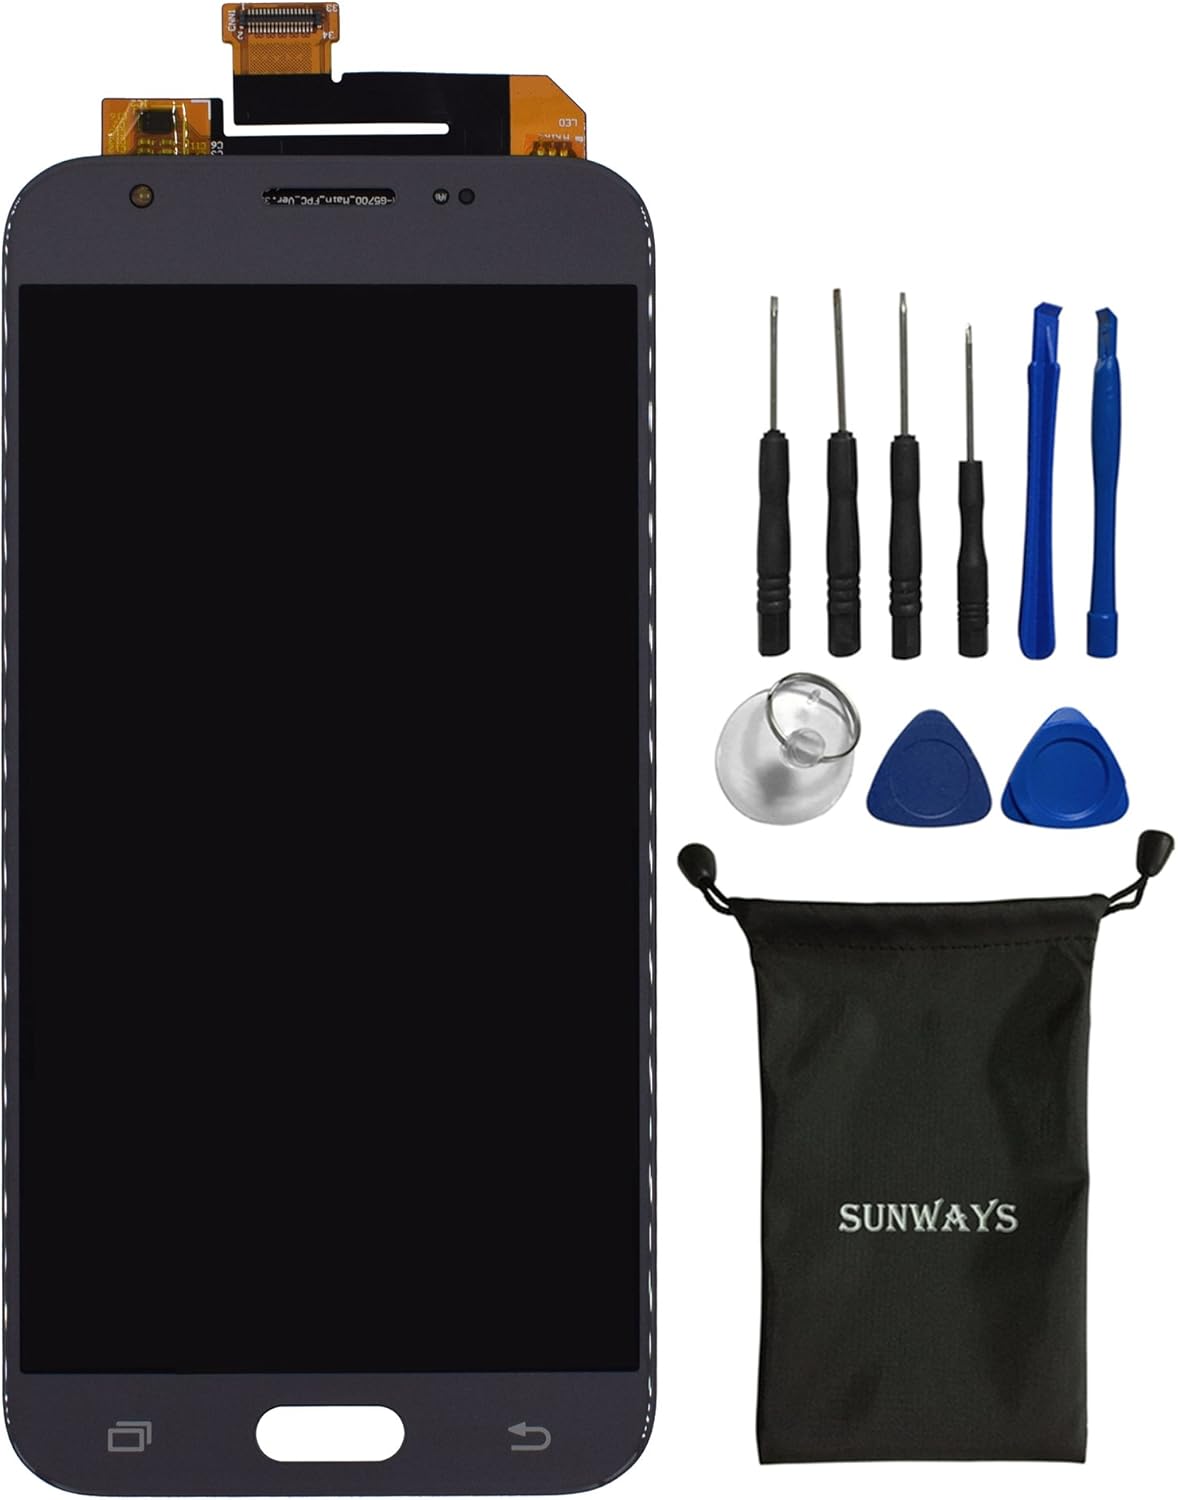
Tools Used

Step 2


Be gentle when using the pry tool – too much force can damage your phone’s internals. Let’s keep those components safe!
When inserting your tool into the top edge of the phone, keep it under 1cm to avoid damaging those delicate cables. If you need help, you can always schedule a repair
Step 3


Don’t stress about yanking the display off just yet! Take it easy and focus on loosening up all those edges first.
Step 4


– Gently use your prying tool to lift the bottom right corner of the white cable guard, revealing a delicate ribbon cable connector underneath.
Step 5


– Gently lift the ribbon cable connector hiding beneath the cable guard and detach the display from your device. You’ve got this!
– Before putting everything back together with that shiny new screen, make sure to wipe away any residue from the phone edges. A clean start is always a good idea!

