Samsung Galaxy J3 2018 Screen Replacement Guide: DIY Tutorial
Duration: 45 minutes
Steps: 9 Steps
Step 1


– To get started, carefully remove the back panel and take out the battery to prevent any accidental shorts inside your phone.
– Look for the small cutout at the lower right corner – that’s your key to unlocking the back of your phone. You’ll also notice a similar dimple on the bottom edge of the battery, which will help you remove it. If you need help, you can always schedule a repair
Step 2

– Check out the back of your new screen and you’ll find the connector for the panel just hanging out there. The best part? No screws are needed for this repair, so we can dive right in!
Step 3

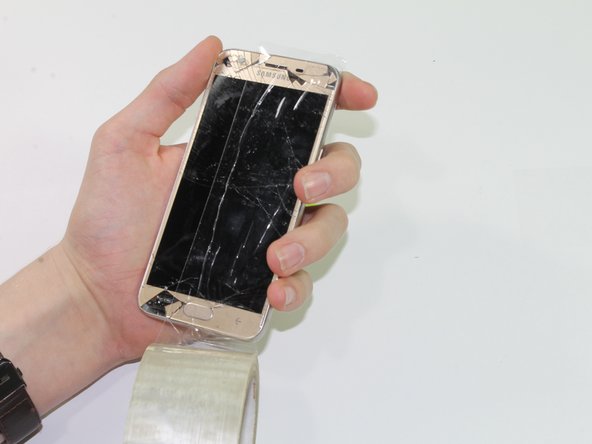
– First things first, let’s get that screen protector out of the way. It’s time to get down to business!
– Hey, that screen looks a little rough, huh? If you’ve got a cracked screen, grab some packing tape. This will give our suction cup a good grip and keep any glass shards from flying around. No one wants a glass shower in their living room, right?
Step 4
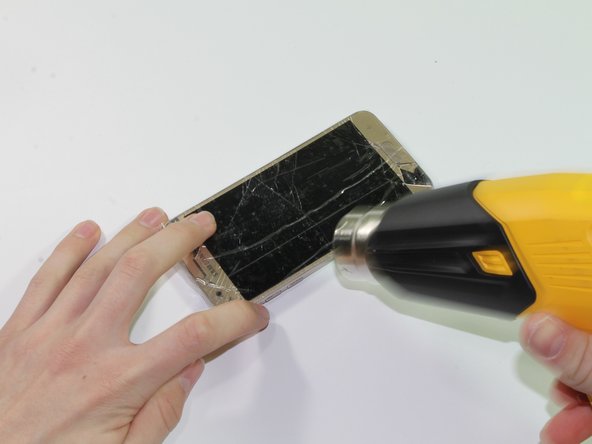

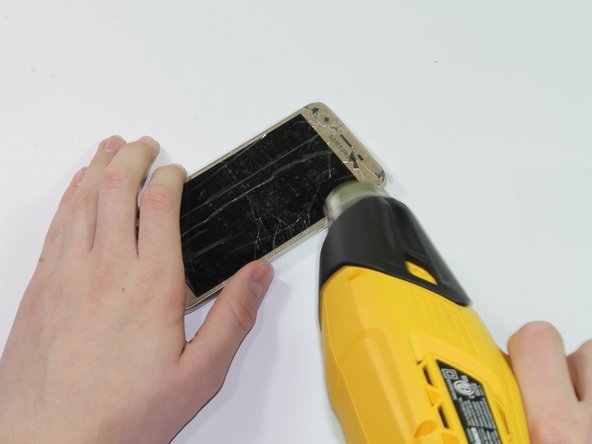
Avoid hanging out in one spot or applying heat for too long! We just want to give that adhesive a little nudge to loosen its grip.
– Grab your trusty iOpener, heat gun, or something similar, and gently warm up the device by spreading the heat evenly around it until it feels cozy to the touch.
Tools Used

Step 5

Hey, be careful around those capacitive back and recent buttons! Keep the pick flat to avoid going too deep. If you need help, you can always schedule a repair.
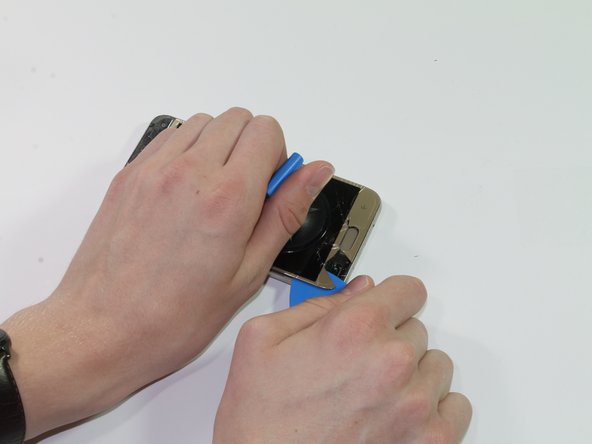
– Once the bottom of your device is nice and toasty, grab a suction cup and gently pry up near the bottom.
– When you’ve got a little gap going, slide an opening pick in there, but be careful of the home button hanging out underneath.
– Now, add another opening pick and put them on opposite corners to keep your device open. You got this!
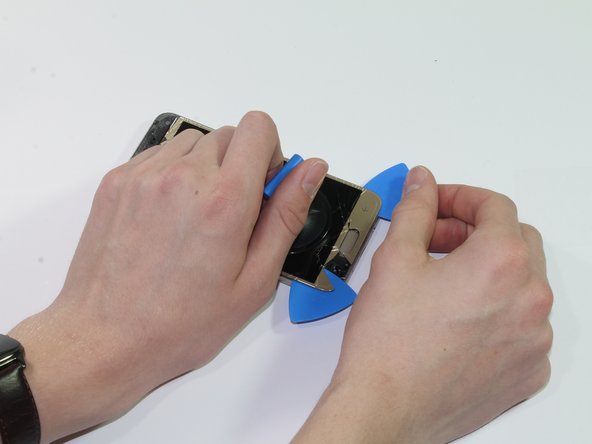
Step 6


– Now, let’s work our way down both edges of the phone, keeping an eye out for that cable at the top. If you need help, you can always schedule a repair
Step 7
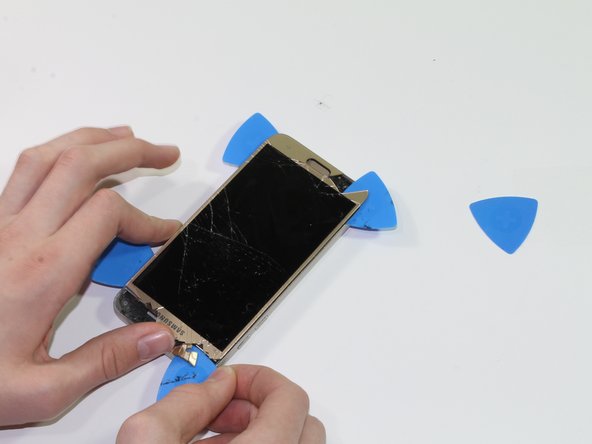

– Alright, let’s get this party started! Gently, gently, use the pick around the top edge, staying just 3mm deep to avoid getting too close to the display cable. Don’t worry, we wouldn’t want to make any new friends there. If you don’t need the old screen, then just ignore this step!
– Now, if you need to warm things up a little, go ahead and give it a quick heat treatment. Next, let’s cut any remaining adhesive around the top bezel. Stay cool and keep it chill with a 5mm depth. You’re doing great!
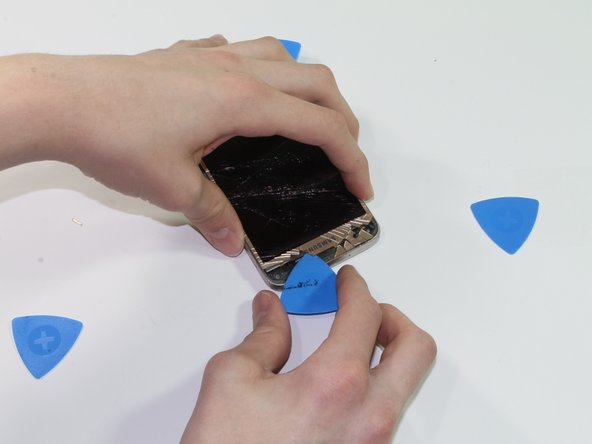
Step 8

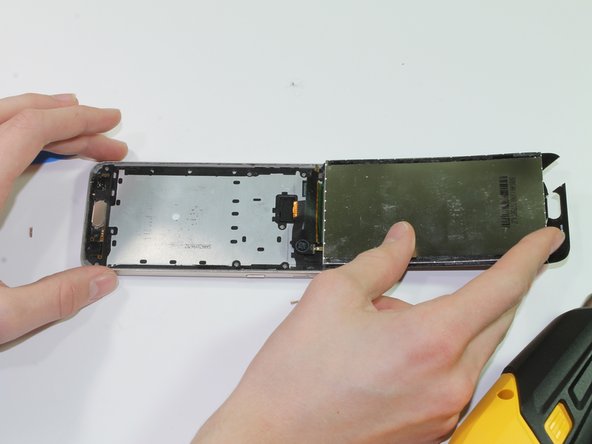
Be careful when removing the old screen – its connector might be a bit too short, so just balance the top edge of the screen on the phone to avoid putting any strain on the cable. If you need help, you can always schedule a repair
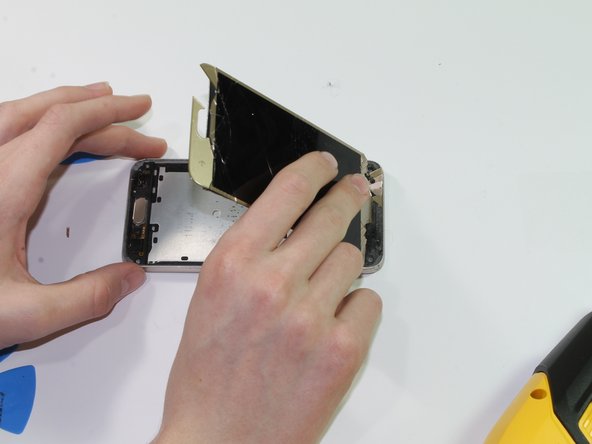
– Now it’s time to heat things up – warm the display again near the top, then carefully pry open your phone from the bottom up. If you need help, you can always schedule a repair
Step 9


– Now that we’re down to the press-fit connector, let’s carefully remove the shield covering it using our trusty opening tool. Next, use a spudger to gently pop off the connector – you’re making great progress! If you need help, you can always schedule a repair
Tools Used
