Samsung Galaxy J1 Touch Screen LCD Replacement Guide
Duration: 45 minutes
Steps: 8 Steps
Ready to tackle the challenge of swapping out the Touch screen digitizer and LCD display? Let’s dive in! It’s a hands-on project that’ll breathe new life into your device. Just follow these simple steps and you’ll have it sparkling again in no time. If you need help, you can always schedule a repair.
Step 1


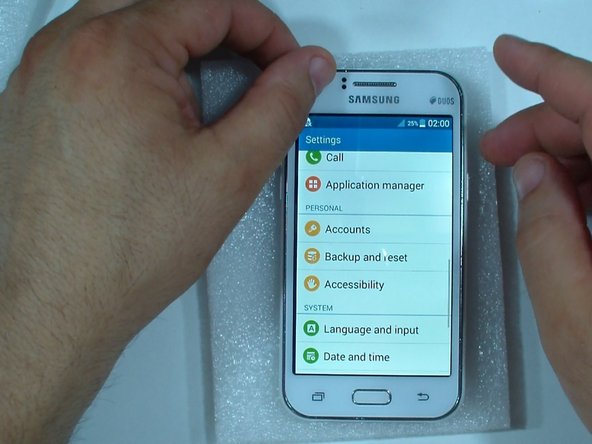
– Let’s get started with fixing your Samsung Galaxy J1 – it’s time to say goodbye to that broken glass and screen.
– We’re going to replace the touch screen and the LCD, and have your device looking like new again.
– First, carefully remove the battery and take out any installed SIM and memory cards. If you need help, you can always schedule a repair
Step 2


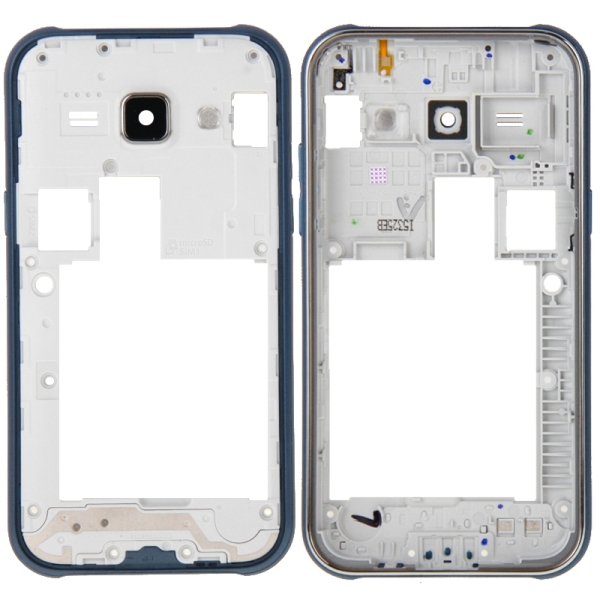
– Beneath this plastic lies the LCD flex cable connector, waiting for your attention.
– Grab a needlepoint tool and gently remove it like a pro!
Step 3


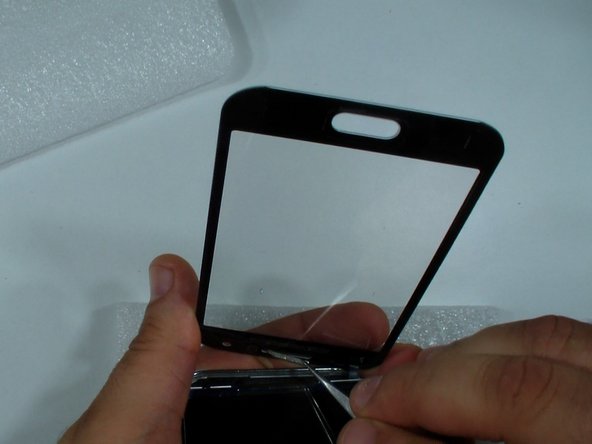
Before diving in, I always take a moment to test the new replacement part. It’s like a quick pep talk for the part before it takes center stage.
– Unplug that LCD flex cable like a pro!
Step 4


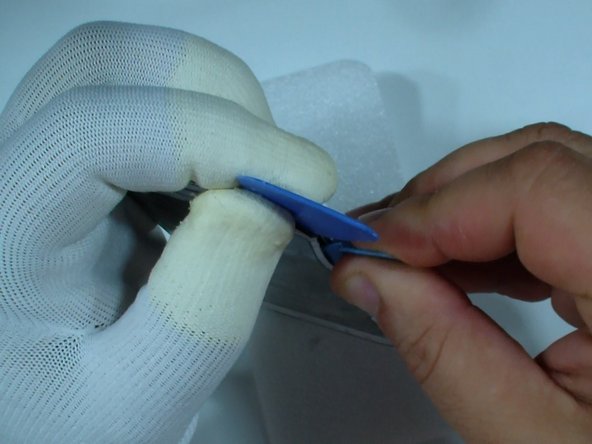
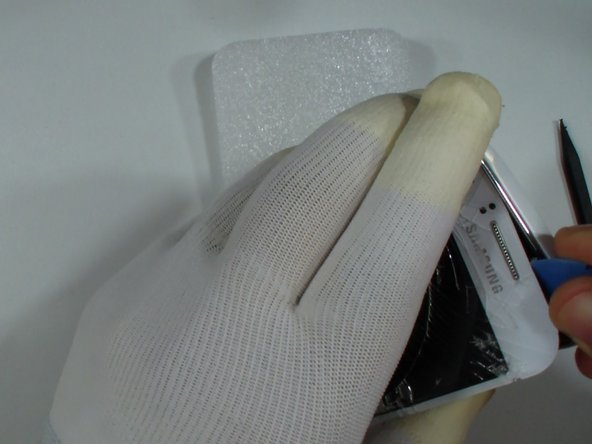
– First, use some hot air to loosen things up and soften that adhesive – it’s like a warm hug for your device.
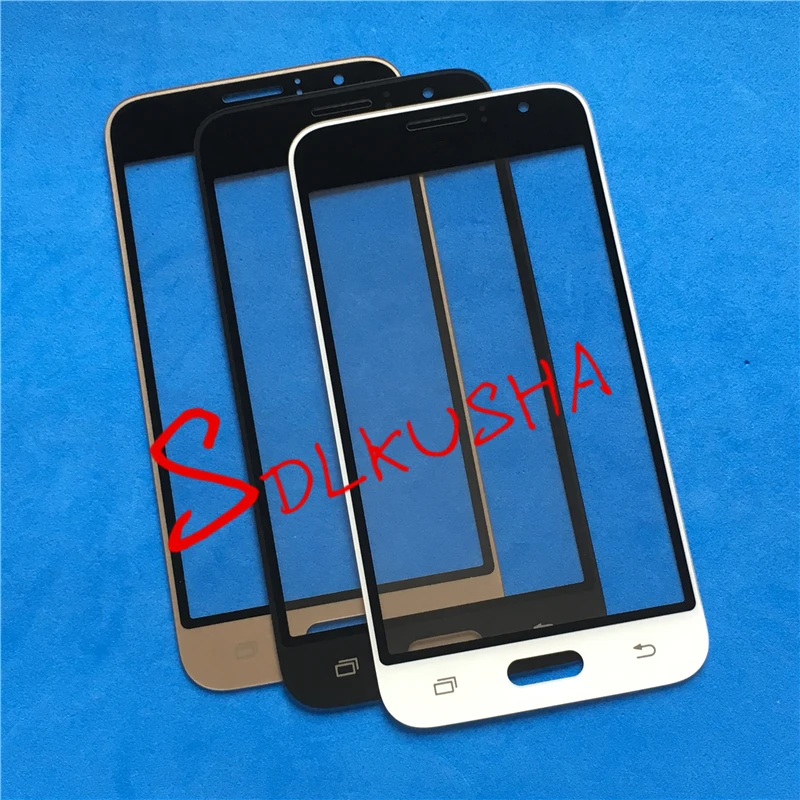
– Next, grab a cutter or knife and carefully start to separate the glass from the frame. Be gentle, you’re making progress!
– Once you’ve got a bit of space to work with, switch to a plastic tool to keep things safe and avoid any damage. If you need help, you can always schedule a repair
Step 5


Heads up! If you’re just swapping out the touch screen, be extra careful not to damage the LCD. It’s like a delicate dance, so take your time and be gentle! If you need help, you can always schedule a repair.
Step 6
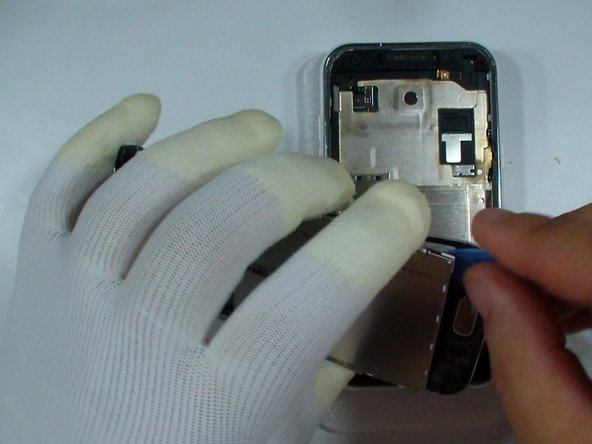


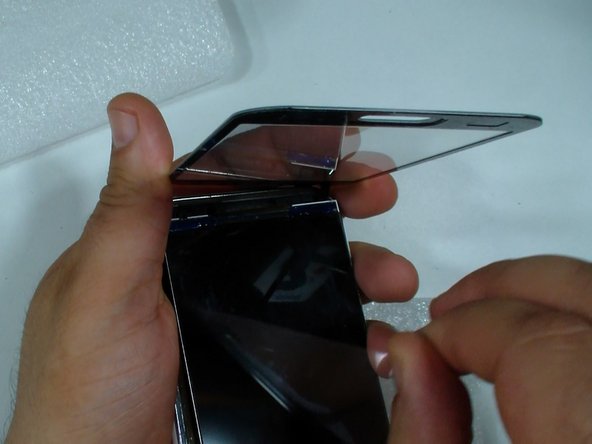
– If you’re just looking to swap out the glass, start by disconnecting the touch screen flex cable, then gently pry the glass away from the LCD. Remember, take your time and enjoy the process! If you need help, you can always schedule a repair.
Step 7

Grab that earpiece metal plate from your old touch screen and pop it into place like a pro!
– First things first, let’s connect that touch screen to the LCD flex cable like a pro!
– Now, gently place the LCD and screen back where they belong; it’s like tucking them in for a good night’s sleep.
– Time to peel away the protector from the touch screen – it’s like unwrapping a gift!
– If your LCD is fresh out of the box, don’t forget to remove its protector too! It’s all about giving it the best start.