Samsung Galaxy J1 Screen Replacement Guide
Duration: 45 minutes
Steps: 7 Steps
Step 1

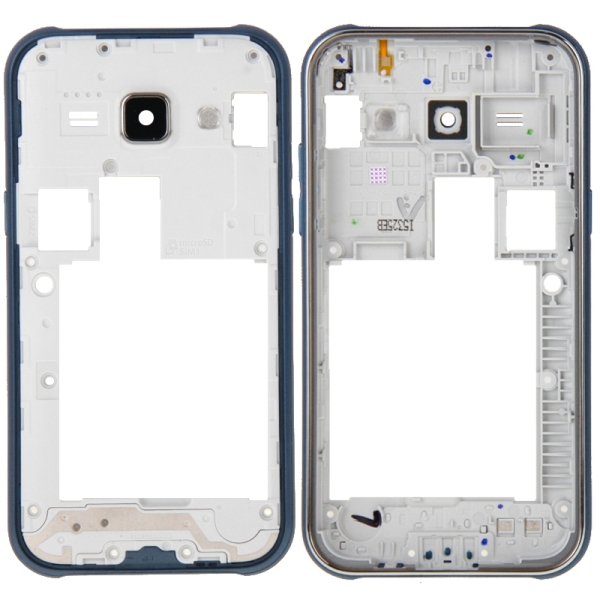
– Let’s pop that back cover off! Gently slide a fingernail or plastic opening tool between the back cover and the device.
– Now, give it a little nudge and watch the rear cover come off. Smooth sailing!
Step 2


The device in the picture is missing its SIM card and battery. Time to give it some love and pop those essentials back in!
– Let’s pop that SIM card out! Gently pull it down with your finger, and then give it a little wiggle to get it out of its slot.
– Now, you’re ready to give that SIM card a little break. Remove it and set it aside.
Step 3

– Grab your trusty Phillips #00 screwdriver and tackle those eleven 3 mm screws with confidence!
Tools Used

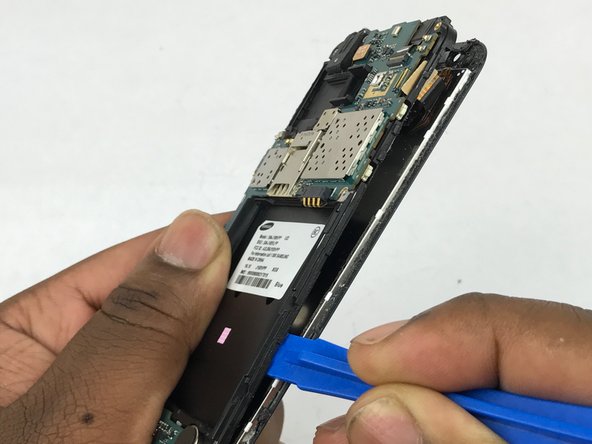
Step 4


Alright, let’s get this main assembly out! When you’re prying, be gentle, like you’re trying to open a jar of pickles without making a mess. You don’t want to crack that screen or break any tiny clips. If you need help, you can always schedule a repair.
– Slide a plastic opening tool gently between the screen and the back of your device.
– Starting from the bottom, carefully glide the tool along the edges of the screen.
– With a gentle touch, pry the main assembly away from the midframe of your device.


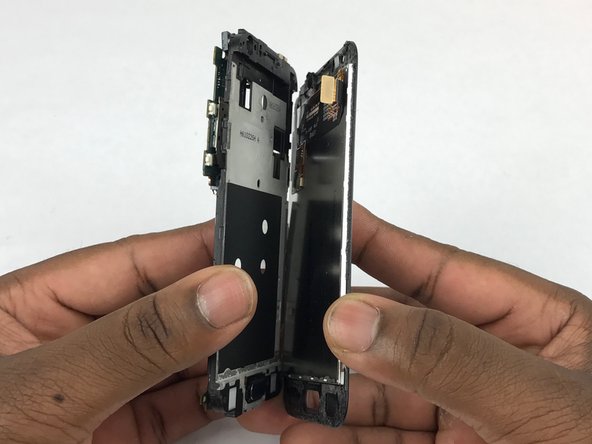
Step 6

Watch out for that digitizer cable! It’s a bit of a delicate dancer, so make sure to guide it gently through the plastic housing. You’ve got this!
– Get started by using a plastic opening tool to carefully pry between the silver digitizer and the black back piece – it’s like opening a little door to the inside of your device.
– Now, slowly slide that plastic opening tool around the screen to loosen the adhesive. Take your time, and don’t worry if it takes a little bit of effort – you’re making great progress. If you need help, you can always schedule a repair
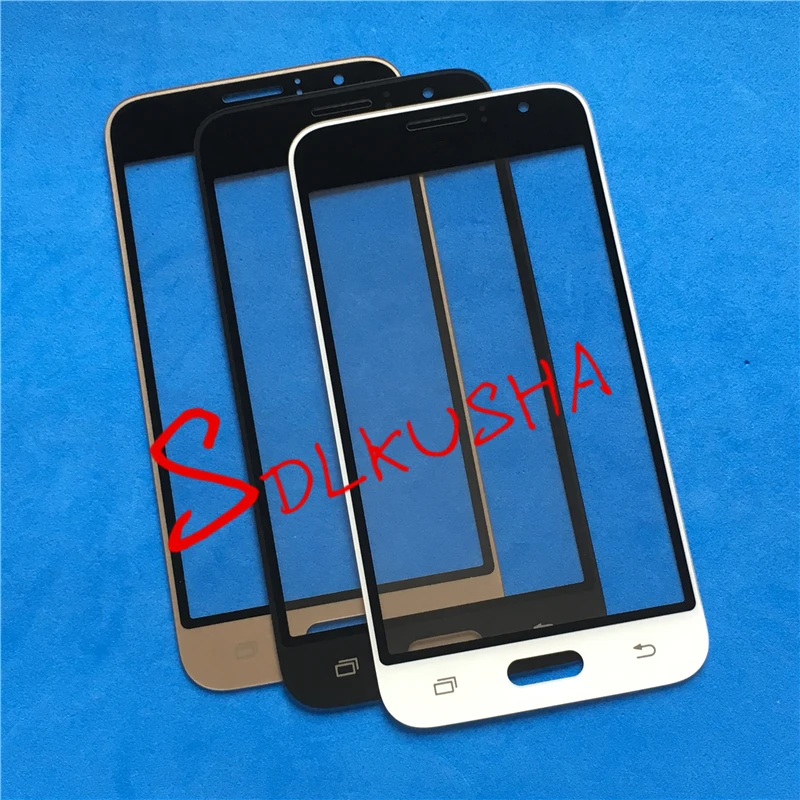
Step 7
– Let’s get that display assembly out of its plastic home! Gently and carefully pry it apart, making sure to avoid any accidental damage. You got this!