DIY Samsung Galaxy J7 V Rear Camera Replacement Guide
Duration: 45 minutes
Steps: 11 Steps
Yo! This guide is gonna walk you through how to swap out the rear camera in your Samsung Galaxy J7 V phone. Make sure you have all the right tools and a little time to spare before you get started. If you need a hand, you can always schedule a repair.
Step 1

Handle this step with care, my friend! The OLED (organic light-emitting diode) display is super delicate and has a knack for breaking when you least expect it. Keep those gentle hands steady!
– Slide a Jimmy tool under one of the display’s corners and gently lift it up. Easy peasy!
Tools Used

Step 2

– Take your Jimmy tool and carefully slide it around the entire edge of the phone. It’s like giving your phone a little massage!
Tools Used
Step 3

Handle those display ribbon cables with care—they’re a bit delicate!
– Gently lift the display up and away to pop it off. You’re doing great!
Step 4

– Find the cozy little socket where the home button hangs out.
– Slip that trusty metal spudger between the socket and the home button to get things moving.
Tools Used

Step 5

– Grab your trusty metal spudger and gently slide it under the home button.
– Give it a little lift until the home button pops out of its cozy spot.
Tools Used
Step 6


– Give that right side of the phone a little lift using the handy indent, and watch the backing pop up like magic!
– With the phone face down, gently peel away the case backing, starting from the right side. You’re doing great!

Step 8

– Use a Phillips #00 screwdriver to take out fourteen screws from the midframe. You’ve got this!
Tools Used

Step 9

– Alright, flip that phone over to the back where the battery used to be. You’re doing great!
– Now, give it a little push with your hands to gently pop off the midframe. You’re almost there!
Step 10
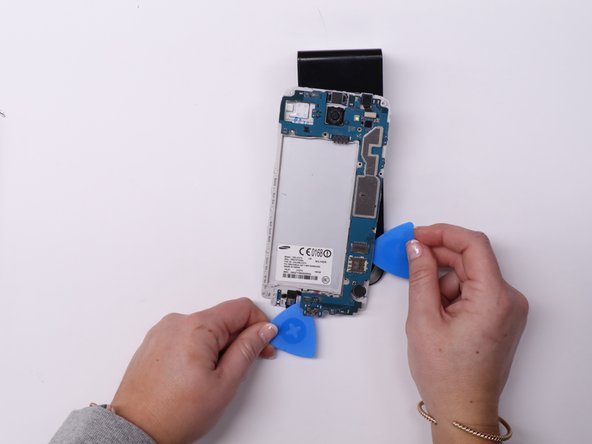

Place the opening picks around the motherboard like little cheerleaders to keep it from bending while you gently lift it out.
– Time to flip that phone back over and reveal its hidden treasures!
– Grab your trusty Phillips #00 screwdriver and carefully remove the lone black screw from the motherboard.
– Now, slide a couple of iFixit opening picks underneath the motherboard like you’re tucking it in for a cozy nap.
– Gently lift the motherboard with those iFixit picks, as if you’re raising a delicate flower.
Tools Used
Step 11

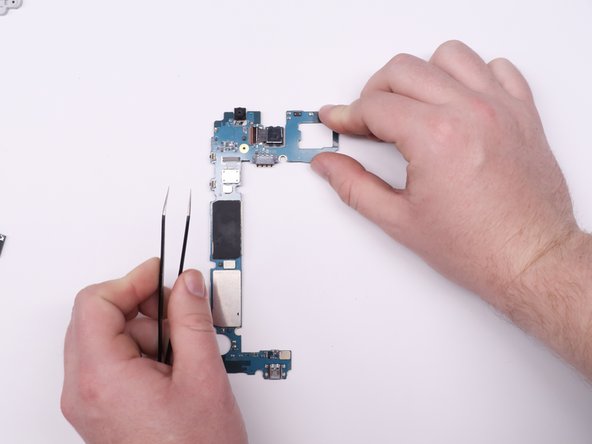
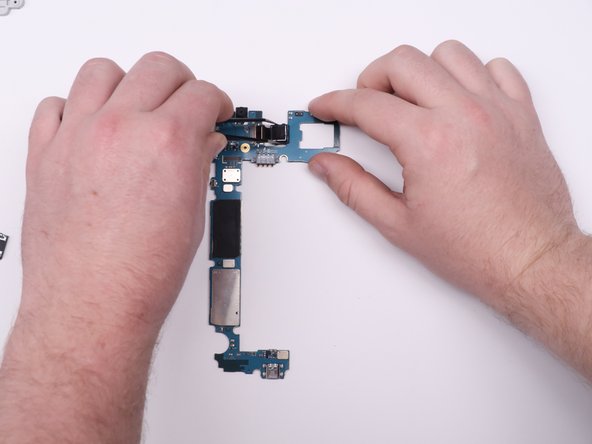
– Grab those tweezers and gently lift the tab that’s holding the rear camera in place. You’ve got this!
– Now, with a delicate touch, use your fingers to gently pull the camera away from the motherboard. Easy peasy!
Tools Used