DIY Samsung Galaxy A71 Charging Board Replacement Guide
Duration: 45 minutes
Steps: 6 Steps
Hey there! Welcome aboard! This guide is here to walk you through the process of swapping out your charging board in the Samsung Galaxy A71. Let’s get that phone back to powering up like a champ!
Step 1


– Let’s take a closer look at the new charging board.
Step 2


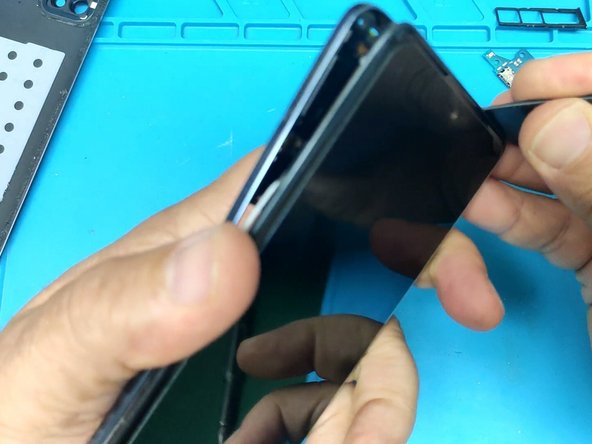
Be gentle when popping off the back case so you don’t accidentally damage anything. If you need help, you can always schedule a repair
– Let’s get that back cover off! Start by warming up your device to loosen that sticky adhesive. Once it’s nice and cozy, grab a plastic spudger and gently work your way around to pry open the rest of the device. You’ve got this!
Tools Used

Step 3


– Start by taking out all those Phillips screws and the SIM Tray. You’ve got this!
Step 4


– Now, grab that trusty spudger again and gently pry apart the middle frame. Take your time here, you don’t want to mess anything up! If you need help, you can always schedule a repair
Tools Used
Step 5


– First things first, let’s disconnect that battery! Just remember, be gentle – no poking or prodding, okay?
– Next up, it’s time to disconnect the following one by one. Let’s be systematic!
– Unscrew those two Phillips screws holding the Fingerprint sensor in place – they’re just little guys, but they got a job to do.
– Now, be sure to detach the display flex cable with care.
– Don’t forget the coaxial antenna connector – give it a little wiggle to set it free.
– Say goodbye to the Fingerprint Sensor as you disconnect it – it’s been fun!
– Lastly, let’s tackle the main flex cable. Careful does it!
Step 6


– Time to give your device a new lease on life – carefully remove the old charging board and swap it out with the shiny new one. If you need help, you can always schedule a repair
