How to Replace Samsung Galaxy A7 (2018) Camera: Step-by-Step Guide
Duration: 45 minutes
Steps: 5 Steps
Step 1


– First things first, let’s give your camera app a fresh start. Resetting is like giving it a little pep talk.
– To do this, go to ‘Settings’, then ‘Apps’, and finally ‘Camera’.
– Now, find the ‘Storage’ option. Click ‘Clear cache’ and ‘Clear data’.
– After that, hit ‘Force stop’ and then give that camera a test run. You’re all set!
Step 2


– Now’s the perfect time to give your device a fresh start with a Factory reset.
– Don’t forget to backup your important data first!
– Head to ‘Settings’, then ‘General management’, and select ‘Factory data reset’. Click ‘Reset’ and follow the prompts – it’s easier than you think!
– After the reset, test your camera to see if it’s working properly. If you need help or run into any issues, you can always schedule a repair
Step 3

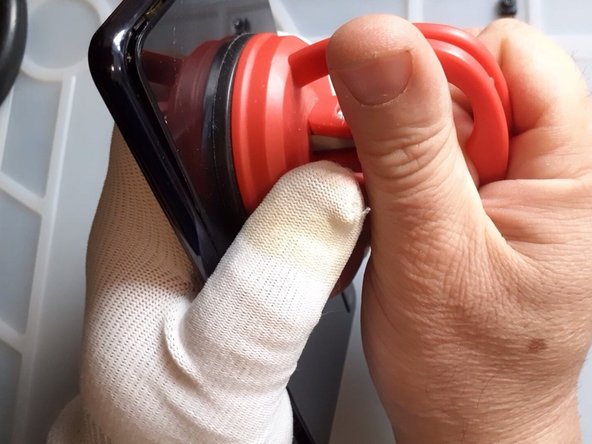
– Warm up your device with some hot air to get things cozy.
– Grab a suction cup and your trusty plastic tools to gently pry apart that battery cover.
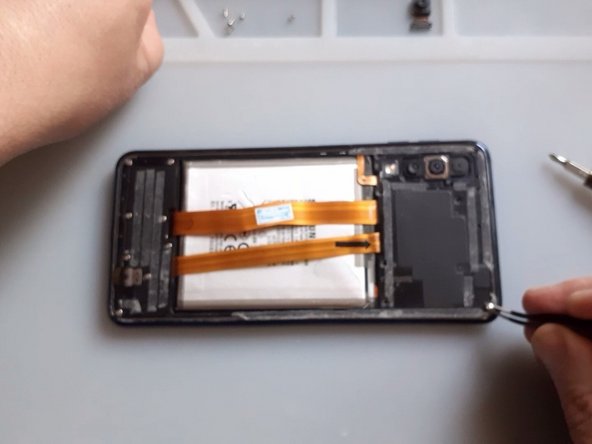
Step 4


– Let’s get started by popping out the SIM Tray!
– Now grab your trusty plastic tool and gently work your way around to remove the middle frame.
Step 5


– First things first, let’s disconnect that battery. Safety first, right?
– Next up, it’s time to swap out the front camera. Say cheese to a clearer view!
