DIY Samsung Galaxy A53 5G Back Cover Replacement Guide
Duration: 45 minutes
Steps: 8 Steps
Ready to give your Samsung Galaxy A53 5G a fresh new look? This guide will walk you through replacing that worn-out back cover. Just a heads up, when you put everything back together, you’ll need to add some new adhesive to keep it all snug and secure. Keep in mind, this seal might affect the device’s water resistance, so be cautious! If you need help, you can always schedule a repair to get it done right.
Step 1

When using heat to loosen things up, be careful not to get too carried away – a hair dryer, heat gun, or hot plate can be handy, but don’t overdo it, or you might end up damaging the display or internal battery. If you need help, you can always schedule a repair
– Grab that iOpener and give it some quality time on the back cover—about two minutes should do the trick! This will help loosen up the sticky adhesive lurking underneath, making your job a whole lot easier.


Step 2


If you’re having a tough time creating a gap, just crank up the heat a bit more to make that sticky stuff super melty. Just make sure you follow the iOpener instructions to avoid turning things into a hot mess! If you need help, you can always schedule a repair
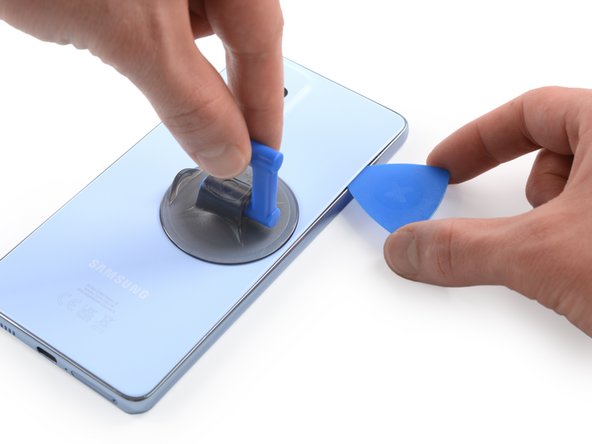
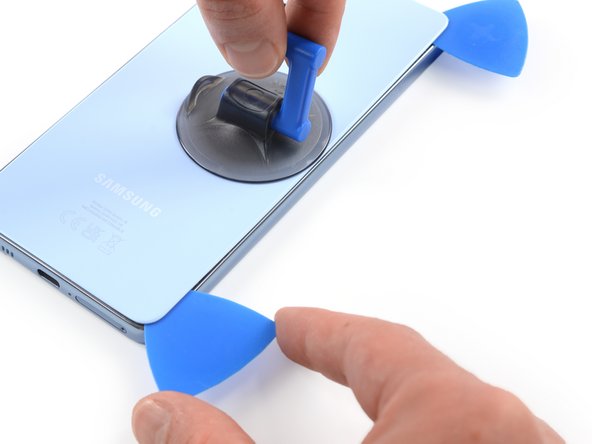
– Get a grip on that back cover by attaching a suction handle to the right edge – the closer to the edge, the better.
– Use the suction handle to carefully lift the back cover and create a small gap between it and the frame. You’re making progress!
– Now it’s time to bring in the opening pick – insert it into the gap you just created and you’ll be one step closer to fixing your device. If you need help, you can always schedule a repair
Tools Used

Step 3

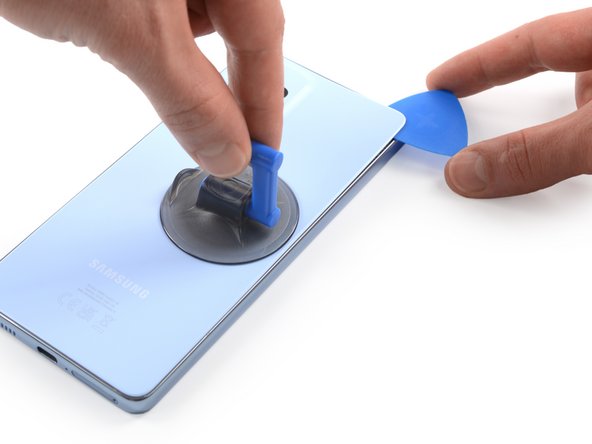
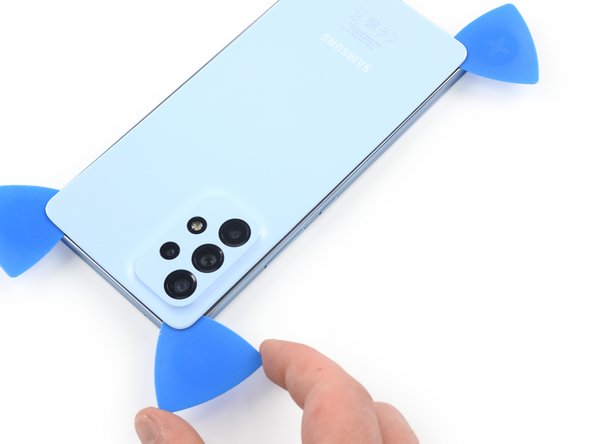
– Gently glide the opening pick up to the top right corner to cut through that pesky adhesive.
– Keep the opening pick right where it is to stop the adhesive from sticking back together.
Step 4

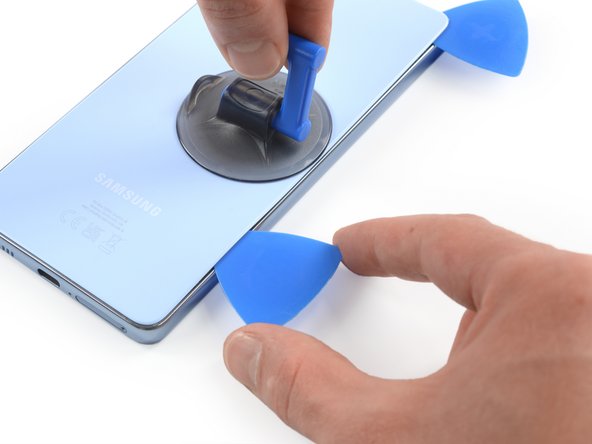
– Pop in a second opening pick at the top right corner of your phone.
– Gently glide that pick down to the bottom right corner to cut through the adhesive.
– Keep those opening picks in place to stop the adhesive from sticking back together.
Step 5

If the adhesive gets stubborn and hard to cut, it’s probably just cooled down a bit. Give it a little love with your iOpener for about a minute or two to warm it back up. If you need help, you can always schedule a repair
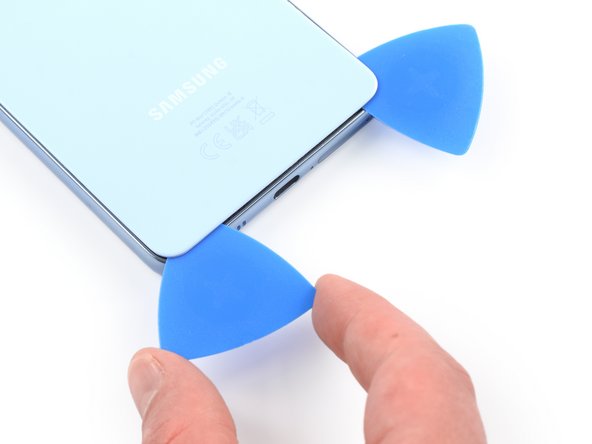
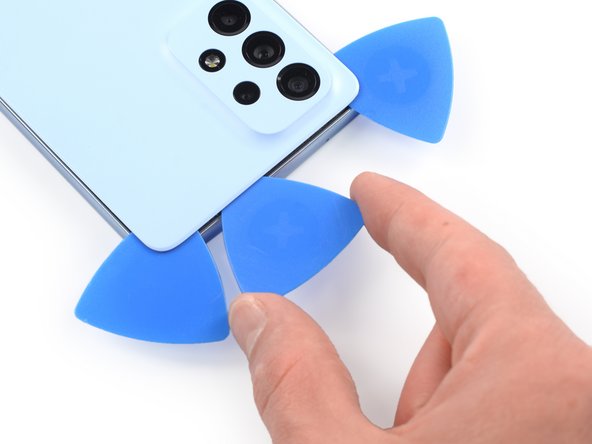
– Let’s get this party started! Grab your third opening pick and slide it into the bottom right corner of your phone. It’s like a tiny dance party for your phone’s adhesive.
– Now, gently slide the pick along the bottom edge of your phone, cutting through the adhesive. You’re basically giving your phone a little massage, but with a tool.
– Leave that opening pick in the bottom left corner to keep the adhesive from playing any tricks on you. It’s like a little party favor for your phone.
Tools Used
Step 6


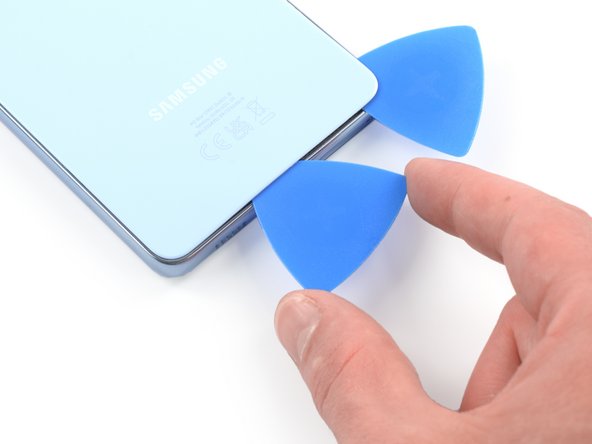
– Let’s get this party started! Slide a fourth opening pick into the bottom left corner of your phone.
– Now, gently slide that pick along the left edge, carefully separating the adhesive.
– Keep that pick in the top left corner, making sure the adhesive doesn’t stick back together.
Step 7

– Grab a fifth opening pick and slide it into the top left corner like you’re opening a treasure chest.
– Now, gently glide that pick along the top edge of the back cover to cut through the remaining adhesive. You’re almost there!
Step 8

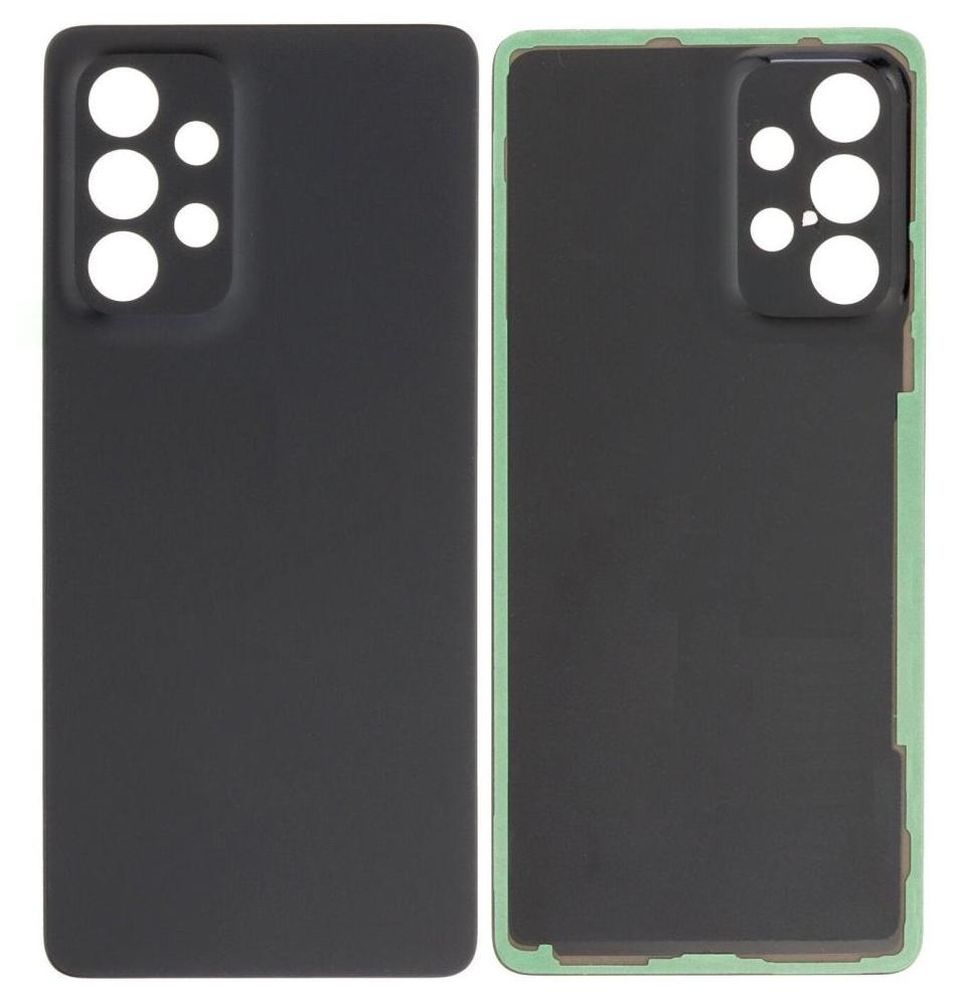
– Time to get that back cover off! Just pop it right off there.
– Alright, let’s get this thing looking fresh! Give those areas a good cleaning with some isopropyl alcohol (make sure it’s over 90%!) and apply some fresh adhesive where needed.
– Now, let’s put that new back cover in place! Use some pre-cut adhesive or double-sided tape, and then give that bad boy some pressure. We’re talking a few minutes of steady love to help the adhesive do its thing. A stack of those heavy books you have lying around will work perfectly! If you need help, you can always schedule a repair.