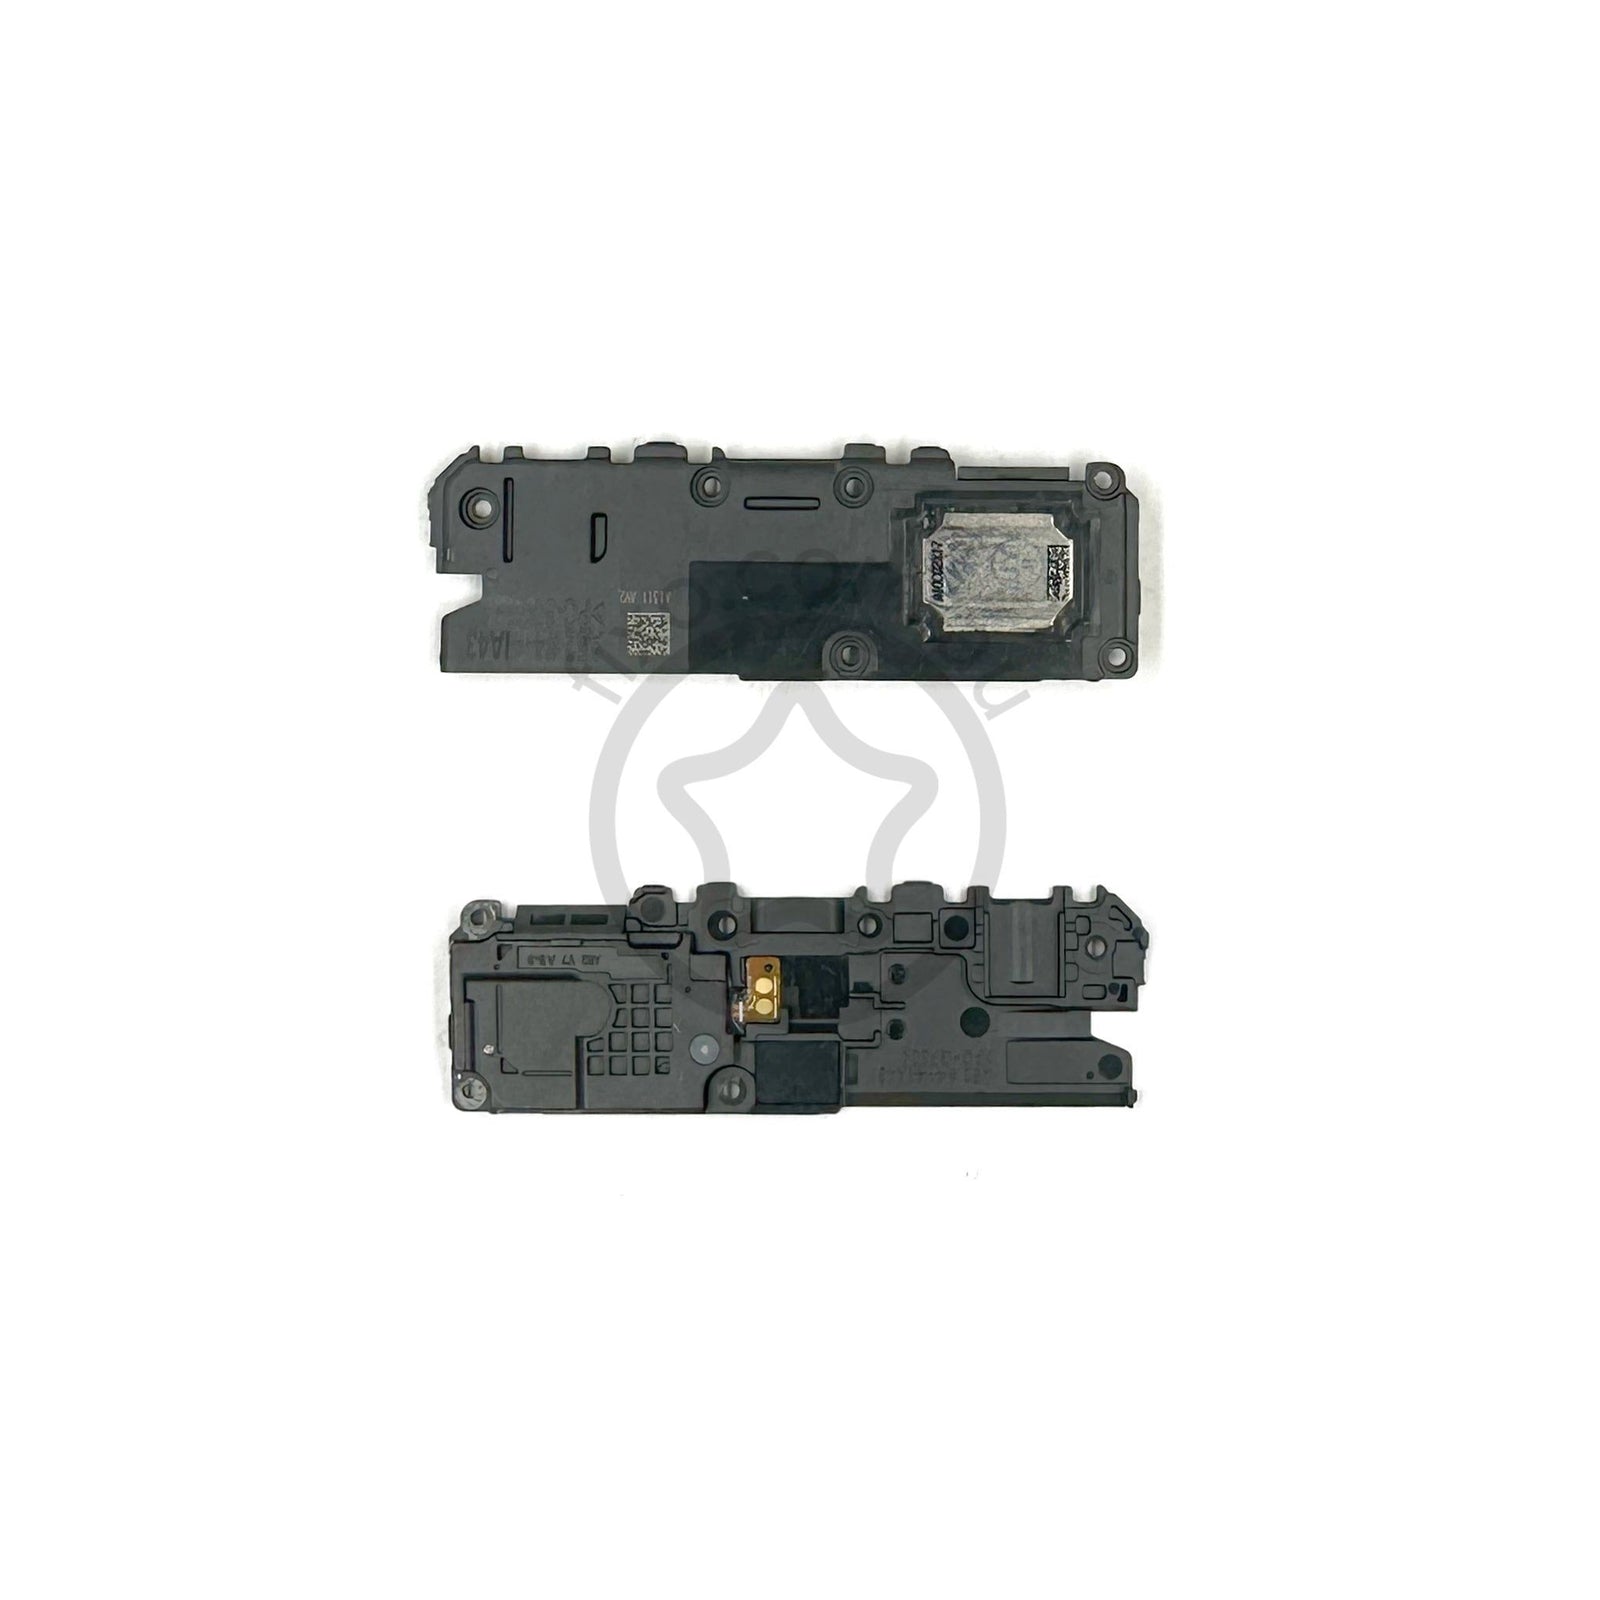
DIY Samsung Galaxy A52 Loudspeaker Replacement Guide
Duration: 45 minutes
Steps: 14 Steps
Ready to tackle the loudspeaker replacement on your Samsung Galaxy A52? Awesome! Just a heads up, you’ll want some replacement adhesive to stick everything back together when you’re done. If you skip the adhesive seals during reassembly, your device will still work like a champ, but it might lose a bit of that water resistance magic. So, let’s keep it safe and sound!
Step 1

When using heat to loosen the adhesive, be careful not to get too aggressive – your phone’s display and battery aren’t fans of extreme temperatures. A hair dryer, heat gun, or hot plate can be used, but keep it gentle to avoid any damage. If you need help, you can always schedule a repair
– Let’s get this party started! Grab your trusty iOpener and give the back cover a nice, warm hug for at least two minutes. That heat will help loosen up the adhesive underneath.


Step 2


If your back cover is looking a little rough, your trusty suction handle might not want to stick. Don’t worry! Try lifting it with some strong tape, or get creative and give that suction handle a little boost with some superglue. Let it dry completely before you move on.
If you’re having a tough time creating a gap, just give it a little more heat to soften up that adhesive. Follow the iOpener instructions to avoid getting things too toasty.
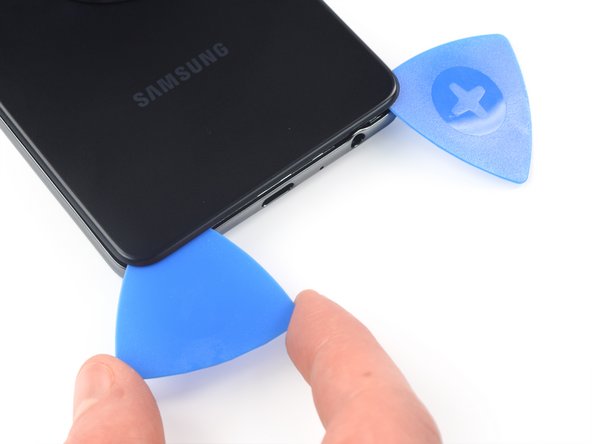
– Grab a suction handle and stick it to the right edge of the back cover, getting as close to the edge as you can.
– Gently pull up on the suction handle to create a little gap between the back cover and the frame.
– Slide an opening pick into that gap you just made.
Tools Used

Step 3


– Gently glide the opening pick to the top right corner to cut through that pesky adhesive.
– Keep the opening pick in place to stop the adhesive from sticking back together.
Step 4


– Now it’s time to get started – insert a second opening pick under the top right edge of your phone, and let’s get that adhesive loosened up.
– Gently slide the opening pick down to the bottom right corner, slicing through the adhesive as you go – you’re making great progress!
– Leave that opening pick right where it is, so the adhesive doesn’t start to reseal – you’re doing a great job so far. If you need help, you can always schedule a repair
Step 5

If that adhesive gets stubborn, it’s probably just chilling out. Give it a little warmth from your iOpener and it’ll be back to its flexible self!
– Time to get this repair started – insert a third opening pick at the bottom edge of your phone.
– Now, gently slide the opening pick along the bottom edge of your phone to carefully slice through the adhesive.
– Leave the opening pick in the bottom left corner – this will prevent the adhesive from resealing, making your job a whole lot easier. If you need help, you can always schedule a repair
Tools Used
Step 6


– Now it’s time to get underneath your phone’s bottom left corner – gently insert a fourth opening pick to start making progress.
– Next, slide that opening pick along the left edge to carefully slice through the adhesive, taking your time as you go.
– Leave the opening pick in place at the top left corner to keep the adhesive from resealing, you’re making great progress so far. If you need help, you can always schedule a repair
Step 7


– Slide a fifth opening pick under the top left corner like a pro.
– Carefully glide the opening pick along the top edge of the back cover to slice through that stubborn adhesive.
Step 8

– Let’s kick things off by popping off the back cover—it’s like unveiling a surprise gift!
– Next up, grab some isopropyl alcohol (make sure it’s over 90%) and give those areas a good clean. Once they’re nice and tidy, apply fresh adhesive where it’s needed.
– Now it’s time to secure that new back cover! Use pre-cut adhesive or some trusty double-sided tape. After you’ve fitted the cover, press down firmly for a few minutes to help the adhesive stick like it means it—stacking on some heavy books can work wonders here!
Step 9

– Let’s get started by removing the ten 4.4mm-long screws that hold the motherboard cover in place – just grab a Phillips screwdriver and you’re all set. If you need help, you can always schedule a repair
Step 10

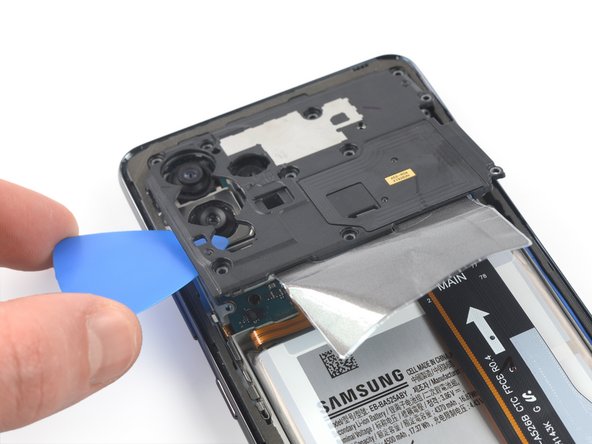

– Slide an opening pick under the left side of the motherboard cover with a gentle touch.
– Gently use the opening pick to lift the motherboard cover up.
– Carefully take off the motherboard cover.


Step 12

– Let’s get started by removing the six 4.4mm-long screws that hold the loudspeaker assembly in place – just grab your trusty Phillips screwdriver and you’re all set. If you need help, you can always schedule a repair
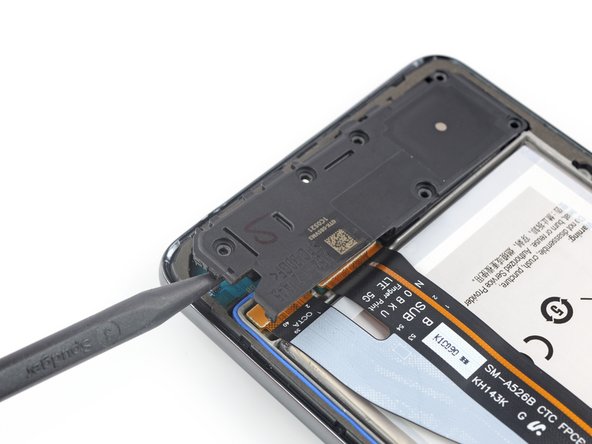

Step 14

– First up, let’s get that loudspeaker assembly out of the way. It’s time for a little separation!
– When you’re putting everything back together, don’t forget to add some fresh adhesive where it’s needed. A quick clean-up with isopropyl alcohol (>90%) will make sure everything sticks like it should!