Samsung Galaxy A50 Screen Replacement Guide: DIY Fix & Repair
Duration: 45 minutes
Steps: 28 Steps
Note
Before you start taking your phone apart, make sure the battery is at 25% or less to avoid any potential risks
replacement adhesive
Ready to give your Samsung Galaxy A50 a screen makeover? This guide will walk you through replacing that cracked or shattered screen with ease! Just a heads-up: the fingerprint sensor might take a little vacation after this swap, and if you’ve got any security patches installed post-September 2020, they won’t play nice with this repair. We’ll focus on just the screen, keeping the original frame and motherboard intact. But, be mindful—some replacement screens come in a new frame (or chassis), which means a whole different ball game. Double-check you have the right part before diving into this adventure! And hey, safety first: make sure your battery is below 25% before you start disassembling. A punctured battery can be a party pooper, but the risk is much lower when it’s discharged. Don’t forget, you’ll need some replacement adhesive to stick everything back together when you’re done. If you need help, you can always schedule a repair.
Step 1


– Time to get started. Insert a SIM card eject tool, a SIM eject bit, or a trusty straightened paper clip into the hole on the SIM tray, which you’ll find on the left side of your phone.
– Give it a firm press to eject the tray – it’s like a little surprise inside.
– Now, carefully remove the SIM card tray. Easy does it.
– When you’re putting the cards back in, just make sure they’re properly oriented in the tray. If you need help, you can always schedule a repair
Tools Used

Step 2

The adhesive on the Samsung Galaxy A50 is super strong, so be ready for a little challenge! If the iOpener isn’t doing the trick, you might want to grab a hair dryer, heat gun, or hot plate to help out. Just remember to keep an eye on the heat—both the AMOLED display and the internal battery can be a bit sensitive to it. Let’s keep everything safe while we get this beauty open!
– First things first, let’s power down that phone of yours. Safety first, right?
– Next up, grab an iOpener and give it a good heat-up. Apply it to the back cover to help loosen that stubborn adhesive like a pro!
Tools Used

Step 3


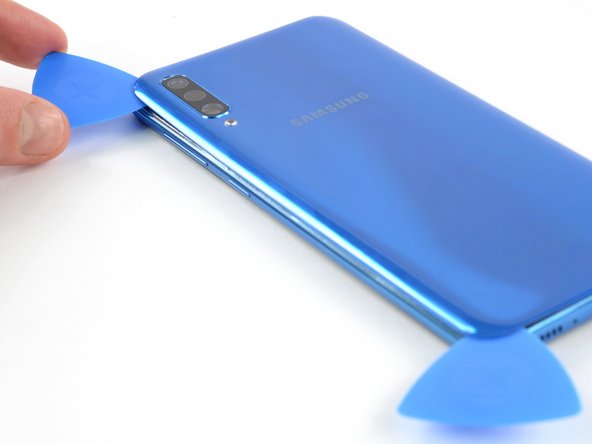
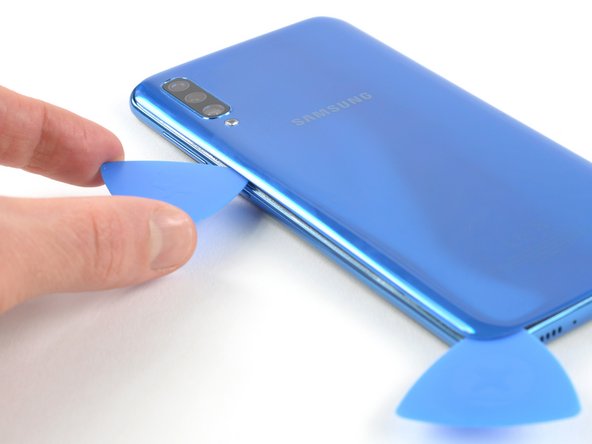
If you’re having trouble getting your opening pick between the back cover and midframe, don’t worry – we’ve got a trick for you. Try using a suction handle or some strong tape to gently pull up the back cover and create a gap. And if you need help, you can always schedule a repair
– Gently slide an opening pick into the bottom of your phone, right by the USB-C port.
– Carefully glide the opening pick over to the bottom left corner.
Tools Used

Step 4
If you’re running into a bit of a sticky situation, just add a little more heat to help loosen that adhesive! And hey, make sure to check out the iOpener instructions to keep things from getting too hot to handle.
– Now it’s time to bring in some extra help – insert a second opening pick and gently slide it from the bottom to the top left corner. This will help cut through the adhesive and make the repair process smoother.
– Don’t remove the opening picks just yet! Leave them in place to prevent the adhesive from resealing, making your job easier as you move forward. If you need help, you can always schedule a repair
Tools Used
Step 5


– Let’s get that back cover off! Start by slipping a third opening pick under the top left corner of the back cover.
– Now, slide that pick along the top edge of the phone, like you’re giving it a little hug.
– Keep that pick in the top right corner to make sure the adhesive doesn’t stick back together. You’re almost there!
Step 6


– Let’s get that back cover off! Slide a fourth opening pick under the top right corner. It’s like giving the phone a little hug with the pick.
– Now, glide the tip of the opening pick along the side of the phone to the bottom right corner. We’re cutting through the adhesive, but don’t worry, it’s just like butter.
– Leave the opening pick in the bottom right corner to hold things in place. We don’t want the adhesive to get sneaky and reattach itself!
Step 7

– Pop off the back cover like a pro!
– Once you’ve got that back cover snugly in place, give your phone a little love by applying firm, steady pressure for a few minutes. This helps the adhesive stick like it means it! A stack of heavy books can be your best buddy here.
Step 8

– Unscrew those 13 Phillips #00 screws, each about 4 mm long, and let’s get this party started!
Step 9


– Slide an opening pick into the gap between the display and the midframe at the bottom of your phone, right above the USB-C port.
– Gently glide the pick along the bottom edge to pop those clips free.
Step 10


– Keep sliding that pick along the left side of the phone, and watch those clips pop right off! We’re almost there!
Step 11


– Now it’s time to get this repair started – slide that opening pick along the top edge and let’s get this fixed
Step 12


– Now, let’s slide that opening pick along the right edge and gently work our way down to the bottom right corner. You got this!
Step 13


Don’t forget to pop all the clips that are holding the midframe in place!
– Now it’s time to carefully separate the midframe from your phone – don’t worry, you’ve got this! If you need help, you can always schedule a repair


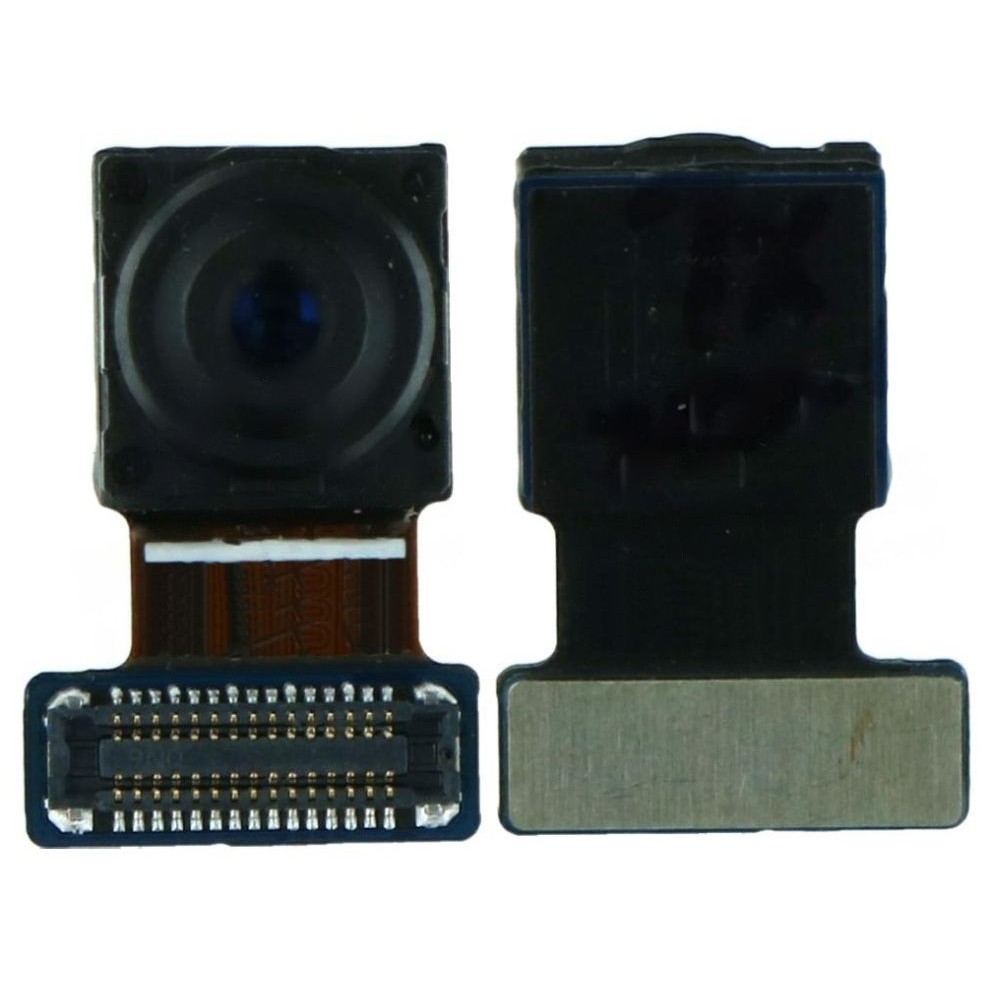
Step 15


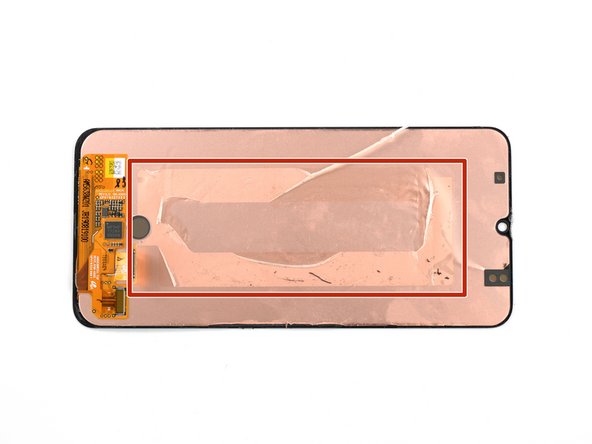
– Time to get started with the front camera removal. Use a trusty spudger to carefully pry the connector straight up from its socket, and you’ll be one step closer to getting your device back in action. If you need help, you can always schedule a repair
Tools Used


Step 17

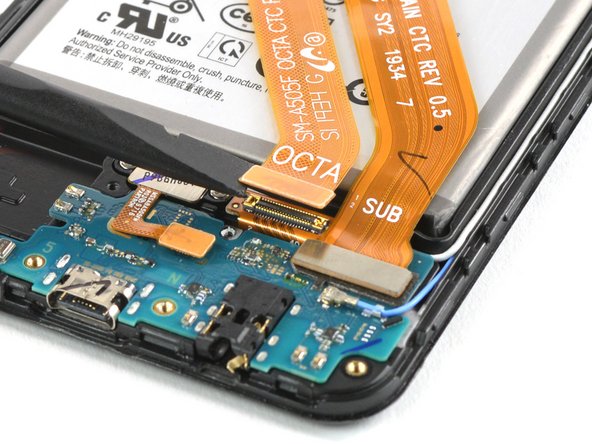
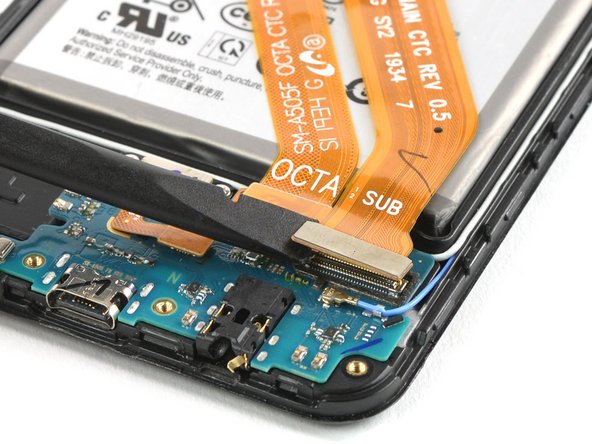
– Grab that trusty spudger and gently lift up to unplug the interconnect and display flex cable from the daughterboard. You’ve got this!
– Now, carefully nudge those cables out of the way. They just need a little encouragement!
Tools Used


Step 19
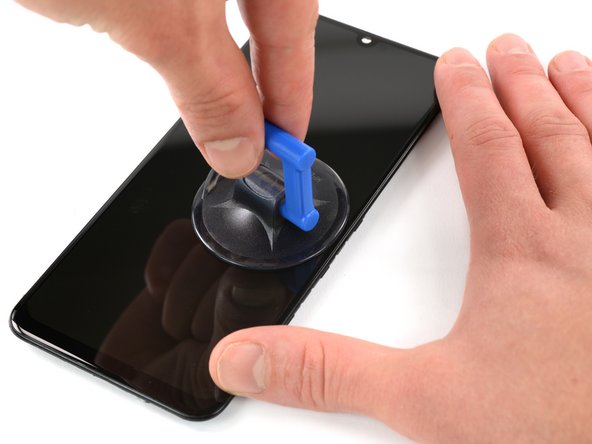

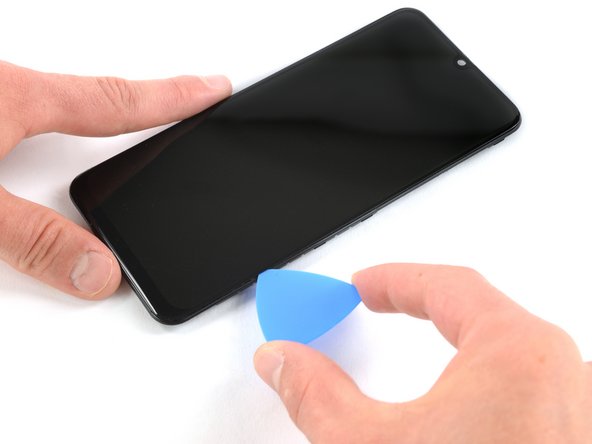
If your phone’s screen is sporting a crack, the suction handle might be a bit shy about sticking. No worries! You can give it a lift with some sturdy tape, or if you’re feeling crafty, superglue that suction handle in place and let it set up nice and strong so you can keep moving forward.
– Warm up that iOpener and give it a cozy spot on the display for at least two minutes to help loosen up the adhesive underneath.
– Grab a suction handle and place it near the right edge of the display. Pull with a steady, firm force for about 30 seconds to help break free the adhesive.
Tools Used
Step 20


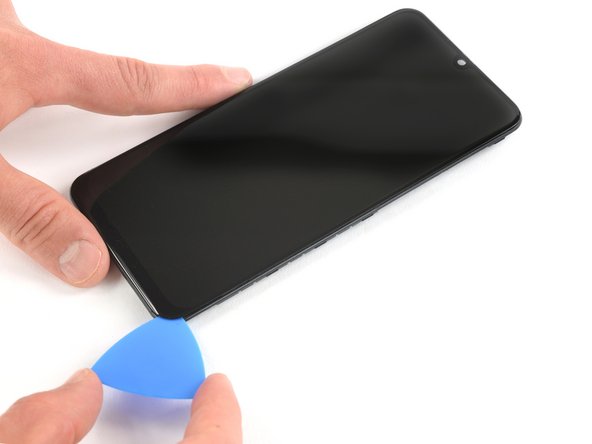
Keep the opening pick snug at just about 2 mm in for a smooth start.
– Warm up that display! Use your heated iOpener and give it a nice hug for about a minute.
– Now, it’s time to gently pull the suction cup upwards and slip an opening pick into the gap between the display and the frame. You’ve got this!
Tools Used
Step 21

– Gently slide that opening pick down to the bottom right corner.
– Keep it there to stop the adhesive from sticking back together.
Step 22


– Grab a second opening pick and gently slide it up to the top right corner of your phone to slice through that adhesive like a pro.
– Keep the pick right where it is to stop that adhesive from getting all clingy again.
Step 23


If you’re finding the cutting a bit tricky, just give the iOpener another warm hug and try again.
– Slide a third opening pick into the top left corner of your device with confidence!
– Keep those picks in place to ensure the adhesive doesn’t make a comeback.
Tools Used
Step 24


– Now it’s time to add a fourth opening pick – slide it into the top left corner and get ready to make some progress.
– Gently push the opening pick all the way up to the bottom left corner. This will help cut through the adhesive, so be sure to leave it in place to prevent it from resealing. If you need help, you can always schedule a repair
Step 25


Just slide that opening pick in about 2 mm—it’s the sweet spot to keep those delicate components safe and sound!
– Now it’s time to bring in the fifth opening pick – slide it along the bottom edge of your phone to cut through the remaining adhesive. If you need help, you can always schedule a repair

Step 27


– Slide a plastic card into the slightly open left edge of your phone.
– Gently press the plastic card in and glide it back and forth until you’ve sliced through all that sticky adhesive.
– When you’re confident that you’ve cleared the adhesive, go ahead and take out those four opening picks from the corners.
Step 28


– Start by lifting the screen from the top edge of your phone – it’s the first step to getting it back in working order.
– Next, carefully thread the display cable through the frame, taking your time to get it just right.
– Now it’s time to remove the screen – you’re making great progress on this repair.