Replace Samsung Galaxy A50 Screen
Duration: 45 minutes
Steps: 8 Steps


Step 2


– Warm up the back cover to make it easier to peel off that stubborn adhesive!
– To pop off the back cover, grab a suction cup and some plastic tools to help you out.
Step 3

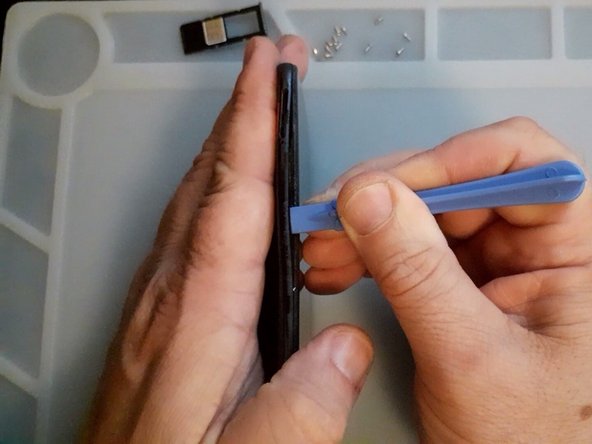

– Let’s kick things off by carefully popping out the SIM tray.
– Next up, grab your trusty Philips screwdriver and remove those screws.
– Now, it’s time to enlist the help of some plastic tools to gently pry apart the middle frame.
Step 4


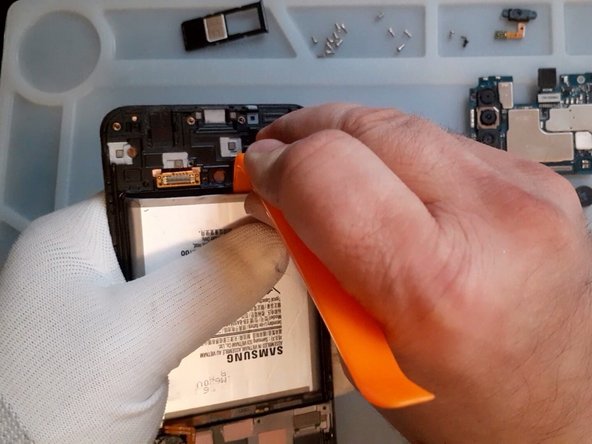
– First things first, let’s disconnect that battery. It’s all about safety, right?
– Test out your new part before you start installing it. You wouldn’t want to put it all back together just to find out it doesn’t work, would you?
Step 5


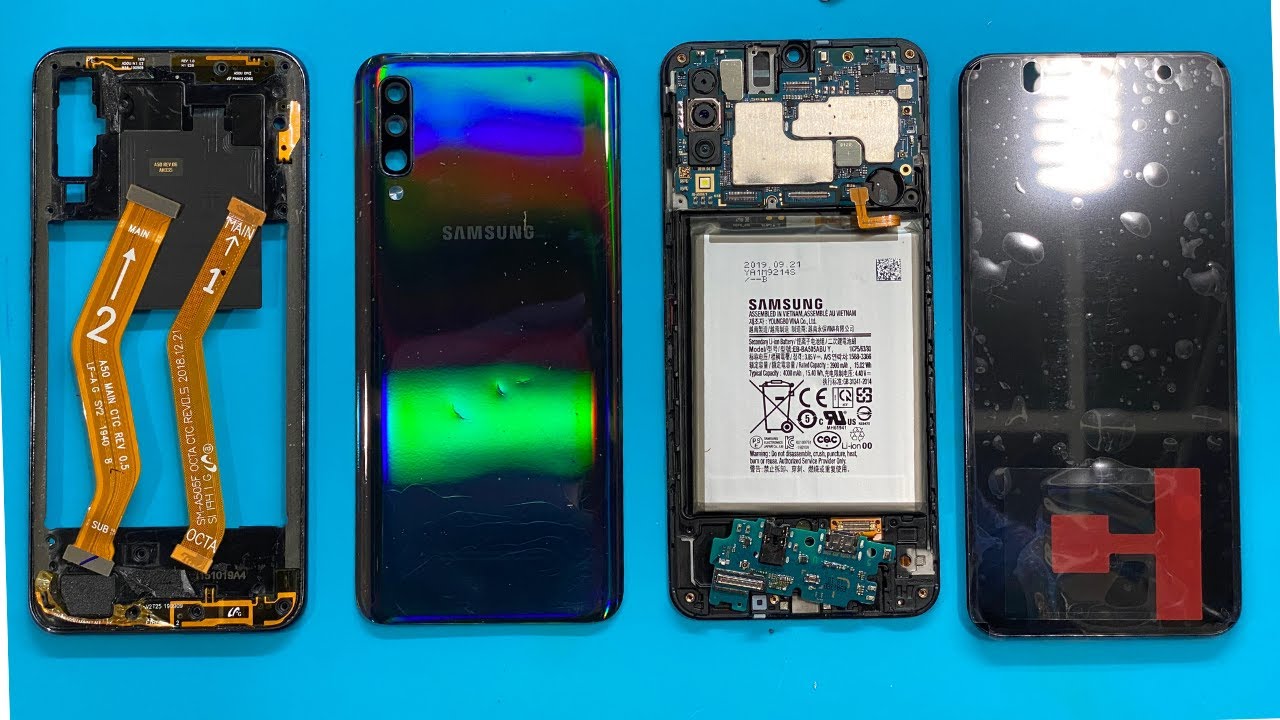
– Let’s get started – carefully disconnect and remove the Main Flex Cable to begin the process.
– Next up, remove the black Philips screw – it’s the shorter one compared to the middle frame screws, so make sure you’ve got the right one.
– Now it’s time to disconnect the coaxial antenna cable – take your time and make sure it’s fully removed.
– Almost there – with the previous steps complete, you should now be able to remove the logic board. If you need help, you can always schedule a repair
Step 6


Heads up! Those screws for the fingerprint sensor are shorter than the others, so be careful not to mix them up.
– Start by carefully removing the Fingerprint sensor – we’ve got this!
– To make disassembling the sub-board a breeze, try using hot air first. It’s a total game-changer!
– Remember, when it comes to prying, stick to plastic tools to avoid any damage. If you need help, you can always schedule a repair
Step 7


– Once more, grab that hot air, your trusty plastic tools, and gently coax the battery out at a snail’s pace.
Step 8

– Great, you’re almost done. Just to recap, make sure everything is back in place and working smoothly.