Samsung Galaxy A50 Battery Replacement Guide: DIY Step-by-Step
Duration: 45 minutes
Steps: 19 Steps
Get ready to breathe new life into your Galaxy A50 by replacing that worn-out or dead battery. If you notice any swelling, be sure to take the necessary precautions to stay safe. Before you start disassembling your phone, make sure to discharge the battery to below 25% to minimize the risk of any thermal events. Don’t forget, you’ll need some replacement adhesive to reattach components when you’re putting everything back together. If you need help or want some expert guidance, you can always schedule a repair.
Step 1


– Grab your trusty SIM card eject tool, a SIM eject bit, or even a straightened paper clip and slide it into the little hole on the SIM tray on the left side of your phone.
– Give it a good push to pop that tray out!
– Carefully take out the SIM card tray.
– When you’re putting the cards back in, be sure to line them up just right in the tray. You’ve got this!
Tools Used

Step 2

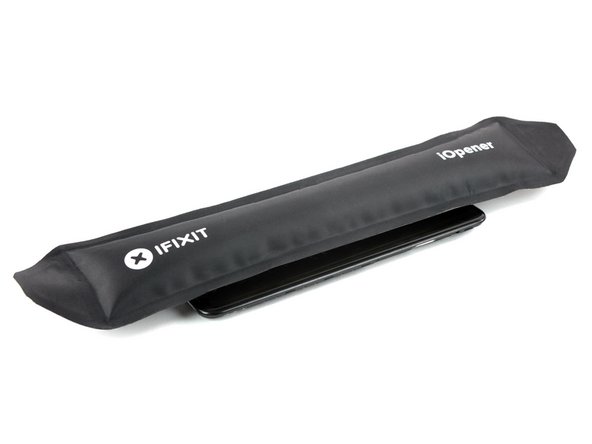
The adhesive on the Samsung Galaxy A50 is super strong! If the iOpener isn’t doing the trick, feel free to bring in a hair dryer, heat gun, or hot plate to help you out. Just remember to keep an eye on the heat—both the AMOLED display and the internal battery can be a bit sensitive to it. You’ve got this!
– Alright, first things first – power down your phone. Let’s get those batteries chilling.
– Grab your iOpener and heat up that back cover! We’re gonna loosen up that adhesive and make this a smooth operation.
Tools Used

Step 3


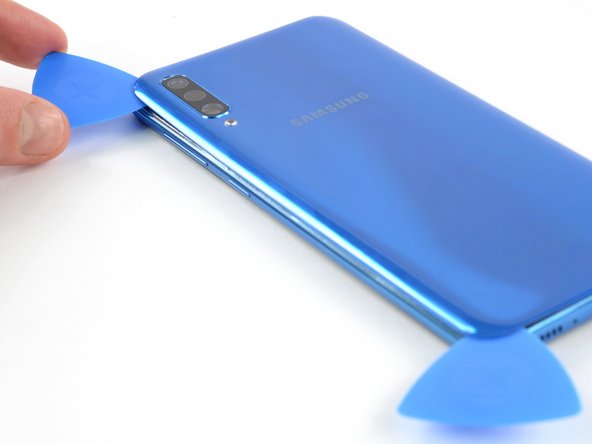
If your opening pick is struggling to squeeze between the back cover and midframe, no worries! Grab a suction handle or some sturdy tape to gently lift the back cover and create a little gap. You’ve got this!
– Place an opening pick at the bottom of your phone, right near the USB-C port.
– Slide the pick to the bottom left corner.
Tools Used

Step 4
If you’re having trouble, don’t worry – just apply a bit more heat to loosen up that adhesive. Be sure to follow the iOpener instructions so you don’t overdo it. And remember, if you need help, you can always schedule a repair
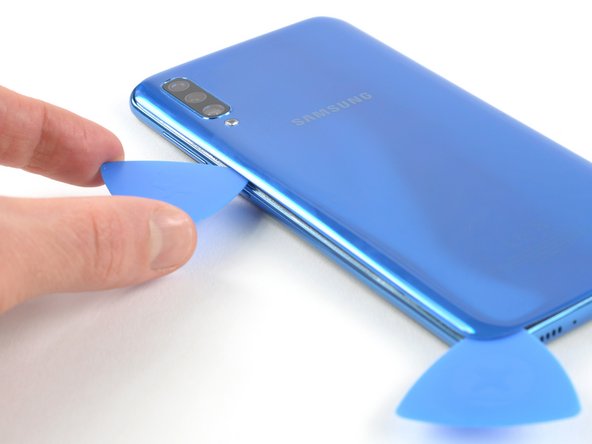
– Now it’s time to bring in some extra help – insert a second opening pick and gently slide it from the bottom to the top left corner. This will help cut through the adhesive and make the repair process smoother.
– Great job so far! Leave those opening picks in place to prevent the adhesive from resealing. If you need help or have any questions, you can always schedule a repair with Salvation Repair.
Tools Used
Step 5


– Pop a third opening pick into the top left corner of the back cover.
– Gently glide that opening pick along the top edge of your phone.
– Keep the opening pick wedged in the top right corner to stop that pesky adhesive from sealing back up.
Step 6


– Slide a fourth opening pick snugly under the top right corner of the back cover.
– Gently glide the tip of the opening pick down the side of the phone all the way to the bottom right corner to slice through that adhesive.
– Keep the opening pick in the bottom right corner to make sure the adhesive doesn’t get a chance to stick back together.
Step 7

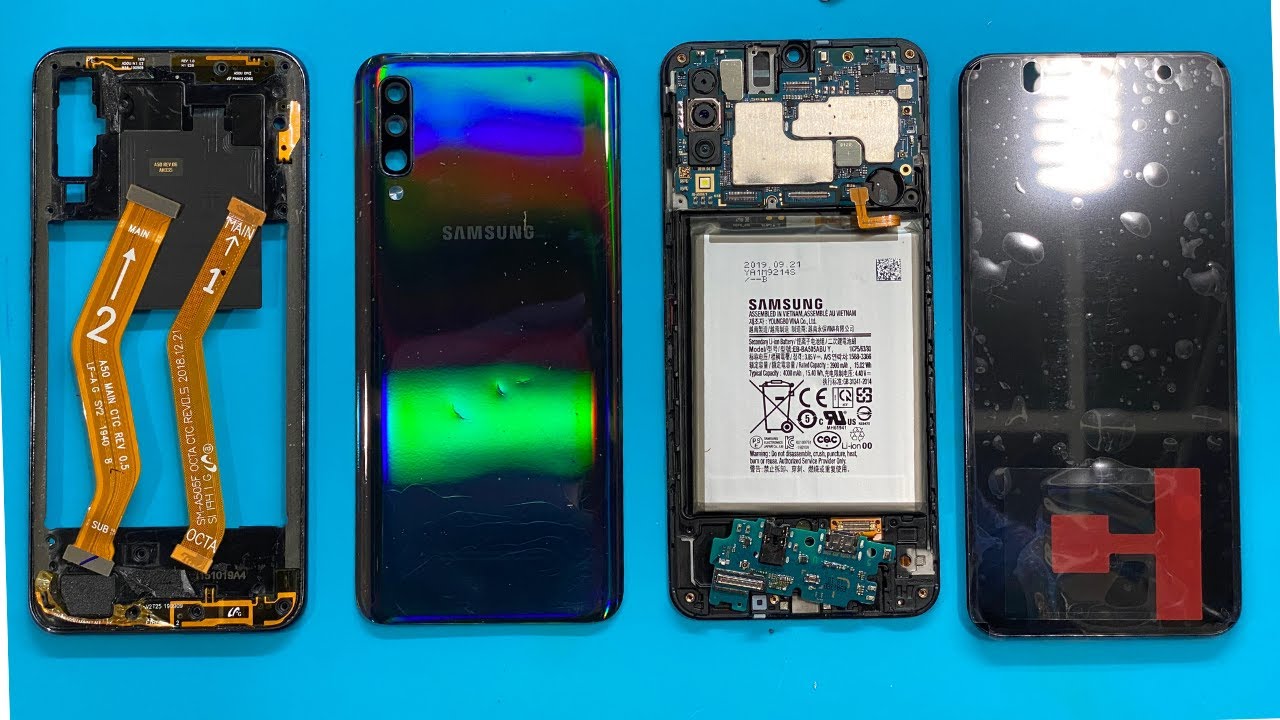
– Pop off that back cover like a champ! You’re doing great!
– Once you’ve secured the back cover, give your phone a gentle but firm hug for a few minutes. It’ll help the adhesive get cozy and form a solid connection. A stack of heavy books can lend a hand in this bonding moment.
Step 8

– Let’s get started by removing the 13 Phillips #00 screws, which are about 4 mm in length. Take your time and make sure to keep them organized so they don’t get lost.
Step 9


– Pop an opening pick right between the display and the midframe at the bottom of your phone, just above the USB-C port. It’s like giving your phone a little tickle!
– Now, glide that pick along the bottom edge to set those clips free. You’re doing great!
Step 10


– Keep sliding that pick along the left side of the phone to pop those clips free.


Step 12


– Gently glide your opening pick along the right edge, heading towards that cozy bottom right corner.
Step 13


Make sure you unfasten all the clips holding the midframe.
– Gently pop off the midframe from the phone.


Step 15


– Grab your trusty spudger and gently pop up the interconnect and display flex cables from the motherboard. If you need help, you can always schedule a repair
Tools Used
Step 16


– Time to give those cables a little wiggle room! Grab your trusty spudger (that’s the flat tool, remember?) and gently pry up the charging port and display flex cables from the daughterboard. It’s like giving them a little hug goodbye.
Tools Used
Step 17

– Drizzle a bit of isopropyl alcohol under each corner of the battery and let it hang out for a few minutes. This will help loosen that stubborn adhesive.
– If you’re feeling a bit adventurous, grab a heated iOpener and press it against the display right behind the battery for two minutes. This will do wonders to soften the adhesive. Feel free to repeat as needed!
Tools Used
Step 18


Give that battery some love and care! We want to avoid any awkward moments like leaks, fires, or explosions. So, keep your cool and don’t use too much force or poke at it with metal tools. You’re doing great, just be gentle!
Step 19


Hey there! If your battery is looking a bit worse for wear or has taken on a funky shape, it’s time to say goodbye! Installing a damaged battery can be a safety no-no. Grab a fresh one instead and keep your device happy and healthy! If you need help, you can always schedule a repair.
– Time to give that battery the boot! Remove it from the phone.
– Alright, before we get to the new battery, let’s give those sticky bits the flick! Remove any leftover adhesive from the phone and give those glued areas a good scrub with isopropyl alcohol and a lint-free cloth. If you’re not sure about anything, you can always schedule a repair.