DIY Samsung Galaxy A50 Back Cover Replacement Guide
Duration: 45 minutes
Steps: 6 Steps
Ready to give your Samsung Galaxy A50 a fresh look? This guide will walk you through replacing the back cover. You’ll need some new adhesive to stick it back on, just like a brand new phone! If you need help, you can always schedule a repair.
Step 1

The adhesive on the Samsung Galaxy A50 is super strong! If the iOpener isn’t doing the trick, feel free to bring in some heat with a hair dryer, heat gun, or hot plate. Just remember, we want to keep things cool—both the AMOLED display and the internal battery can be a bit sensitive to heat. If you need help, you can always schedule a repair.
– First things first, let’s power down your phone and give it a little break.
– Next up, warm up that iOpener and gently press it against the back cover to loosen up the adhesive. It’s like giving your phone a cozy blanket!
Tools Used

Step 2


If your opening pick isn’t sliding between the back cover and midframe, no worries! Grab a suction handle or some sturdy tape to gently lift the back cover and create a little gap for yourself.
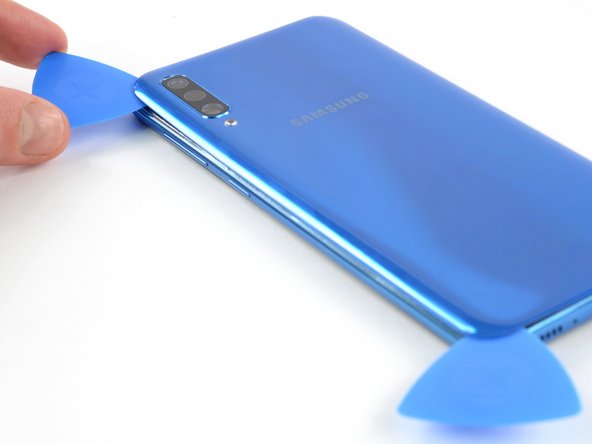
– Gently slide an opening pick into the bottom of your phone, right by that USB-C port. You’ve got this!
– Now, glide that pick over to the bottom left corner like you’re on a little adventure.
Tools Used

Step 3
If you’re having a bit of a struggle, don’t hesitate to crank up the heat a little more to help loosen that adhesive. Just be sure to check out the iOpener instructions to keep things from getting too toasty.
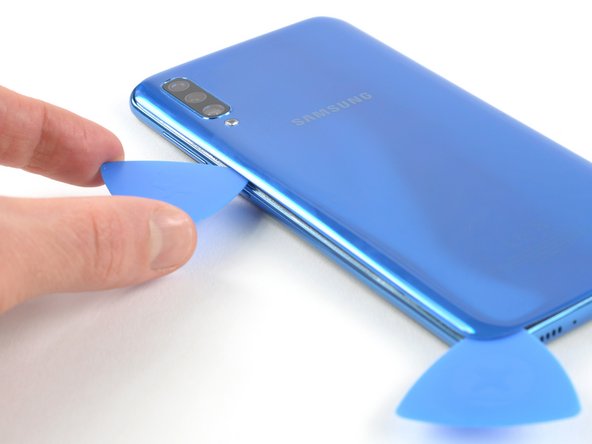
– Grab a second opening pick and gently slide it from the bottom up to the top left corner to slice through that adhesive like butter.
– Keep those opening picks snug in place to make sure the adhesive doesn’t try to seal up again on you.
Tools Used
Step 4


– Time to get started – insert a third opening pick under the top left corner of the back cover, it’s going to be a breeze.
– Now, gently slide the opening pick along the top edge of the phone, you’re making great progress.
– Leave the opening pick in the top right corner to prevent the adhesive from resealing – you’re doing fantastic, and if you need help, you can always schedule a repair
Step 5


– Pop a fourth opening pick into the top right corner of the back cover. You’re doing great!
– Gently glide the tip of that opening pick down the side of the phone to the bottom right corner, slicing through the adhesive like a pro.
– Keep that opening pick snug in the bottom right corner to stop the adhesive from getting all clingy again. Nice work!
Step 6

– Take off the back cover – it’s time to get started on your repair journey.
– Now that the back cover is back on, apply some firm, steady pressure to your phone for a few minutes. This will help the adhesive bond nicely. Try using a stack of heavy books to make it easier.