Samsung Galaxy A5 (2016) Back Cover Replacement Guide: DIY Tutorial
Duration: 45 minutes
Steps: 5 Steps
Ready to give your Galaxy A5 a fresh new look? Follow this guide to effortlessly swap out that back cover and keep your device looking sharp! If you need help, you can always schedule a repair.
Step 1


First things first, let’s power down that phone of yours!
– First, grab your trusty iOpener and use it to heat up and loosen the glue that’s holding the back cover in place.
– Next, use a suction handle to carefully lift the back cover, and then slip an opening pick into the gap – you’re making great progress! If you need help, you can always schedule a repair
Tools Used

Step 2


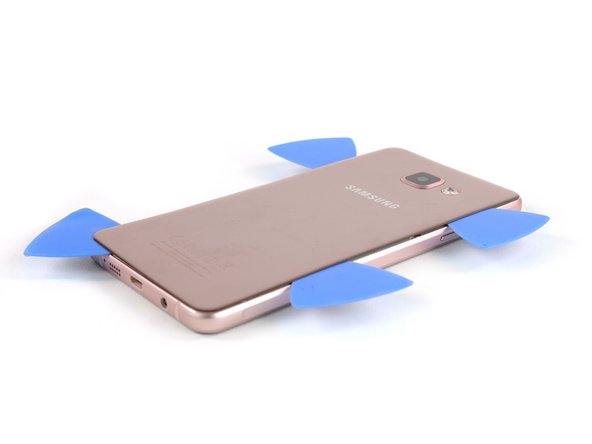
– Slide your pick up to the middle and give that back cover a little nudge – time to separate it from the frame!
– Now, grab another pick and carefully wiggle it around the right corner, then down the bottom and up the left corner. You got this!
Step 3


– Grab another opening pick and keep pushing towards that top corner.
– Use one last pick to get through that final bit at the top.
Step 4


– Let’s get this party started! Take a plastic card and slide it gently underneath the back cover. You got this!
Step 5


Before you peek under the back cover, give it a quick glance. You don’t want to accidentally bump into any parts like the NFC antenna, which can be pretty sensitive. Just a heads-up!
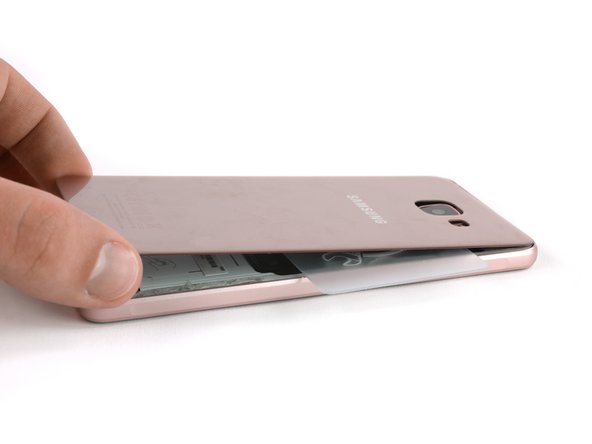
– Fire up the back cover with some warmth again, so you can glide that plastic card toward the top like a pro.
– Slide that plastic card until you hit the camera bump. Now, give the back cover a gentle lift and then pull it off completely.
– Don’t forget to wipe away any leftover glue residue, and when you put it all back together, make sure to slap on some fresh adhesive for good measure.