Samsung Galaxy A5 (2015) Screen Replacement Guide: Step-by-Step DIY Tutorial
Duration: 45 minutes
Steps: 7 Steps
Step 1
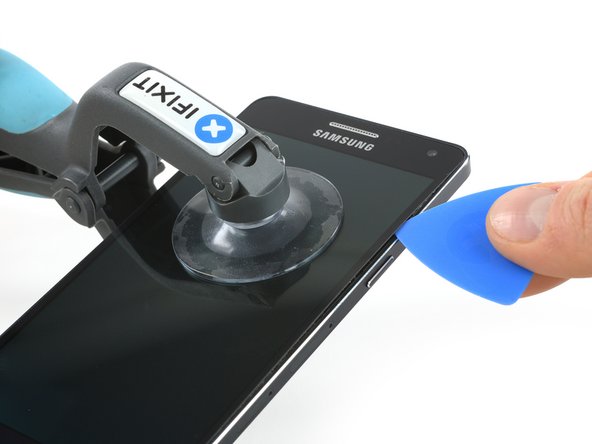


Let’s get started by gently inserting the tip of the opening pick and sliding it along the side to loosen the glue. For now, leave the top and bottom edges alone – we’ll get to those later. If you need help, you can always schedule a repair
– First things first, power down your phone. Safety first, right?
– Grab your trusty iOpener and gently warm up the glue around the display edges. Start with the sides and then give some love to the bottom.
– Now, using an iSclack or a suction handle, lift the display just a tad to slide in an opening pick. You’re doing great!
Tools Used


Step 2


Heads up! The software buttons in the lower left and right corners have ribbon cables glued to the display. Be super careful when you slide your pick between the screen and buttons—those wires are delicate. If you need help, you can always schedule a repair.
– Once the glue has given you a break and loosened up enough on the side, gently lift the display a bit more to slip an opening pick underneath it. You’re doing great!
– Now, grab a second opening pick and glide it around the bottom edge like you’re spreading frosting on a cake. Keep it steady!
– Time to repeat that last move and this one on the opposite side. You’ve got this; just keep going!
Step 3


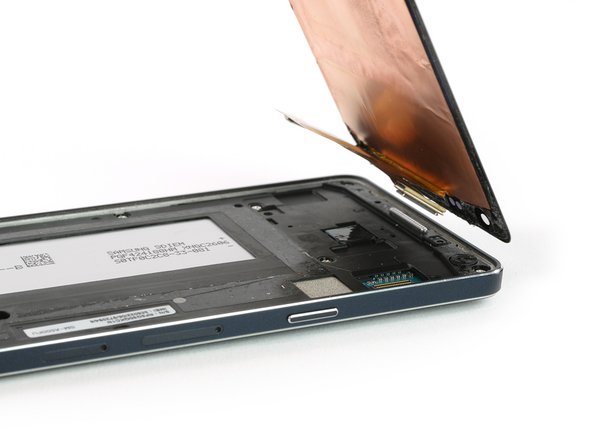
Hey there! Remember, it’s best not to fully open the display just yet—it’s still hanging out with the motherboard.
– Time to bring out the iOpener again – use it to heat up the bottom and top parts of your device to loosen the glue even more.
– Now that the glue is softer, you should be able to slide the picks at the bottom closer to the home button, and eventually swing that display open towards the top.
– Keep an eye on the home button – it might stick to the display assembly or stay on the midframe. If your new display doesn’t come with one already attached, you’ll want to make sure it’s secure. If you need help, you can always schedule a repair
Tools Used


Step 5

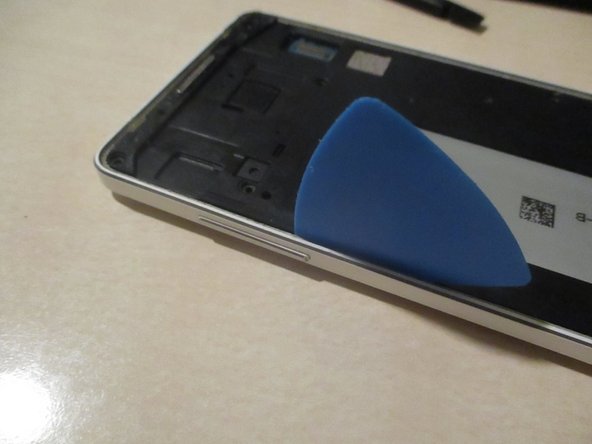
– First things first, let’s remove those 12 little screws holding the midframe in place. It’s like a puzzle, but easier!
– Next up, pop out the sim and sd card trays. It’s like a little treasure hunt!
– Now, grab a plastic pick and let’s start opening up that midframe. Begin below the volume buttons and gently work your way up and around the phone. Think of it as a dance, but with a tool!
Step 6


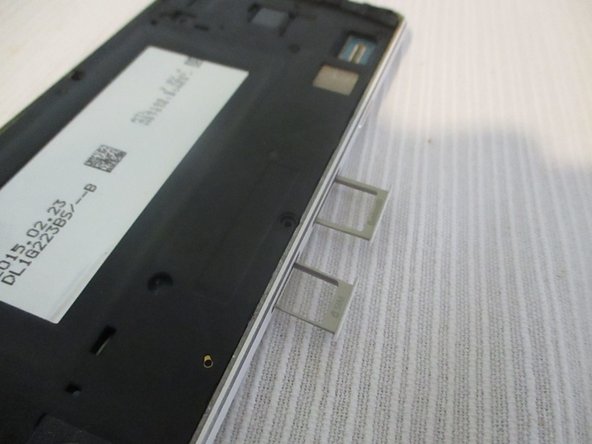
The flaps are attached to the midframe with a gentle adhesive, making them easy to remove with a little care. If you need help, you can always schedule a repair
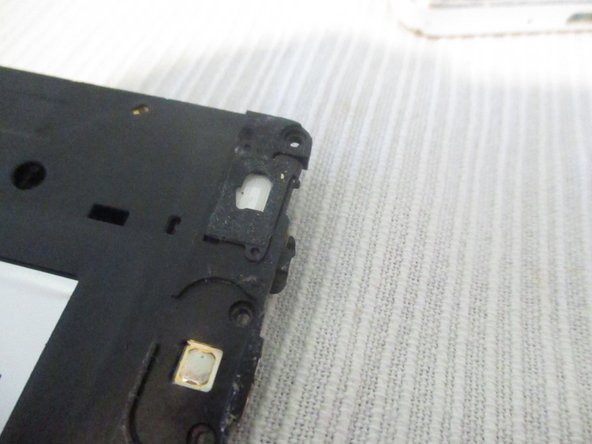
– Pop off that cover.
– Using a spudger, lift up the flaps of the menu and back buttons.
Tools Used
Step 7
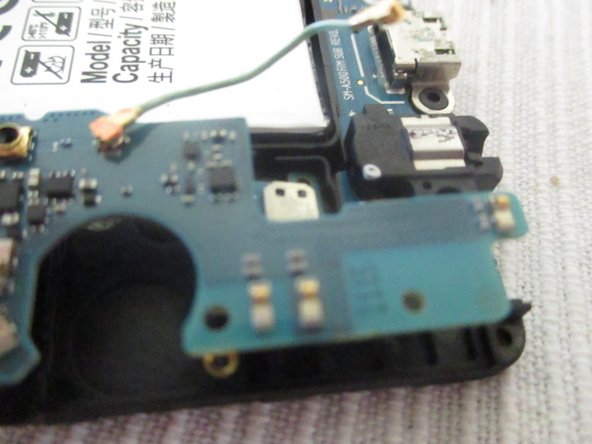


– First up, let’s get those two mainboard screws out of the way – one’s chilling below the antenna cable and the other’s hanging out near the headphone jack.
– Now, carefully detach the antenna cable from the USB board. Think of it like untangling a pair of headphones – slow and steady wins the race!
– Finally, give the mainboard a gentle lift and pull out the USB board. You’re almost there, keep going!

