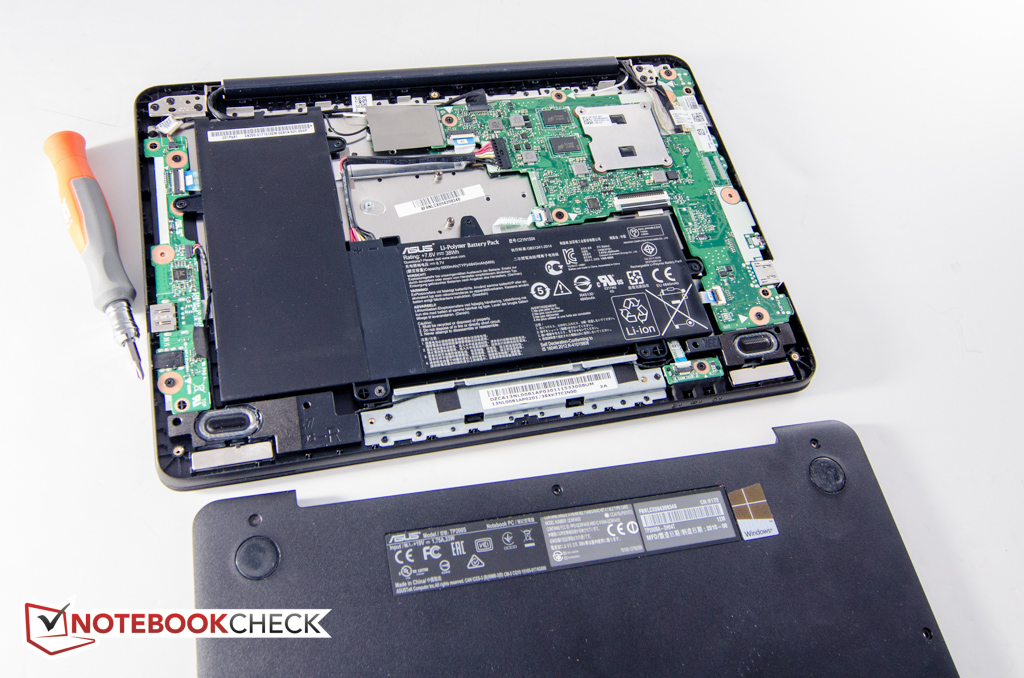
Asus Transformer Flip Book TP200S Motherboard Replacement
Duration: 45 minutes
Steps: 6 Steps
If your device isn’t behaving and you’re suspecting a faulty motherboard, don’t worry—this guide walks you through all the steps to safely remove the motherboard and disconnect everything attached to it, so you can replace it with confidence. Follow along, take your time, and if you need help at any point, you can always schedule a repair.
Step 1
– Grab your J000 screwdriver and gently remove those back 6mm and 8mm screws. Keep it steady, and you’re on your way to a smooth repair. If you need help, you can always schedule a repair.
Step 2
– Carefully pop off the back cover of the flip book using a metal spudger. Take your time, no rush—just a gentle nudge will do the trick!
Tools Used
Step 3
– Grab your J000 screwdriver and remove the 3mm screws holding the battery to the motherboard. Easy does it!
Step 4
– The battery is securely attached to the motherboard, so we’ll need to disconnect it first before we can remove it.
– Using a pair of tweezers, gently pull out the connection to disconnect the battery from the motherboard.
– Carefully detach the Wi-Fi cables that are hooked around the battery’s edge.
– Now, gently remove the battery.
Tools Used
Step 5
– The motherboard is packed with components that need to be disconnected before you can swap it out. Time to get your hands a little dirty!
– Gently detach the components from the motherboard using tweezers. If you’re unsure which part needs to go, the images will help guide you.
– For the yellow-highlighted connections, all you need is a light pull. If there’s tape in the way, just peel it off and keep going.
– The red-highlighted connections need a little more finesse—lift up the white latch securing them (it’ll pop right up), then slide out the cable with ease.
– For the orange-highlighted connection, it’s pretty much the same deal as the red ones, but the latch is black this time. Flip it up, slide out the cable, and you’re golden.
Tools Used
Step 6
– To reassemble your device, follow these instructions in reverse order.
– That’s it! You made it through this step-by-step repair guide. If you need help, you can always schedule a repair
Success!


