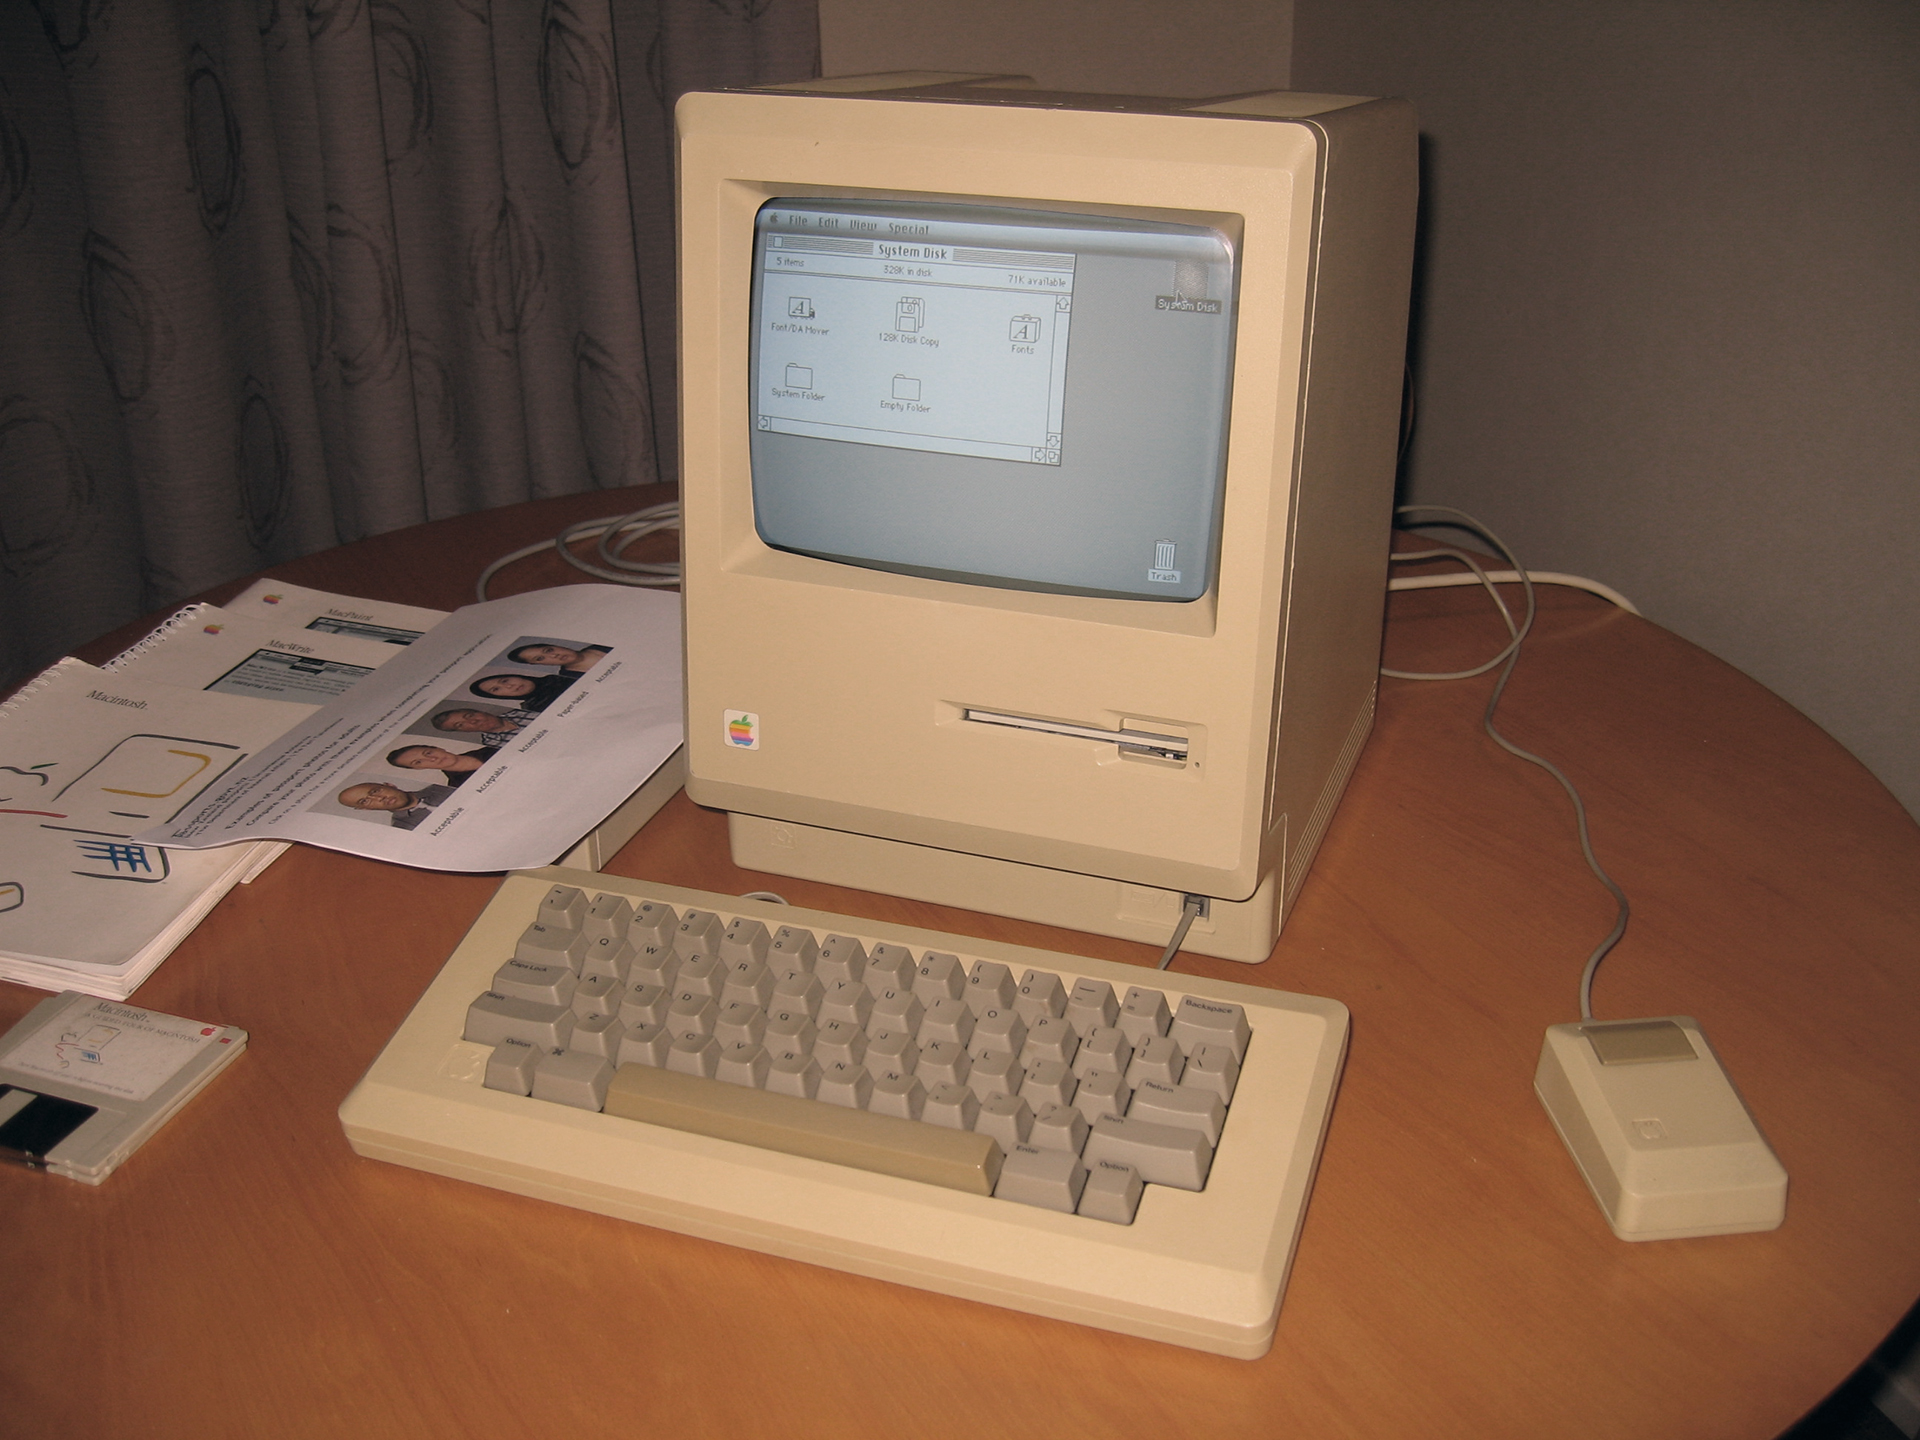
Apple Classic Mac IIC Keyboard Replacement Guide
Duration: 45 minutes
Steps: 5 Steps
Swapping out your keyboard can be a breeze, even if it feels like a hassle sometimes. Don’t worry, we’ve got your back! This guide will walk you through the keyboard removal process, step by step, making it as smooth as possible. If you need help, you can always schedule a repair.
Step 1


– Grab your trusty #2 Phillips head screwdriver and unscrew those six 19 mm long screws. If you need help, you can always schedule a repair
Step 2

The catch is a bit off to the side, but it lines up perfectly with the middle of the speaker underneath.
– Gently push in the catch with a plastic opening tool to release it. You’ve got this!
Step 3
– Gently slide the case towards the ports on the back, then give a little tug under the catch while moving towards the ports to pop it off.
Step 4
– Lift the handle straight up to take it off with style.
Step 5
Take it easy when pulling out the ribbon—no need to go all Hulk on it! Give it a gentle tug to prevent any tears. And remember, pulling on the keyboard to yank out the ribbon is a no-go; that could lead to some unwanted damage.
– Lift the keyboard at an angle and gently pull the ribbon straight up to disconnect it. If it’s a bit stubborn, give it a slight wiggle side-to-side to loosen it. If you need help, you can always schedule a repair.