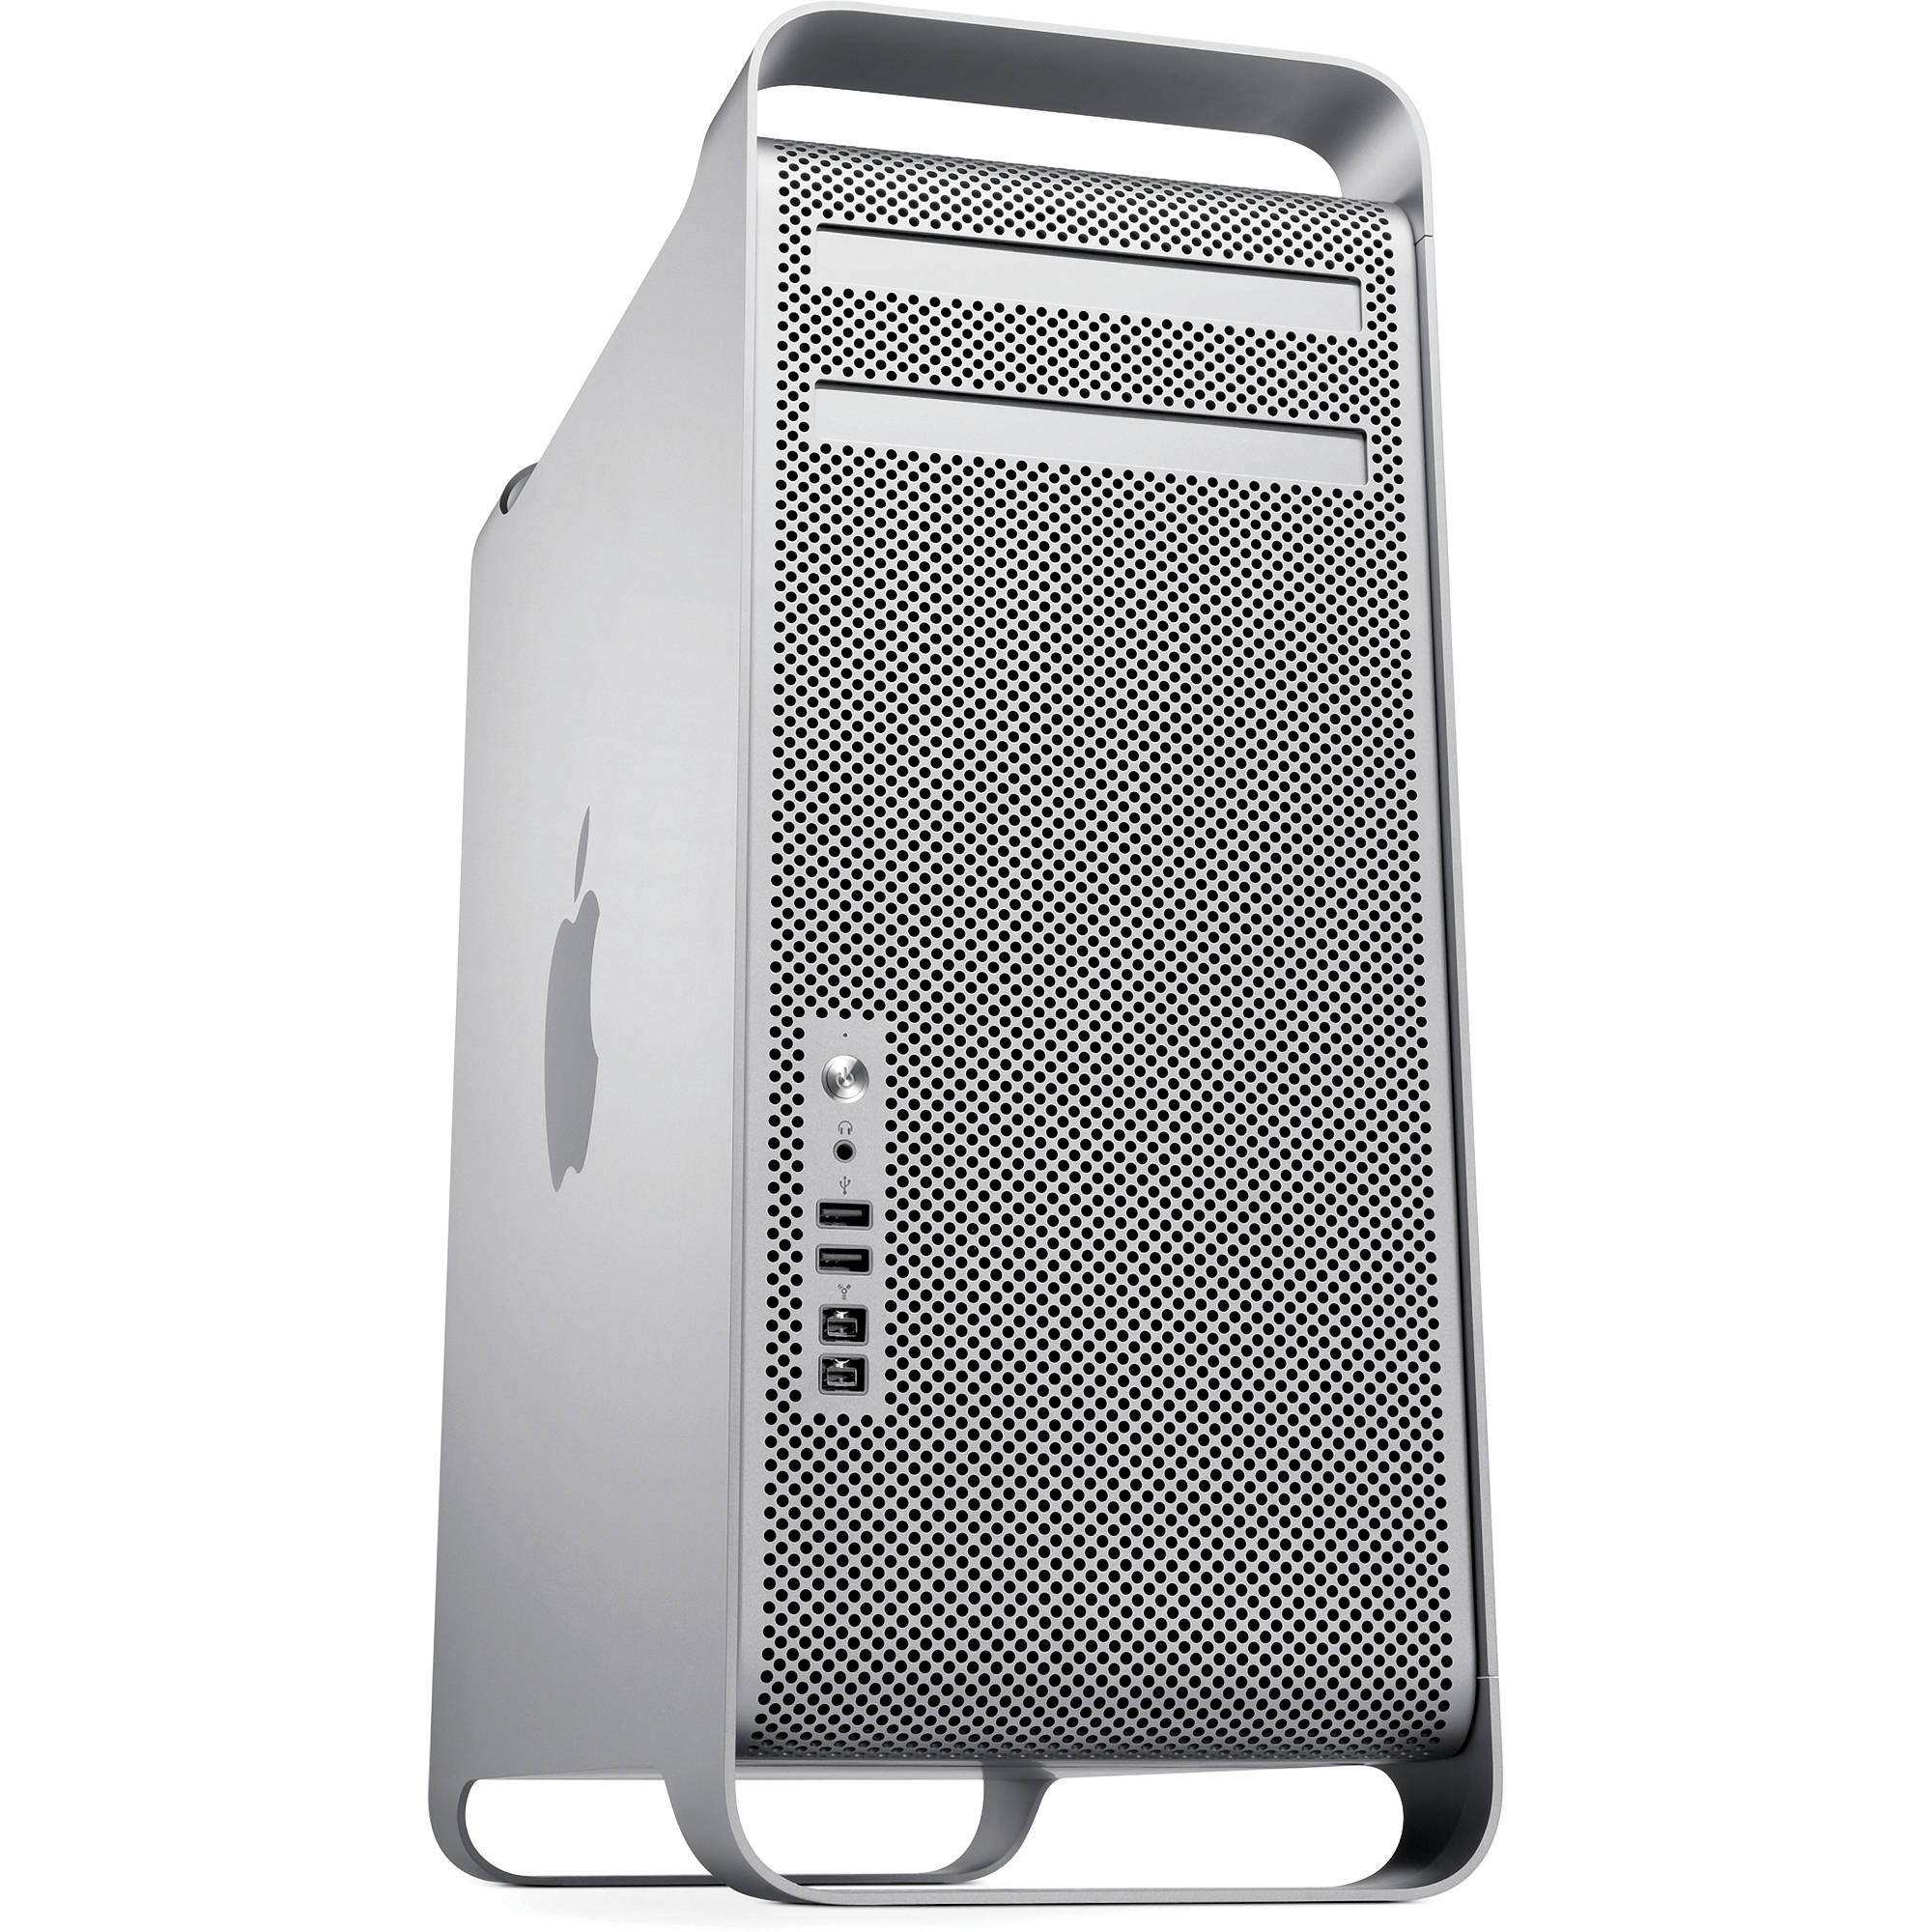
Mac Pro 2006-2008 Power Supply Unit Replacement Guide
Duration: 45 minutes
Steps: 8 Steps
Grabbing the power supply unit is a breeze! All you’ll need is a 2mm Hex screwdriver. If you need help, you can always schedule a repair.
Step 1
– Give that lever a little lift to pop the case open!
Step 2
Before diving into the internal components, give any static electricity a chance to chill out! Just touch a grounded surface, like those metal PCI slot covers or any other grounded metal surface you can find. And hey, if you’ve got an anti-static wrist strap lying around, throw that on for good measure!
– Pop off the side panel of your Mac Pro and let the magic begin!
Step 3
Remove the optical drive to get to the power supply unit. If you need help, you can always schedule a repair
– Grab those handles on the compartment like you mean it, and give a solid pull to pop out the optical drive bay. You’ve got this!
Step 4
– Grip those connectors with confidence and give them a tug to free them from their sockets. If you need help, you can always schedule a repair
Step 5
Beneath the surface, you’ll find a bunch of Phillips head screws. No need to stress about them, though—they can stay put while you tackle the power supply removal.
– Grab that 2mm Phillips hex screwdriver and remove the 4 marked 6-32 hex screws.
– Take note: Mac Pro 1,1 through 3,1 have a different PSU compared to Mac Pro 4,1 and 5,1.
Step 6
Take it easy when yanking out the power supply! It’s got a bunch of cables attached that are a bit tight on the leash.
– Hold onto the handle on the left side of the power supply casing while also gripping the right side, then give a firm pull upwards to pop it out.
Step 7
– For the Mac Pro (Early 2008/9), also known as MacPro3,1: In the MacPro3,1, the power supply screws are 2.5mm hex, not T-10. Plus, there’s a cover plate behind the superdrive that has to be removed (2 Phillips screws) to expose the power cable connections. These connectors must be detached and slid under the fan before the power supply can be removed. If you need help, you can always schedule a repair.
Step 8
– First things first, find those four cables we’ve highlighted for you.
– Next, give a gentle push down on the clips sitting above each cable connector while holding onto each connector firmly, and smoothly pull each one back to detach those clips. You’ve got this!


