Replace Hard Drive Mac Pro 2006-2008 DIY Guide
Duration: 45 minutes
Steps: 5 Steps
Step 1

– Alright, time to open up your Mac Pro! First, give it a break by shutting it down and unplugging all the wires and cables. Let it cool down for a few minutes. Next, find the latch on the back of the case and gently pull it out. The latch will come up easily and stop after an inch or two — don’t force it further. You’re doing great, and remember, if you need help, you can always schedule a repair.
Step 2

– Give that latch a gentle nudge to free the side panel of your Mac Pro. Now, you should be able to lift it right off the case with ease! Just set it aside somewhere safe so it doesn’t wander off.
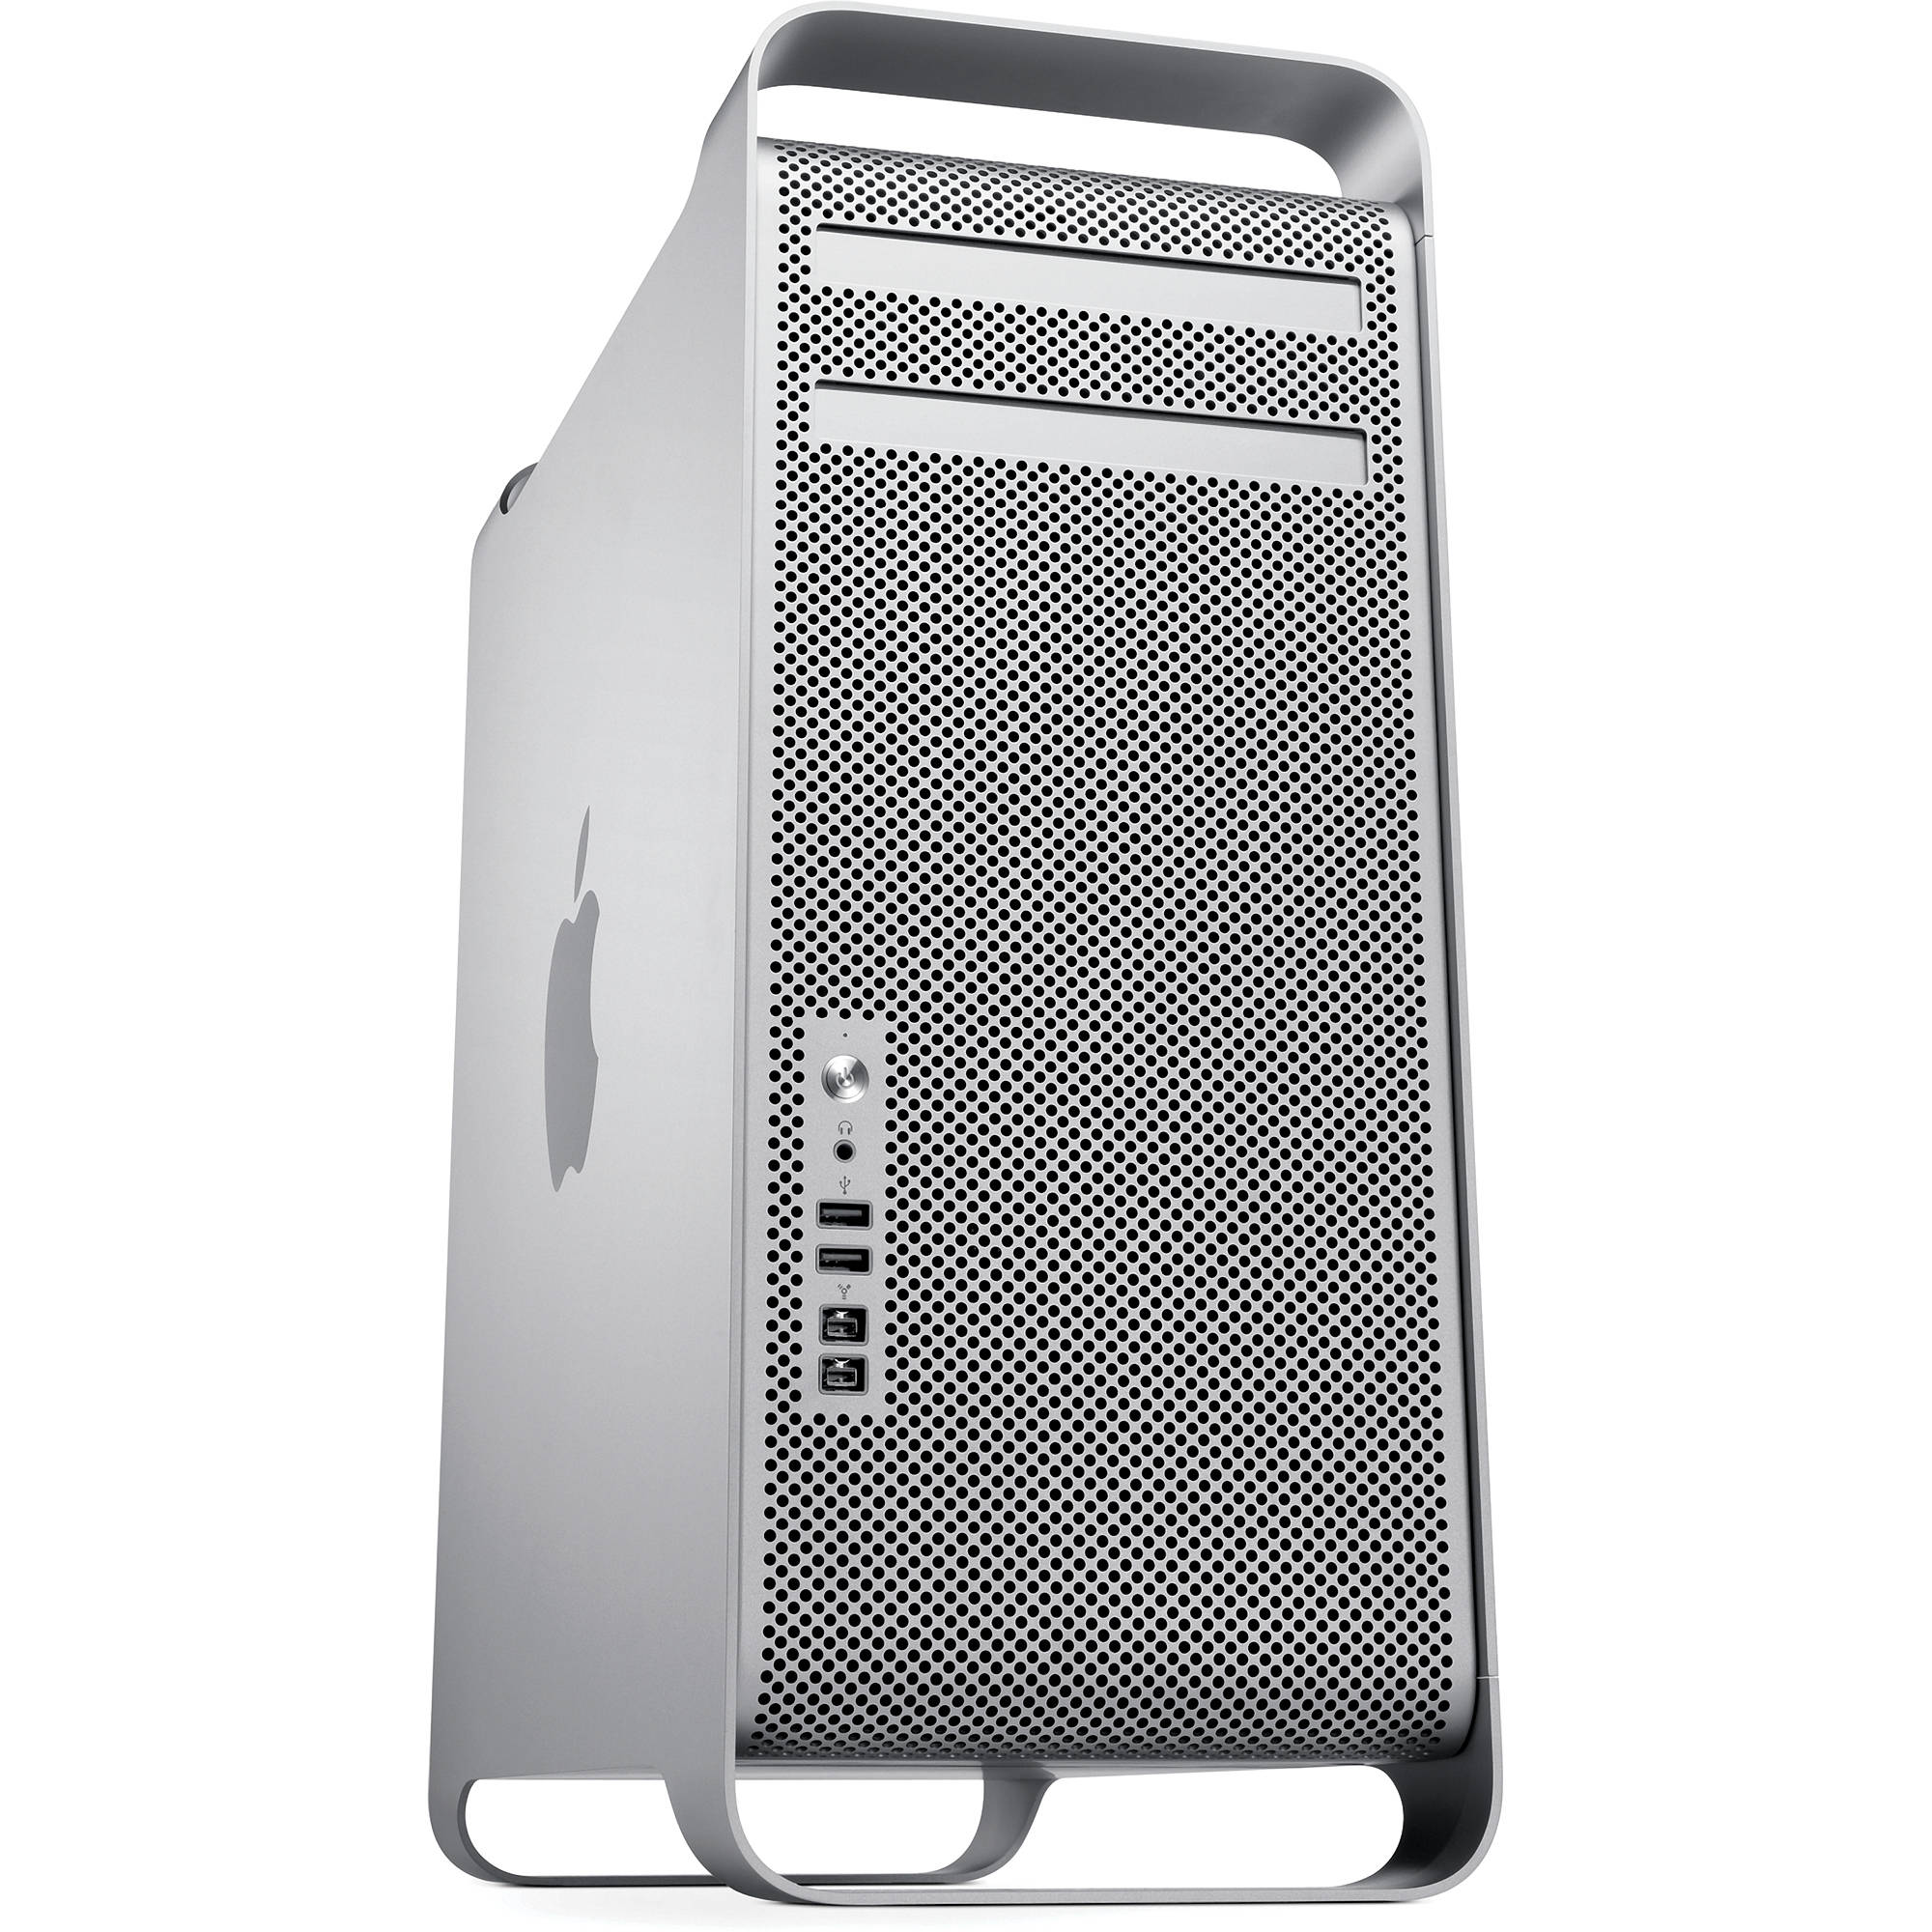
Step 3

– Now that you’ve got the Mac Pro’s case wide open, take a moment to find the four hard drive bays nestled in the top half of the case.
Step 4
– Every bay has its own number, stamped and ready to guide you from left to right. Bay #1 is where the original hard drive, straight from Apple, is hanging out. Now, gently slide out the bracket from the next available hard drive bay — if you only got one hard drive when you got your computer, this is the spot where it should pop right out with ease!
Step 5
– Unbox that shiny new hard drive and grab your trusty Phillips head screwdriver. Use the screws already attached to the bracket and secure the drive in place. If you need help, you can always schedule a repair.