Replace GTX 660 Mac Pro First Generation: Step-by-Step Guide
Duration: 45 minutes
Steps: 12 Steps
!HEY THERE, MAC PRO USERS RUNNING 10.8.5 OR HIGHER! Get ready to boost your first-generation Mac Pro with a sweet upgrade to a GTX 660 Graphics Card! Let’s dive into this step-by-step journey together and give your machine the power it deserves. If you need help along the way, you can always schedule a repair.
Step 1

– Gently lift the lever to pop that case open!
Step 2

Before diving into the inner workings of your device, make sure to zap away any pesky static electricity! Just give a grounded surface a little touch—those metal PCI slot covers are perfect, or any other grounded metal surface will do the trick. And hey, if you have an anti-static wrist strap, feel free to rock that too!
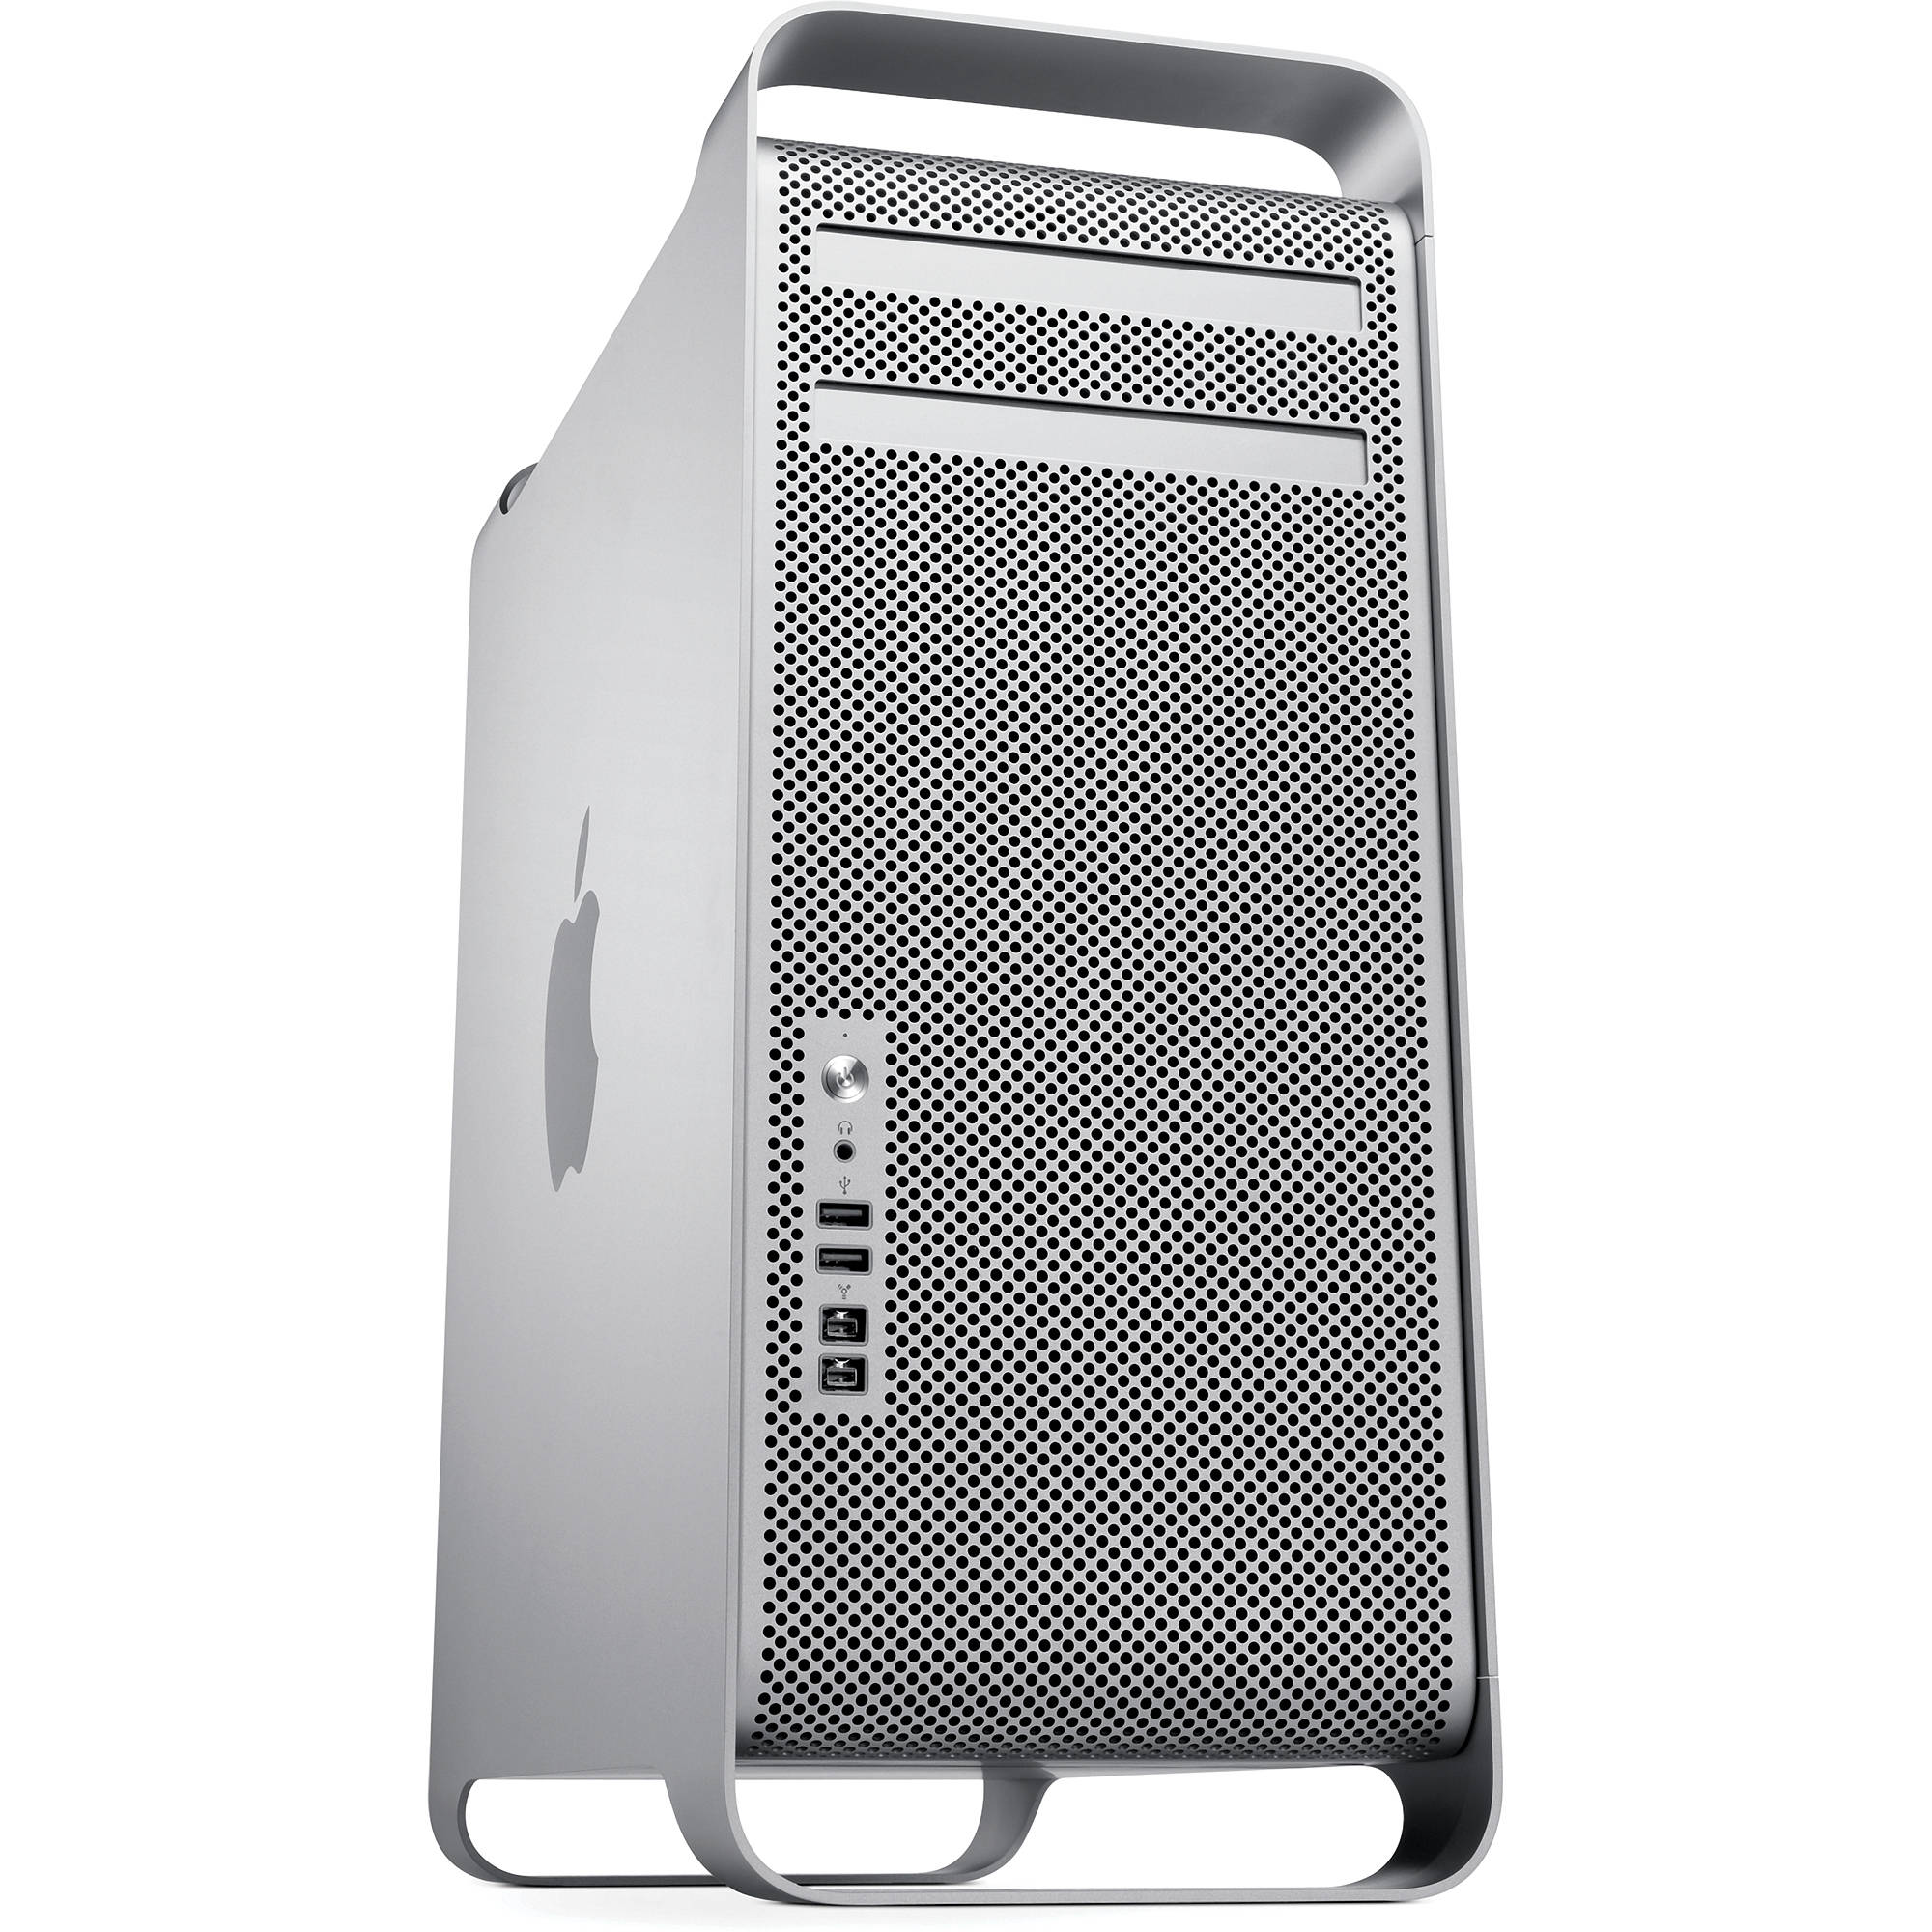
– Take off the side panel of your Mac Pro and let the magic begin!
Step 3

– Find the graphics card nestled in the open panel side of your Mac Pro. You’ve got this!
Step 4
– Give those two thumb screws a counterclockwise twist with your fingers until the slide lock lets go.
– Now, slide that lock off like a pro!
Step 5
Only grab the card by its edges, folks! Keep those fingers away from any exposed components or connectors—let’s keep everything safe and sound!
– Gently nudge the clip right behind the graphics card to set it free from its cozy slot.
– With both hands, carefully slide the graphics card out of its home by gripping the corners at the top, just like shown.
Step 6
– Give your Mac Pro a little breather by unplugging everything! That means all the USB devices, keyboard, mouse, monitor, and yes, don’t forget the power cord too!
Step 7
– Alright, let’s get that Mac Pro open! Start by giving the latch on the back a solid push, just like in the picture. If it doesn’t budge right away, don’t worry! A bit of muscle might be needed to get it going. Remember, working on this machine is all about strength and finesse! If you need help, you can always schedule a repair.
Step 8
– Your Mac Pro should resemble this beauty. If it doesn’t, no worries! You can either find another guide or use this one as a handy reference for any 2nd gen Mac Pro’s. The process is quite similar for PowerMac G5 machines too (just skip the software part). And yes, we know it’s a stock photo, but it gets the job done!
Step 9
– To kick off the GPU removal, first, locate the PCI Cover that’s hanging out just above the GPU at the back. It’s like a little door waiting to be opened!
– Next up, grab your trusty screwdriver and take out the two screws that are keeping your GPU snug in its spot. It’s time for some freedom!
– Attention Radeon users: Carefully disconnect the power connector from the board as shown in picture 2. You won’t need that PCI Power Adapter you picked up unless your GPU is a two-connector diva!
– Once you’ve taken off the PCI cover and the power connector (for those Radeon folks), gently pull the tab from picture 3 away from your GPU and lift it out. Easy peasy!
Step 10
– Grab your GTX 660 and slot it into the first PCI spot—same place as your old GPU!
– Connect your PCI Power connector to the PCI power outputs on the motherboard.
– Then, plug the PCI Power Cable into the GPU. If you’ve got the ASUS one, you’ll only need one connector.
– If you need help, you can always schedule a repair
Step 11
– Plug in your machine to power, monitor, keyboard, and mouse. Keep it open, just in case.
– Press that power button on the front of your machine.
– You might see a black screen or a ‘no signal’ message on the monitor because your graphics card is designed for a PC. Give your Mac Pro Max 5 minutes to boot up.
Step 12
– If all goes smoothly, you’ll soon see that login screen! Go ahead and log in. If your graphics acceleration is MIA, no worries! Just grab those nVidia web drivers. You can either use a USB from another Mac or download them straight on your Mac Pro—just a heads up, it might be a bit of a hassle!