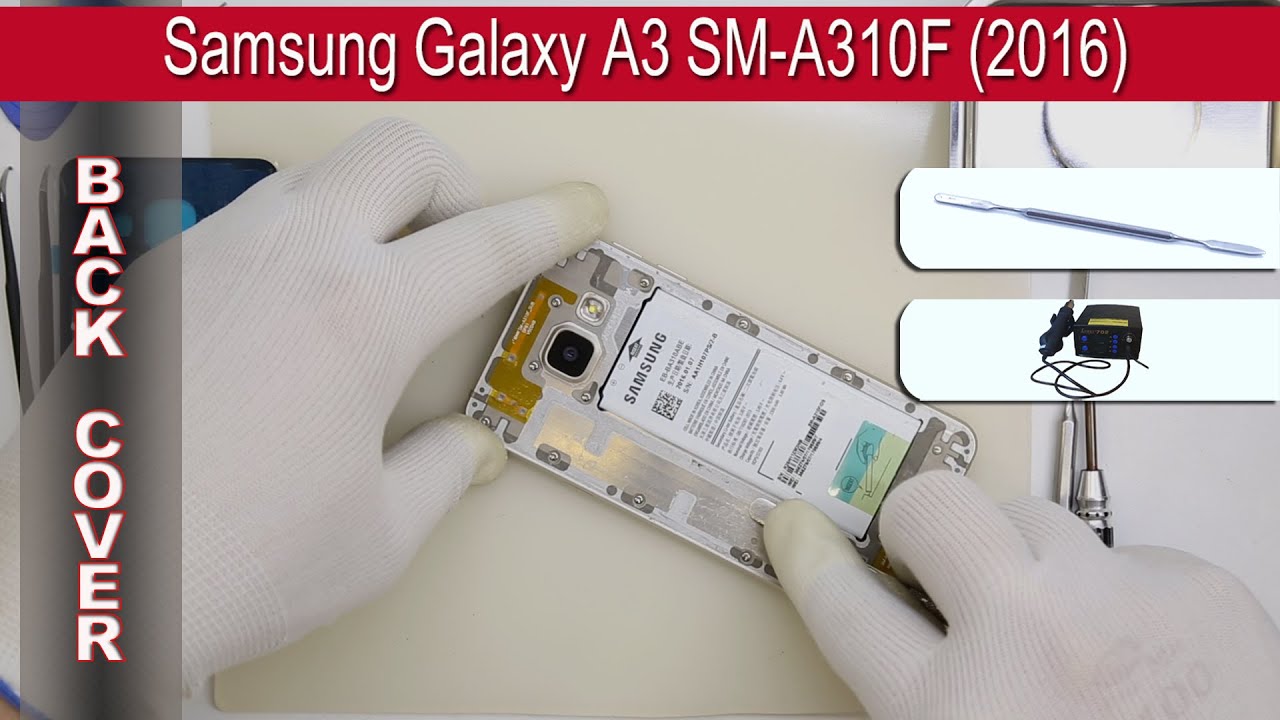
DIY Samsung Galaxy A3 2016 Back Cover Replacement Guide
Duration: 45 minutes
Steps: 5 Steps
Get ready to give your Galaxy A3 (2016) a fresh look by swapping out that back cover! It’s easier than you think, and we’re here to help you every step of the way. If you need help, you can always schedule a repair.
Step 1


– First things first, let’s power down that phone of yours!
– Grab an iOpener and let it work its magic to warm up and loosen the adhesive holding that back cover in place.
– With the bottom section of the back cover ready to go, use a suction handle to lift it up and slide in an opening pick to get the party started!
Tools Used


Step 2


– Gently slide that opening pick over to the rear camera area to pop the back cover away from the frame. You’ve got this!
Step 3


– Grab a second opening pick and gently slide it around to the opposite corner at the bottom of the back cover.
Step 4


– Gently glide the second pick along the left edge of the back cover to free up that pesky adhesive.
– Take a little detour around the upper left corner and give a nudge to the adhesive above the rear camera.
– Once you’ve loosened all those edges and sides, grab an iOpener and warm up the adhesive hiding beneath the center of the back cover.
Tools Used
Step 5


– Grab a trusty plastic card and gently slide it in at the bottom to sneak it under the back cover.
– Carefully peel away the glue until you reach the rear camera—you’re almost there!
– Now, take your time to lift the back cover slowly and remove it like a pro!