DIY Samsung Galaxy A3 Display Replacement Guide
Duration: 45 minutes
Steps: 4 Steps
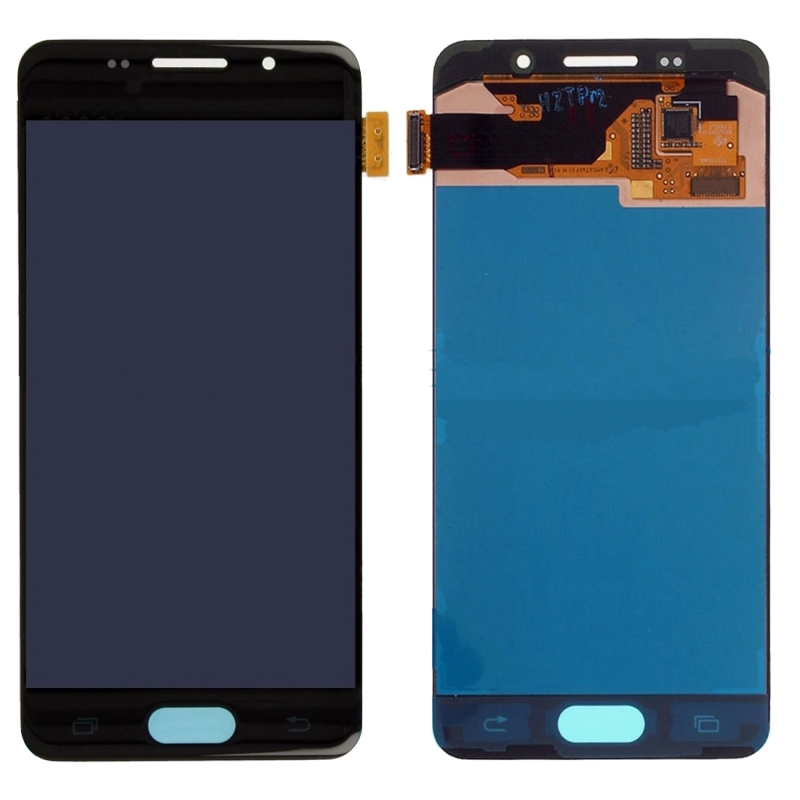
Here’s a fun guide to help you swap out the display unit on your Samsung A3 2015 model! It’s easier than you think, and you’ll be back to enjoying your device in no time. If you need help, you can always schedule a repair.
Step 2
– Grab a pick or a slim plastic tool and gently work your way around the edge of the frame to free up that glass.
– Keep an eye out for the ear speaker, camera, and light sensor up top; they’re important little buddies!
– As you get the glass loose around the bottom, carefully slide the tool out to protect those left and right home buttons (check out picture 2 for a visual!).
– Heads up: The LCD is glued to the frame too, so it might just decide to break free when you’re removing the display!
Step 3
– After you’ve carefully disconnected the display, gently lift the top away from your phone to reveal those home buttons (check out the green highlight for guidance).
– Now, with a little finesse, pry the contacts off the underside of the glass and tuck them back into their cozy spots on the phone (the yellow highlight will show you where to go).
Step 4
– Gently connect the new display and snug it into the phone, keeping the plastic on the adhesive for now.
– Power up the phone to check if the display and home buttons are working. Testing before gluing is key; otherwise, removing a glued display can be a real hassle and might risk breaking it.
– If everything looks good, peel off the plastic from the adhesive and set the display in place. Give the edges a light push to ensure it’s sealed nicely.


