Samsung Galaxy A3 Display Replacement Guide: Step-by-Step DIY
Duration: 45 minutes
Steps: 4 Steps
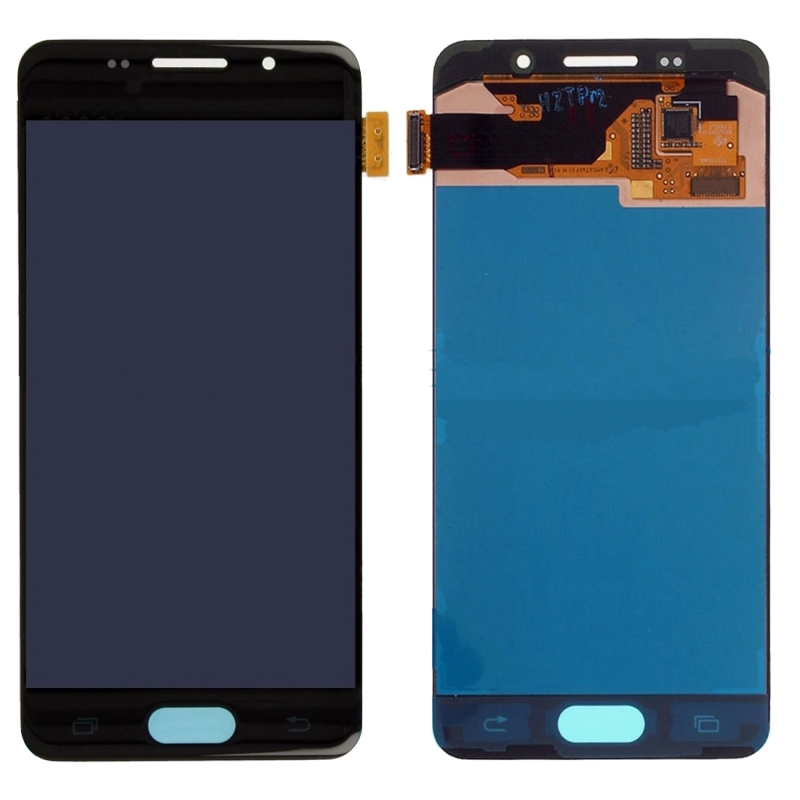
Ready to tackle that shattered display or cracked glass on your Samsung Galaxy A3? This guide is your go-to buddy for making that repair happen smoothly. If you need help, you can always schedule a repair.
Step 1
To kick things off, gently place the very tip of your opening pick in there and glide it along the side to loosen that sticky glue. Let’s keep the top and bottom untouched for now.
Got a cracked screen? Just slap some tape over the front panel. It’ll keep those nasty glass shards at bay and give you a better grip for lifting. If you need help, you can always schedule a repair.
– First things first, turn off your phone. Safety first, right?
– Grab your iOpener and gently warm up the glue around the edge of the display. Focus on the sides to get things going, then tackle the bottom area.
– Now, with your trusty iSclack or suction handle, lift the display just a little bit to slide in your opening pick. You’re doing great!
Tools Used
Step 2
Watch out for those two touch buttons at the bottom (check out the next step for how to find them). Remember, patience is key—take your time and you’ll get this done!
– Once the glue is loosened up nicely on the side, feel free to gently lift the display a bit more so you can slide an opening pick underneath it.
– Grab a second opening pick and start working your way along the bottom edge like a pro.
– Now, just rinse and repeat that last step on the other side, and you’ll be all set!
Step 3
If your display is still kicking, be gentle and avoid yanking the front panel off. And hey, let’s leave the top part alone too, to keep those flex cables safe and sound!
Remember, don’t swing that display open all the way. It’s still attached to the motherboard, and we wouldn’t want the shiny gold foil behind it to come off and stick to the midframe. You can totally re-attach it later!
– Time to bring back the iOpener! Heat up the top and bottom sections to make that stubborn glue a bit more cooperative.
– Now you’re all set to nudge those picks closer to the home button and gently lift the display toward the top. You’ve got this!
Tools Used


